How to Take Better Family Travel Photos
The year was 2011. I had been married for less than a year, and we weren’t even thinking about having kids yet. I knew that even though I had “settled down” with a husband and a job, I wasn’t ready to be done traveling - not even close. I dreamed of taking beautiful photos in far-flung corners of the world, then printing them out to hang in my home, to always feel the thrill of a new destination while living my daily life.
I dreamed of someday taking my (then) non-existent children to places like the Grand Canyon and Spain and Argentina. I dreamed of taking the perfect candid shots of them experiencing new foods, sights, and locations.
I realized so many of my travel dreams revolved around the memories I would make and the subsequent photos I would take.
So I talked to my husband, and we decided to invest in a DSLR camera. I had NO idea what I was doing, so I purchased our camera through a small camera store where they offered 5 free photography classes where you could learn to use your DSLR when you purchased one from them. It was one of the best investments I’ve ever made.

Because of those classes, I’ve been using my camera on manual from Day 1. I am by no means an expert or professional photographer, but I have taken the time to learn about the machine in my hands. I always hear photographers say that the best camera is is the one you have. In other words, use whatever camera you have to the best of your ability, apply some basic principals, and you can take photos that YOU will love and want to hang up in your house.
Since that purchase in 2011, I’ve learned more through experience and reading articles online, simply because I enjoy taking photos of my travels and always want to get better. If you’re in that position, and you want to improve your family vacation photos, I’ll share a few things I’ve learned along the way.
I will say this: if you are looking to improve your technical skills, there is no better investment than taking a photography course yourself. Again, I am not a photographer, so I’m just sharing what I’ve learned along the way, and what I like in my travel photos.
HOW TO TAKE BETTER FAMILY TRAVEL PHOTOS
GENERAL TIPS & MINDSET
HAVE A VISION BEFORE YOU GO
Since family travel photos are (1) a part of my business and job and (2) very important to me as keepsakes, I actually do research on where to take photos before I travel. I love using Instagram and Pinterest for this.
Step 1: Head to Pinterest and look up “Instagrammable Spots in [CITY]” or “Best Photo Spots in [CITY]. Read through a few articles and write down a few locations with cool backgrounds or the best views. Make sure you look those locations up on a map as well so you can plan them into your itinerary. Are they close to another sightseeing destination or restaurant? Then you can pop right over and grab a quick photo before or after.
FOLLOW ALONG ON PINTEREST FOR MORE FAMILY TRAVEL TIPS!
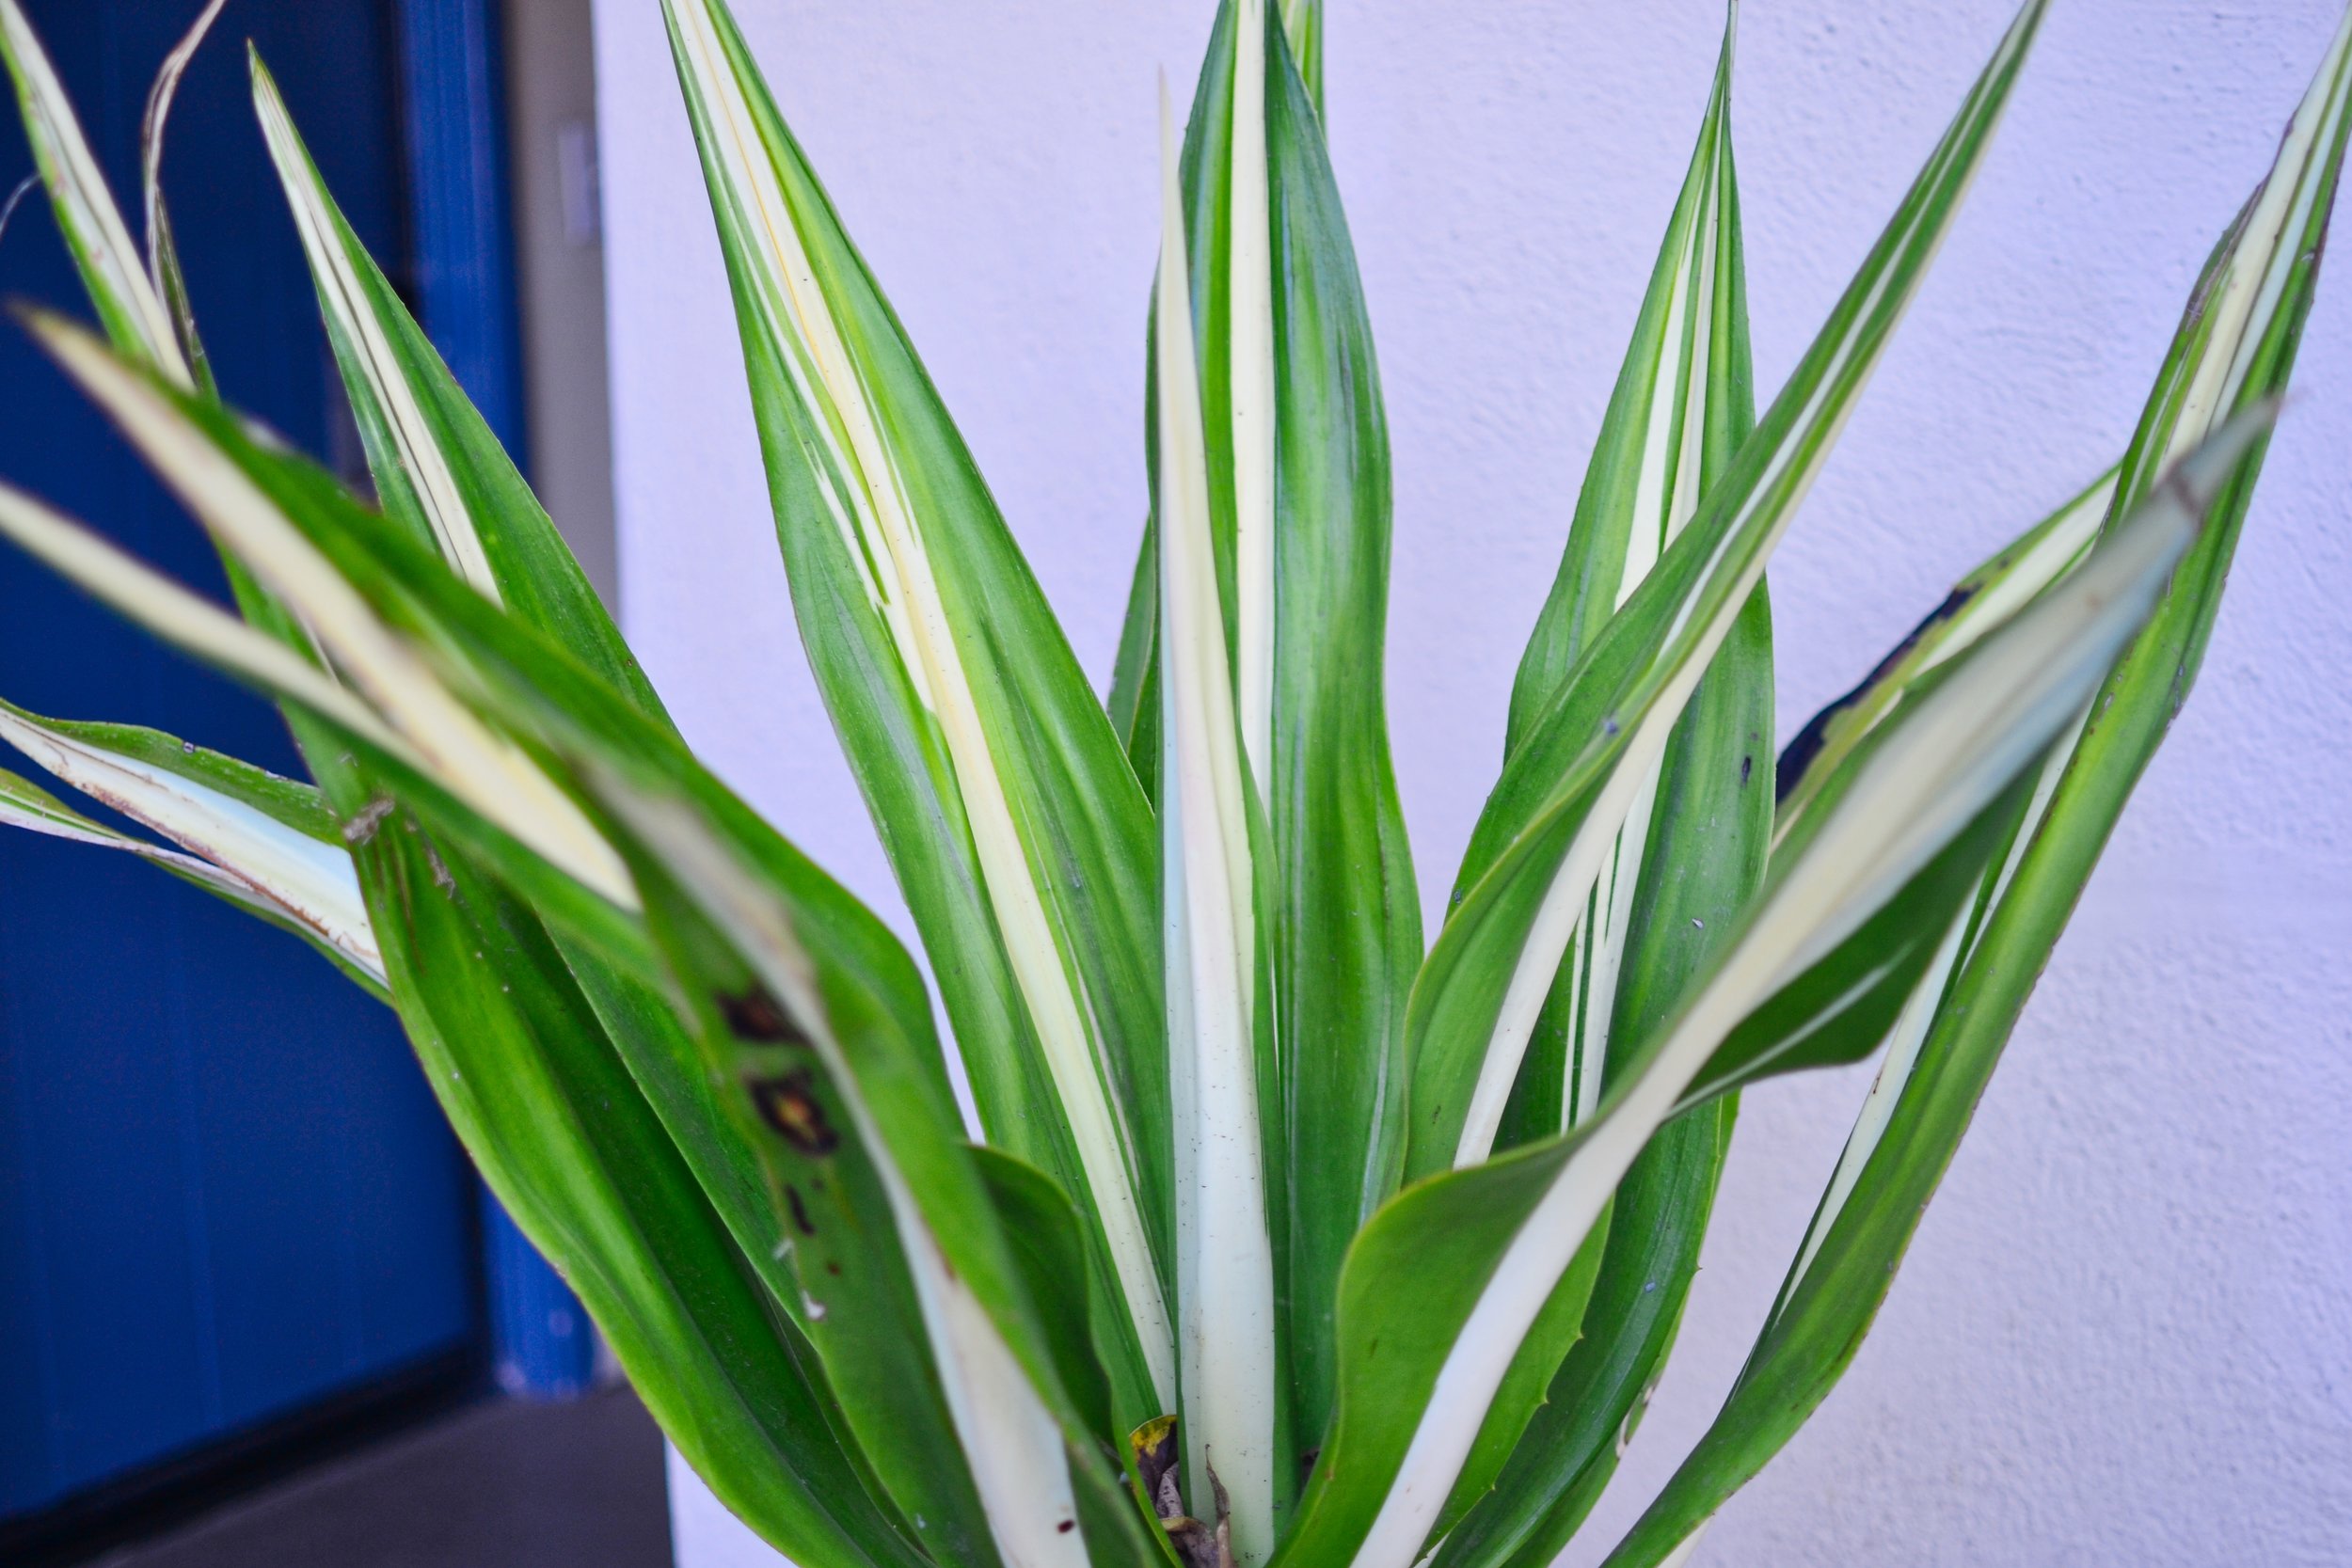
Using Pinterest to look up photo spots is how I discovered these gorgeous painted tile stairs in Santa Barbara. I never would have run across them otherwise, since they are behind a California Pizza Kitchen just off a one of the main streets in the downtown area. It did take an extra 10-15 minutes out of our day to find the stairs and get the photos, but to me, they were 100% worth it!


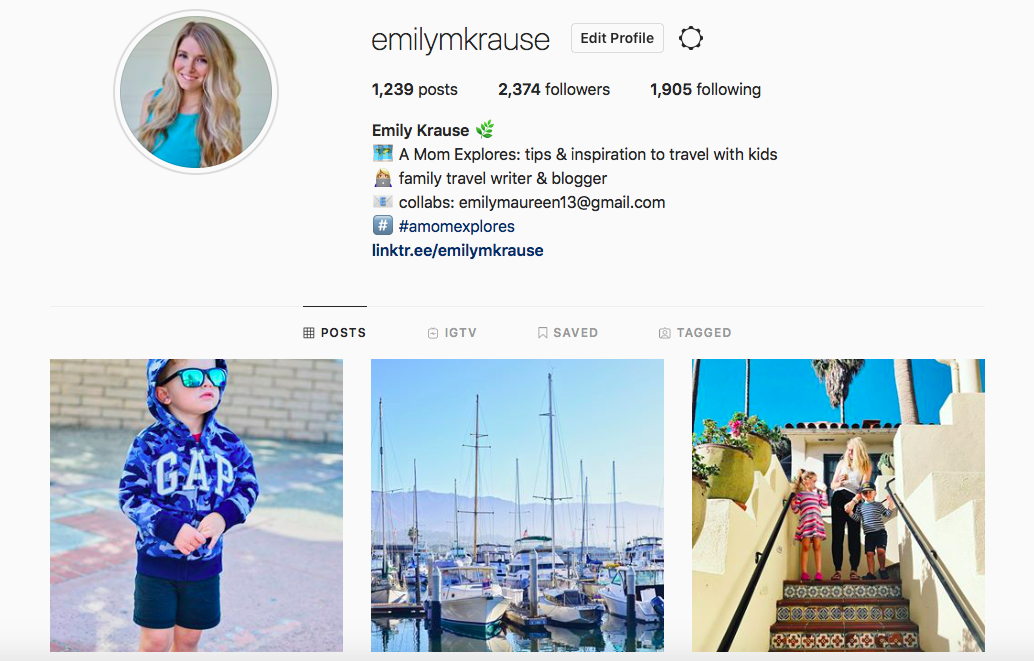
Step 2: Open Instagram and use the search function to look up your destination. Some options are to choose the “Places” tab under the search bar, or click on the hashtag used by the Visitor’s Bureau (#UnlockTampaBay or #SeeSB for example) to see where other visitors are taking photos.
COME SAY HI ON INSTAGRAM FOR LOTS OF FAMILY TRAVEL PHOTOS
COMMUNICATE WHAT PICTURES YOU WOULD LIKE WITH YOUR FAMILY
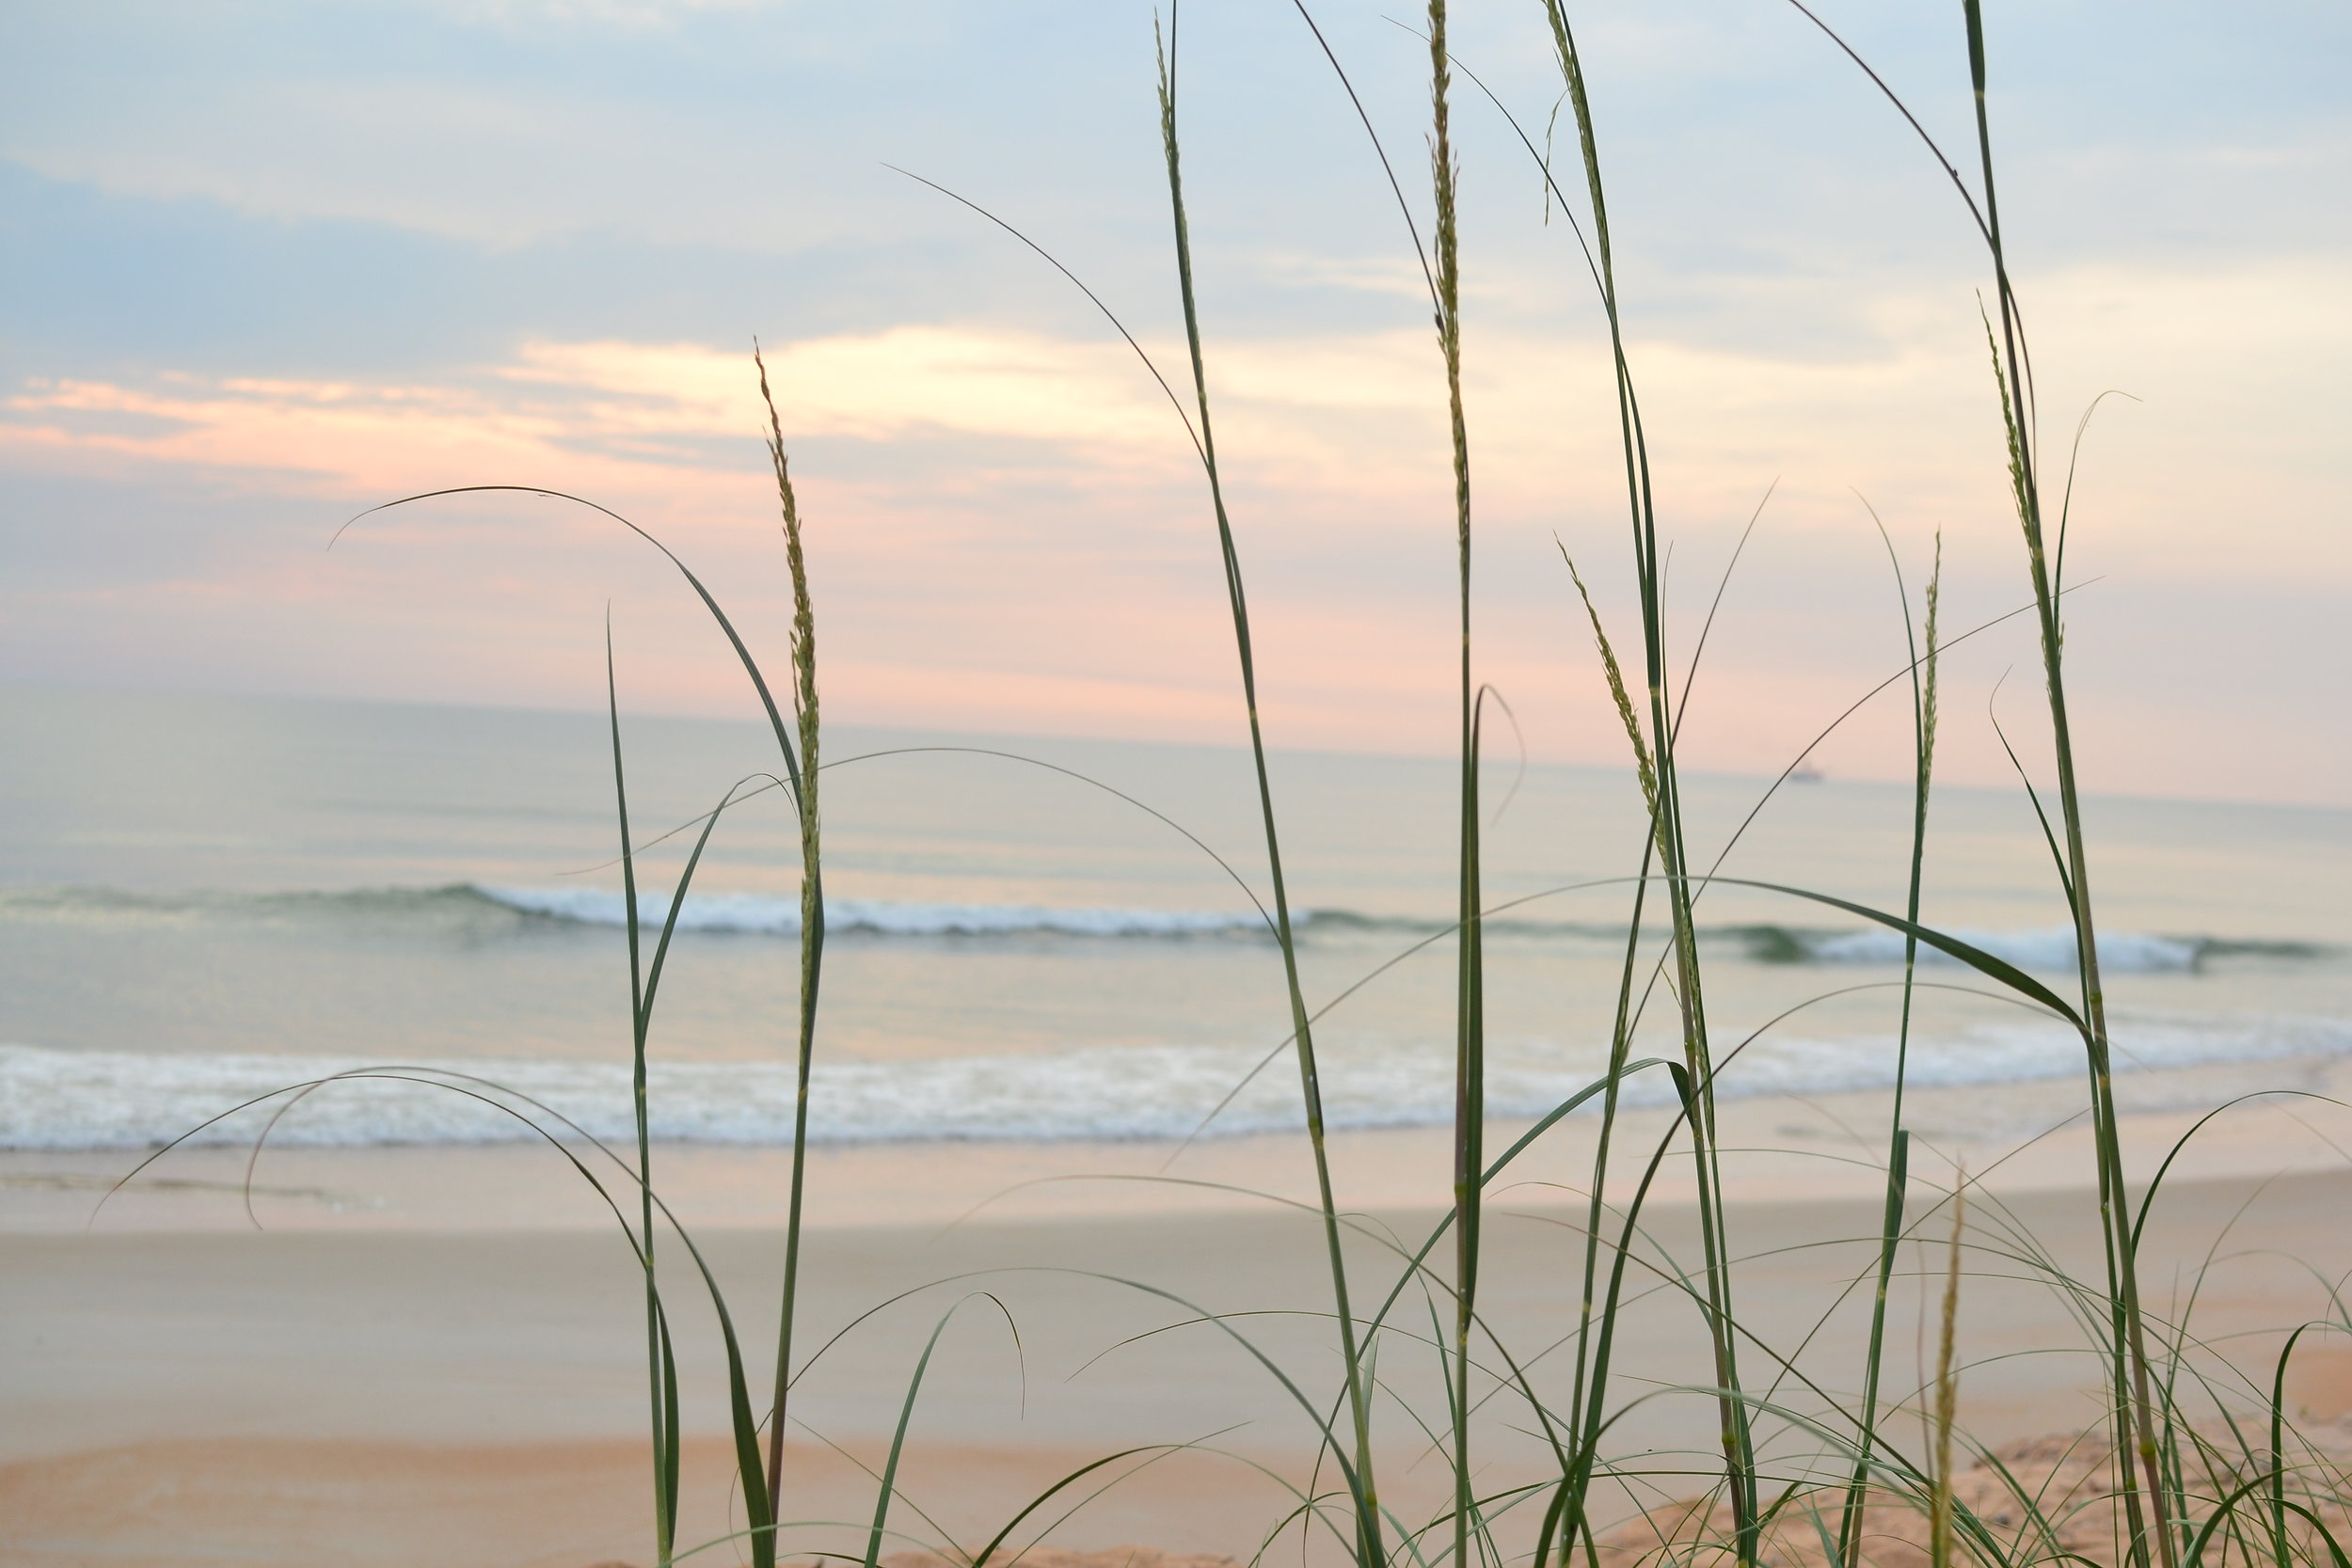
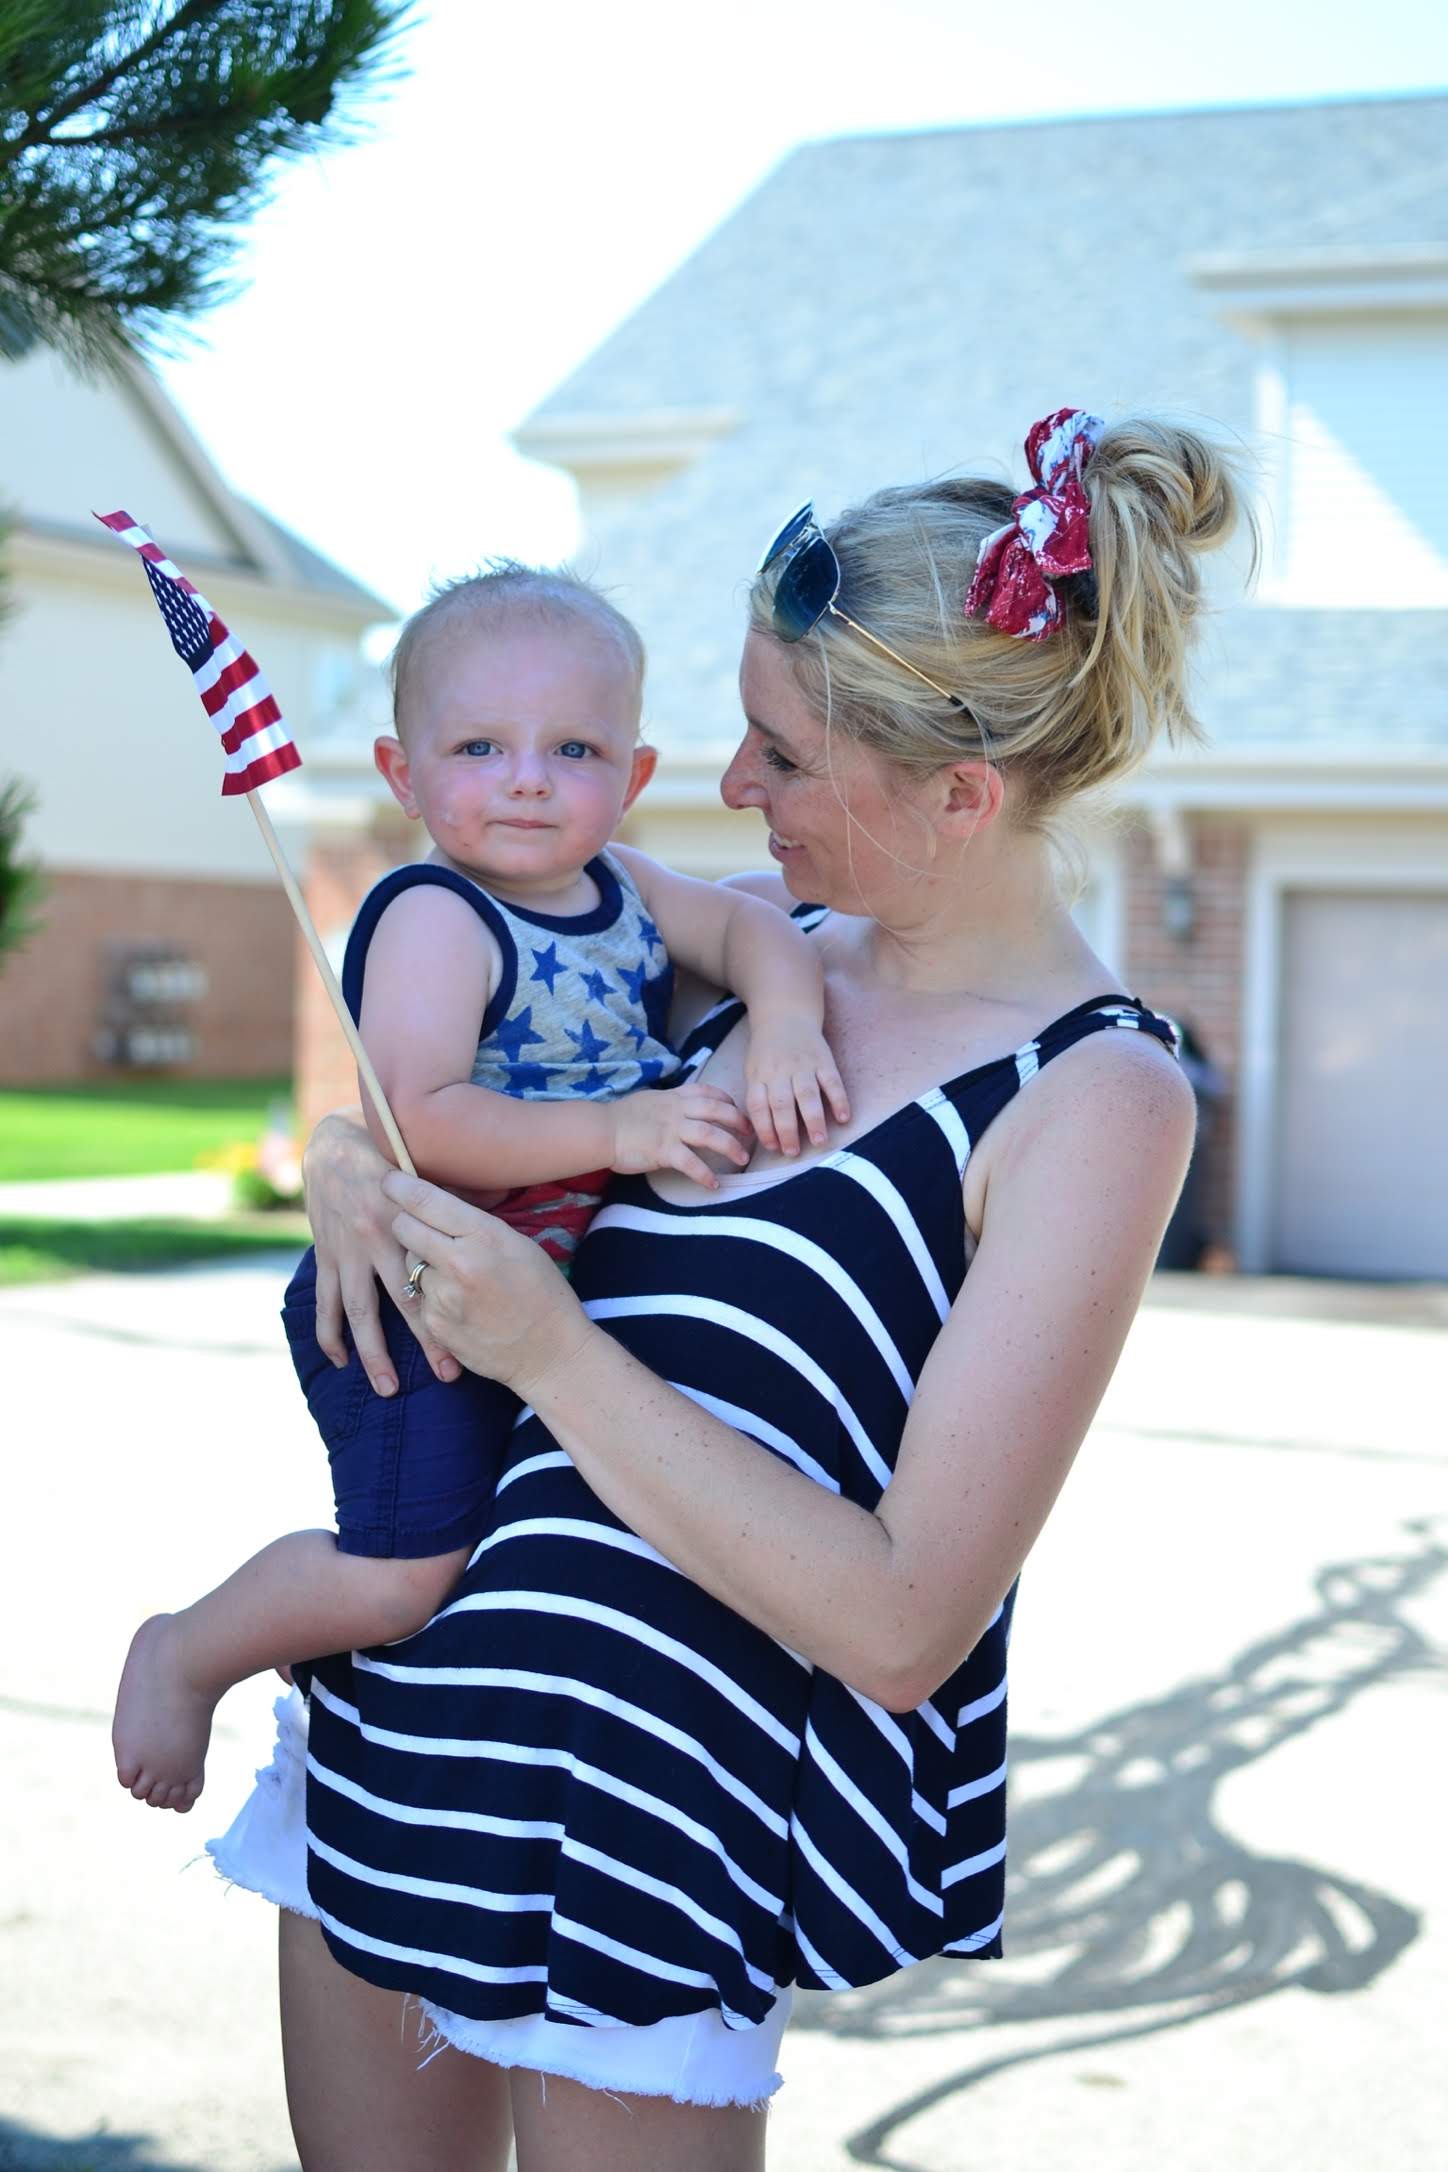
Let your spouse and kids (or whomever you are traveling with) know what specific pictures you would like to get while on your trip, and set time aside to capture those. Maybe you want to get photos on the beach at dawn or dusk, maybe you want jumping photos in front of the mountains, or maybe simply a picture of your whole family in front of the most famous landmark the city offers. Whatever it is, if your family knows ahead of time that you’re just asking them to pose for (or take) a few photos, then it’s time for fun, they’ll probably be much more willing to cooperate.
I’m not going to lie to you here. If you have really little kids, you might have to resort to bribery. Emergency lollipops or the promise of ice cream later might do the trick.

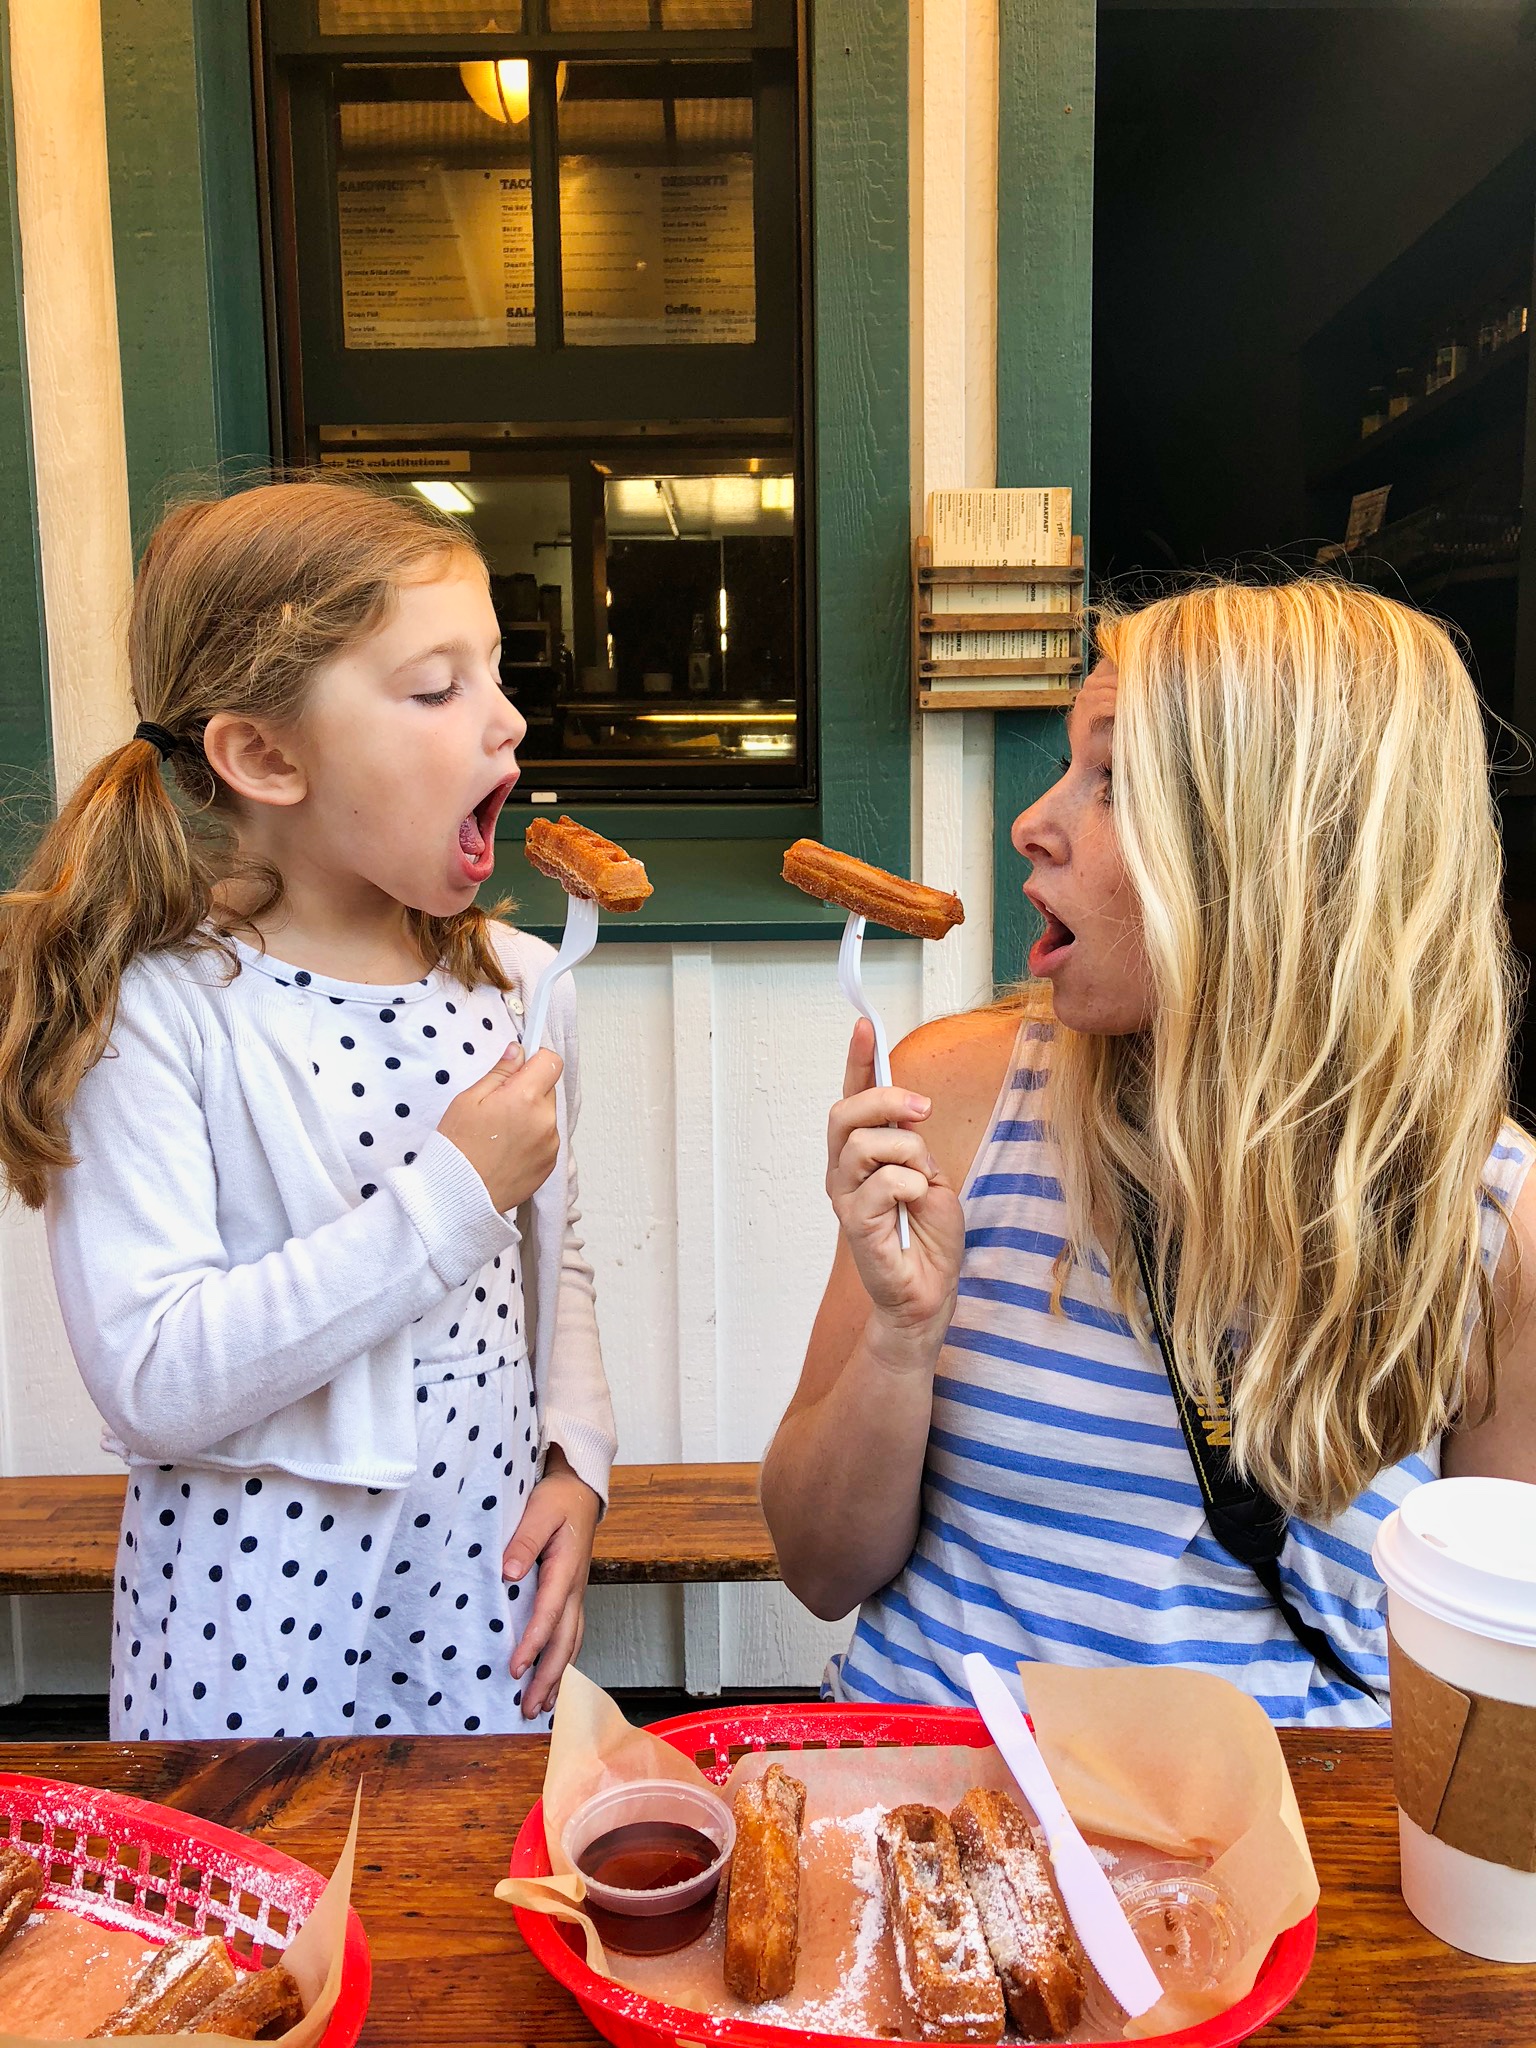
LEAVE ROOM FOR IN-THE-MOMENT PHOTOS
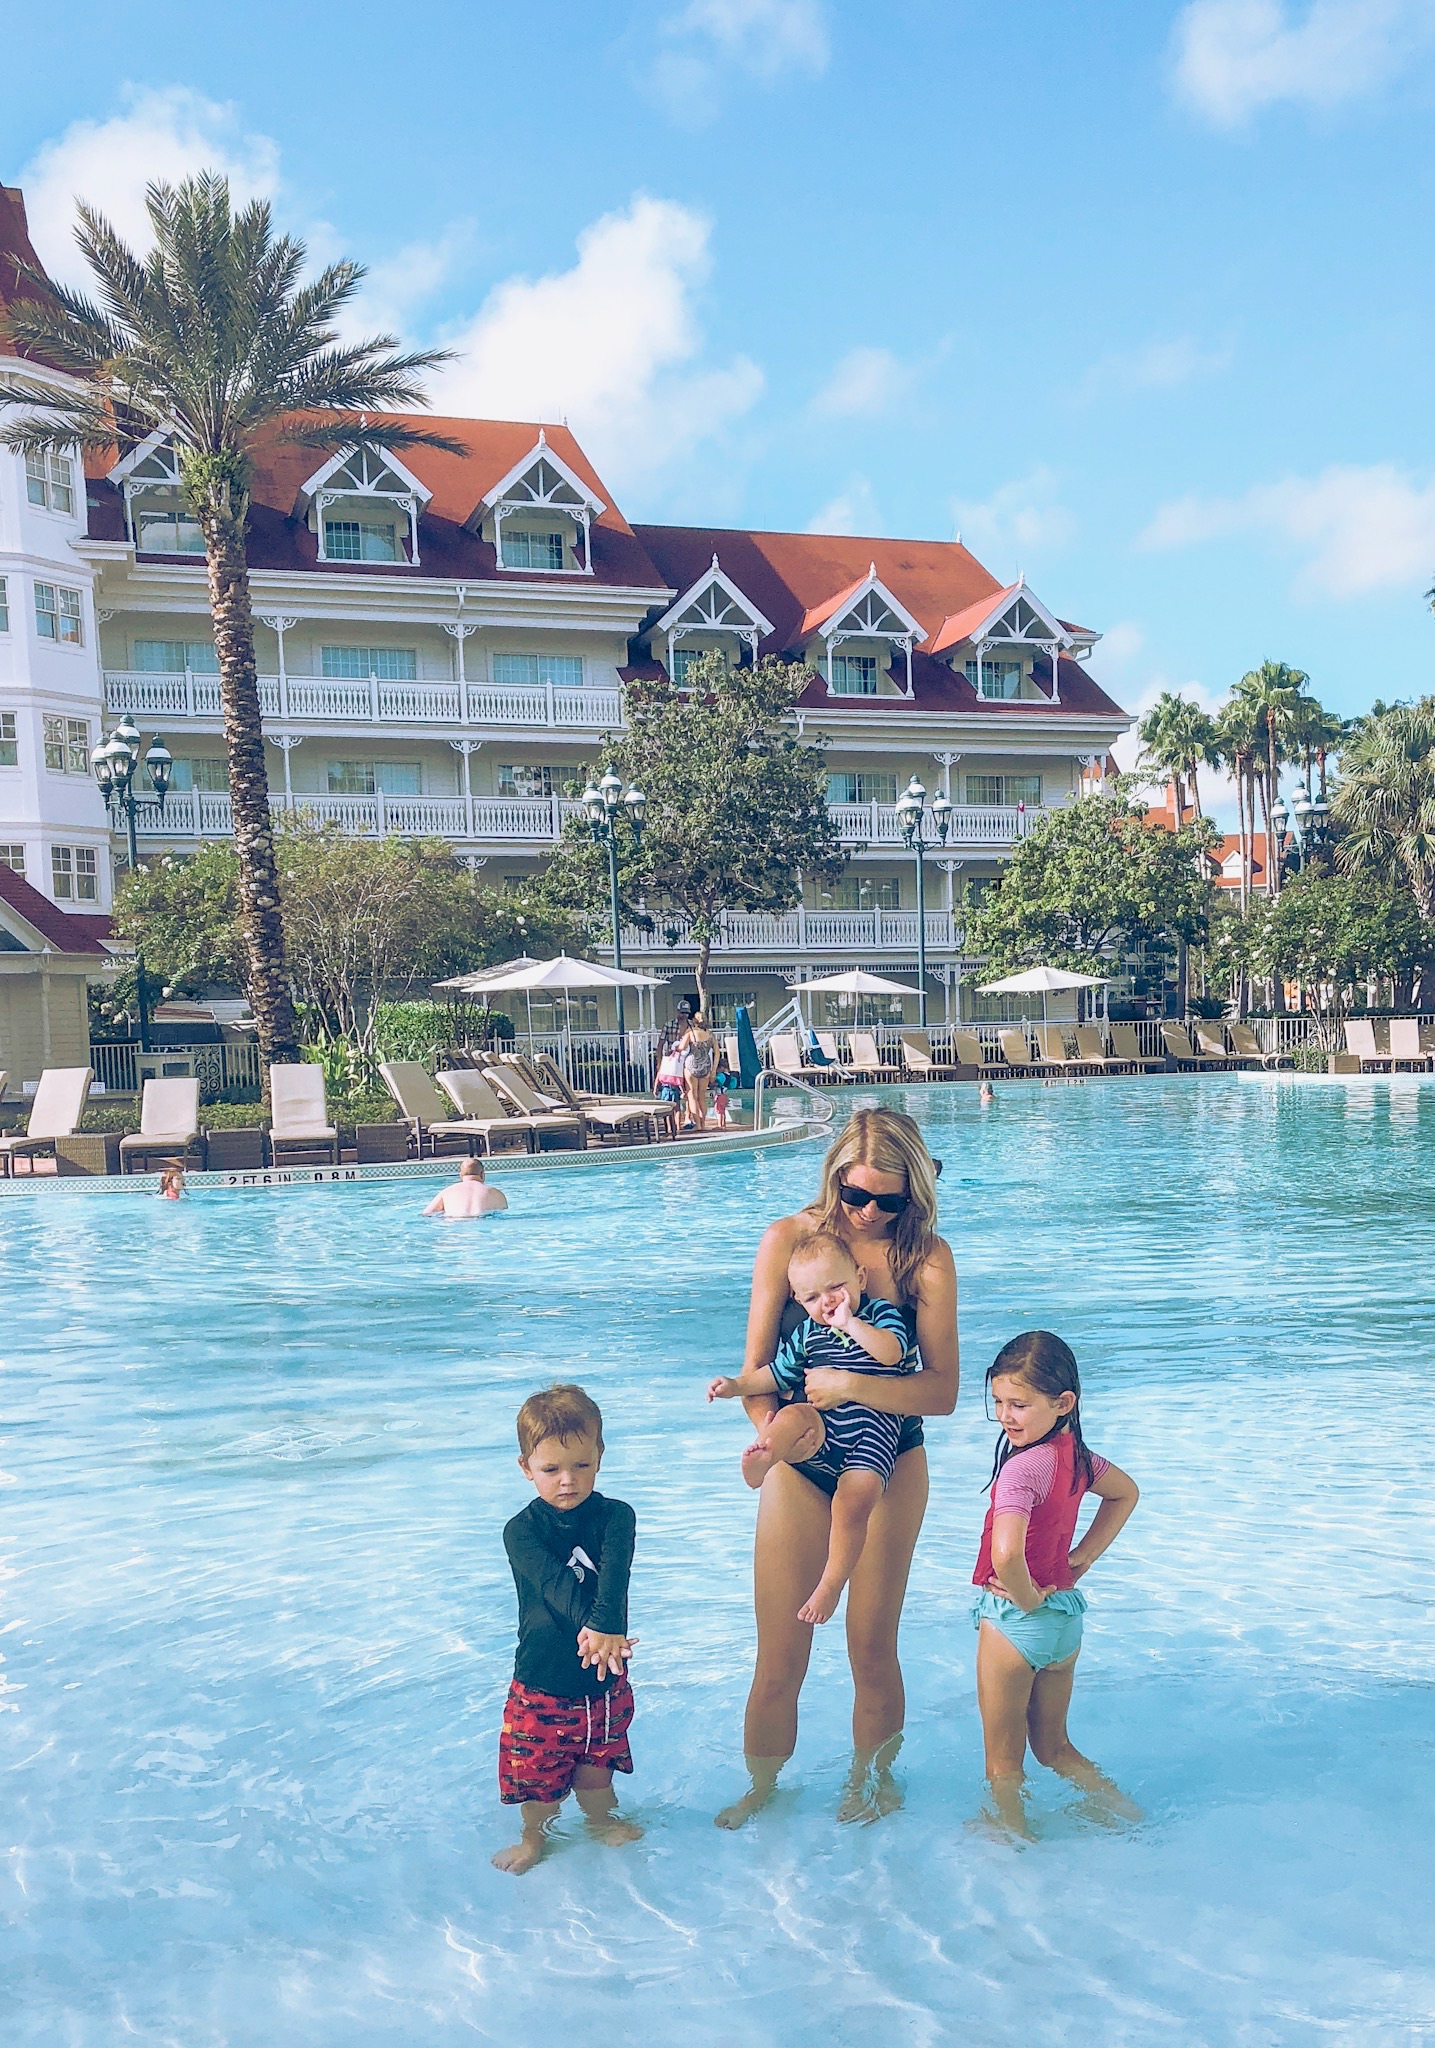
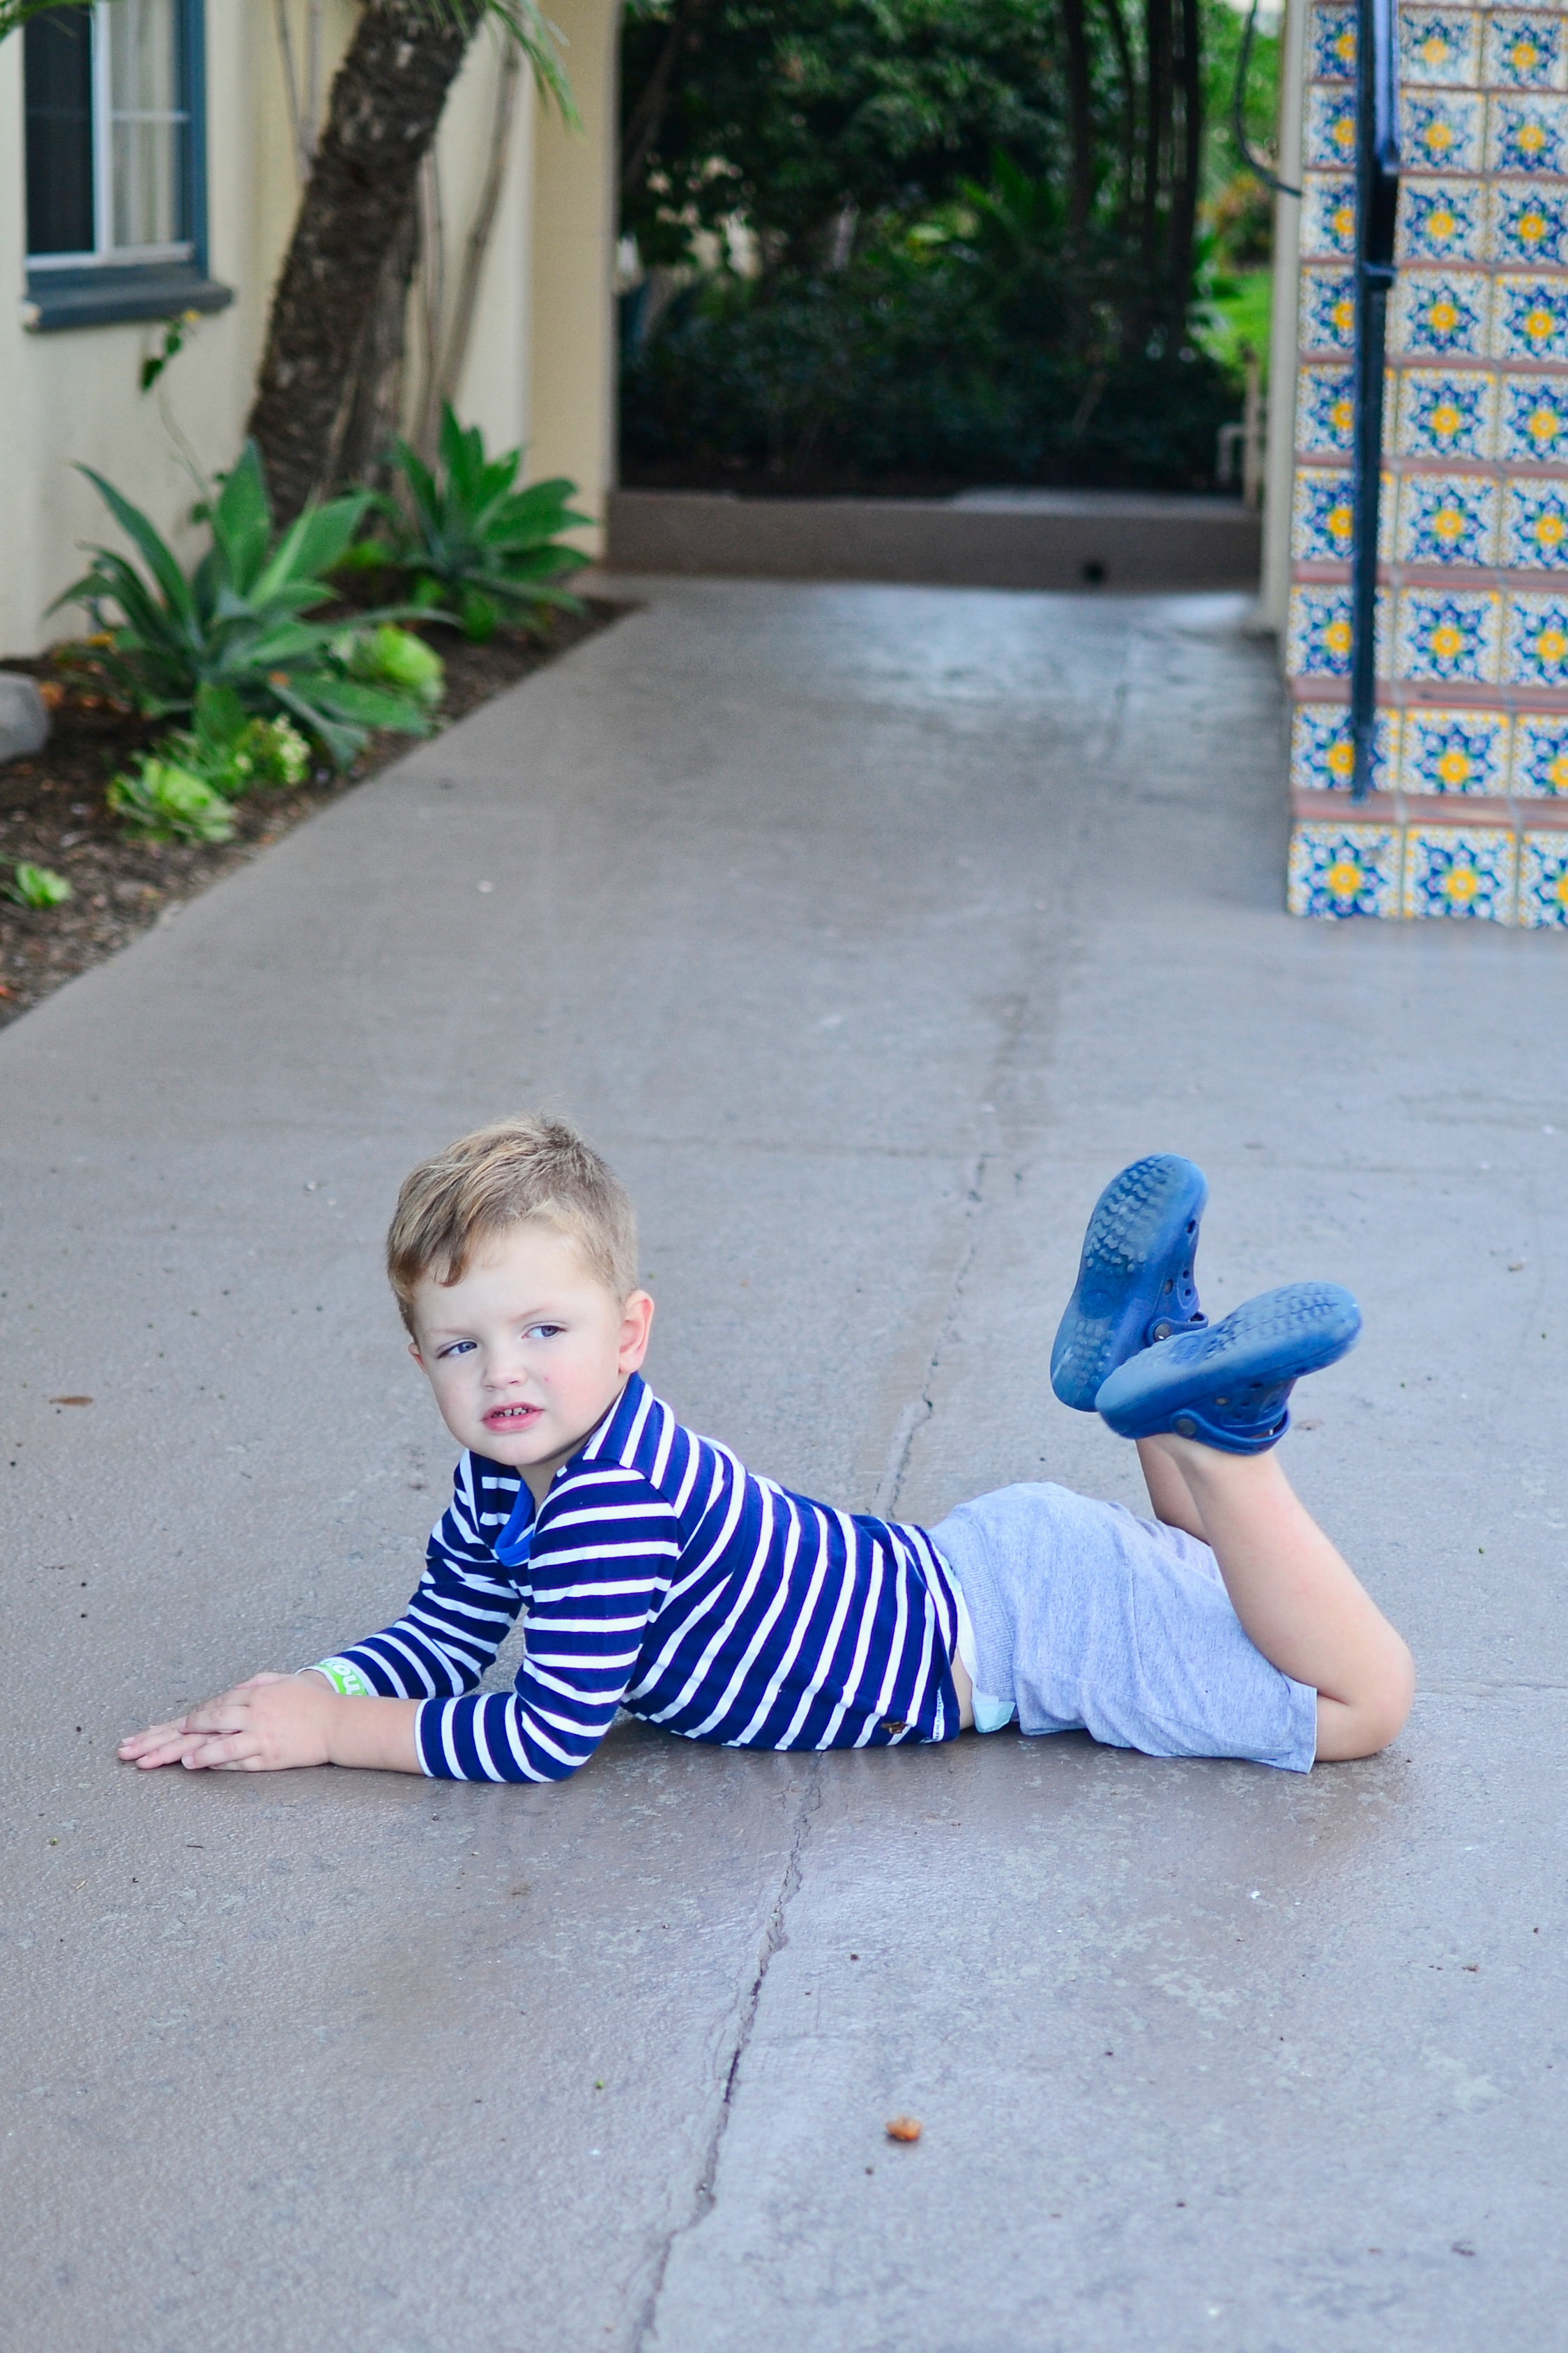
I try to experience the moment with my kids so I’m not always hiding behind my camera lens or iPhone, but I will say that if my kids are peering over a lookout point or doing something exceptionally cute, I’ll almost always whip out my camera or phone.
Candid photos often end up being my favorite because everyone is relaxed and enjoying the moment. Just make sure to take a BUNCH of candids at a time, because chances are someone is making a weird face since they’re not posing.

DON’T BE SHY ABOUT TAKING PHOTOS
One of the things that has made the biggest difference in my travel photography is that I’ve stopped caring what other people think.
I used to be afraid that others would be annoyed at me for clicking away, which meant I would either miss the moment, or only take one quick and poorly set up photo just to get it over with.
I was never happy with my photos, and would walk away from the trip feeling disappointed that I didn’t capture the memories I wanted.
That happened one too many times, and I finally decided to be bold about taking photos. I’m not afraid to direct my family and friends about where to stand, or ask them to take a few more if I’m not satisfied with the ones I have.
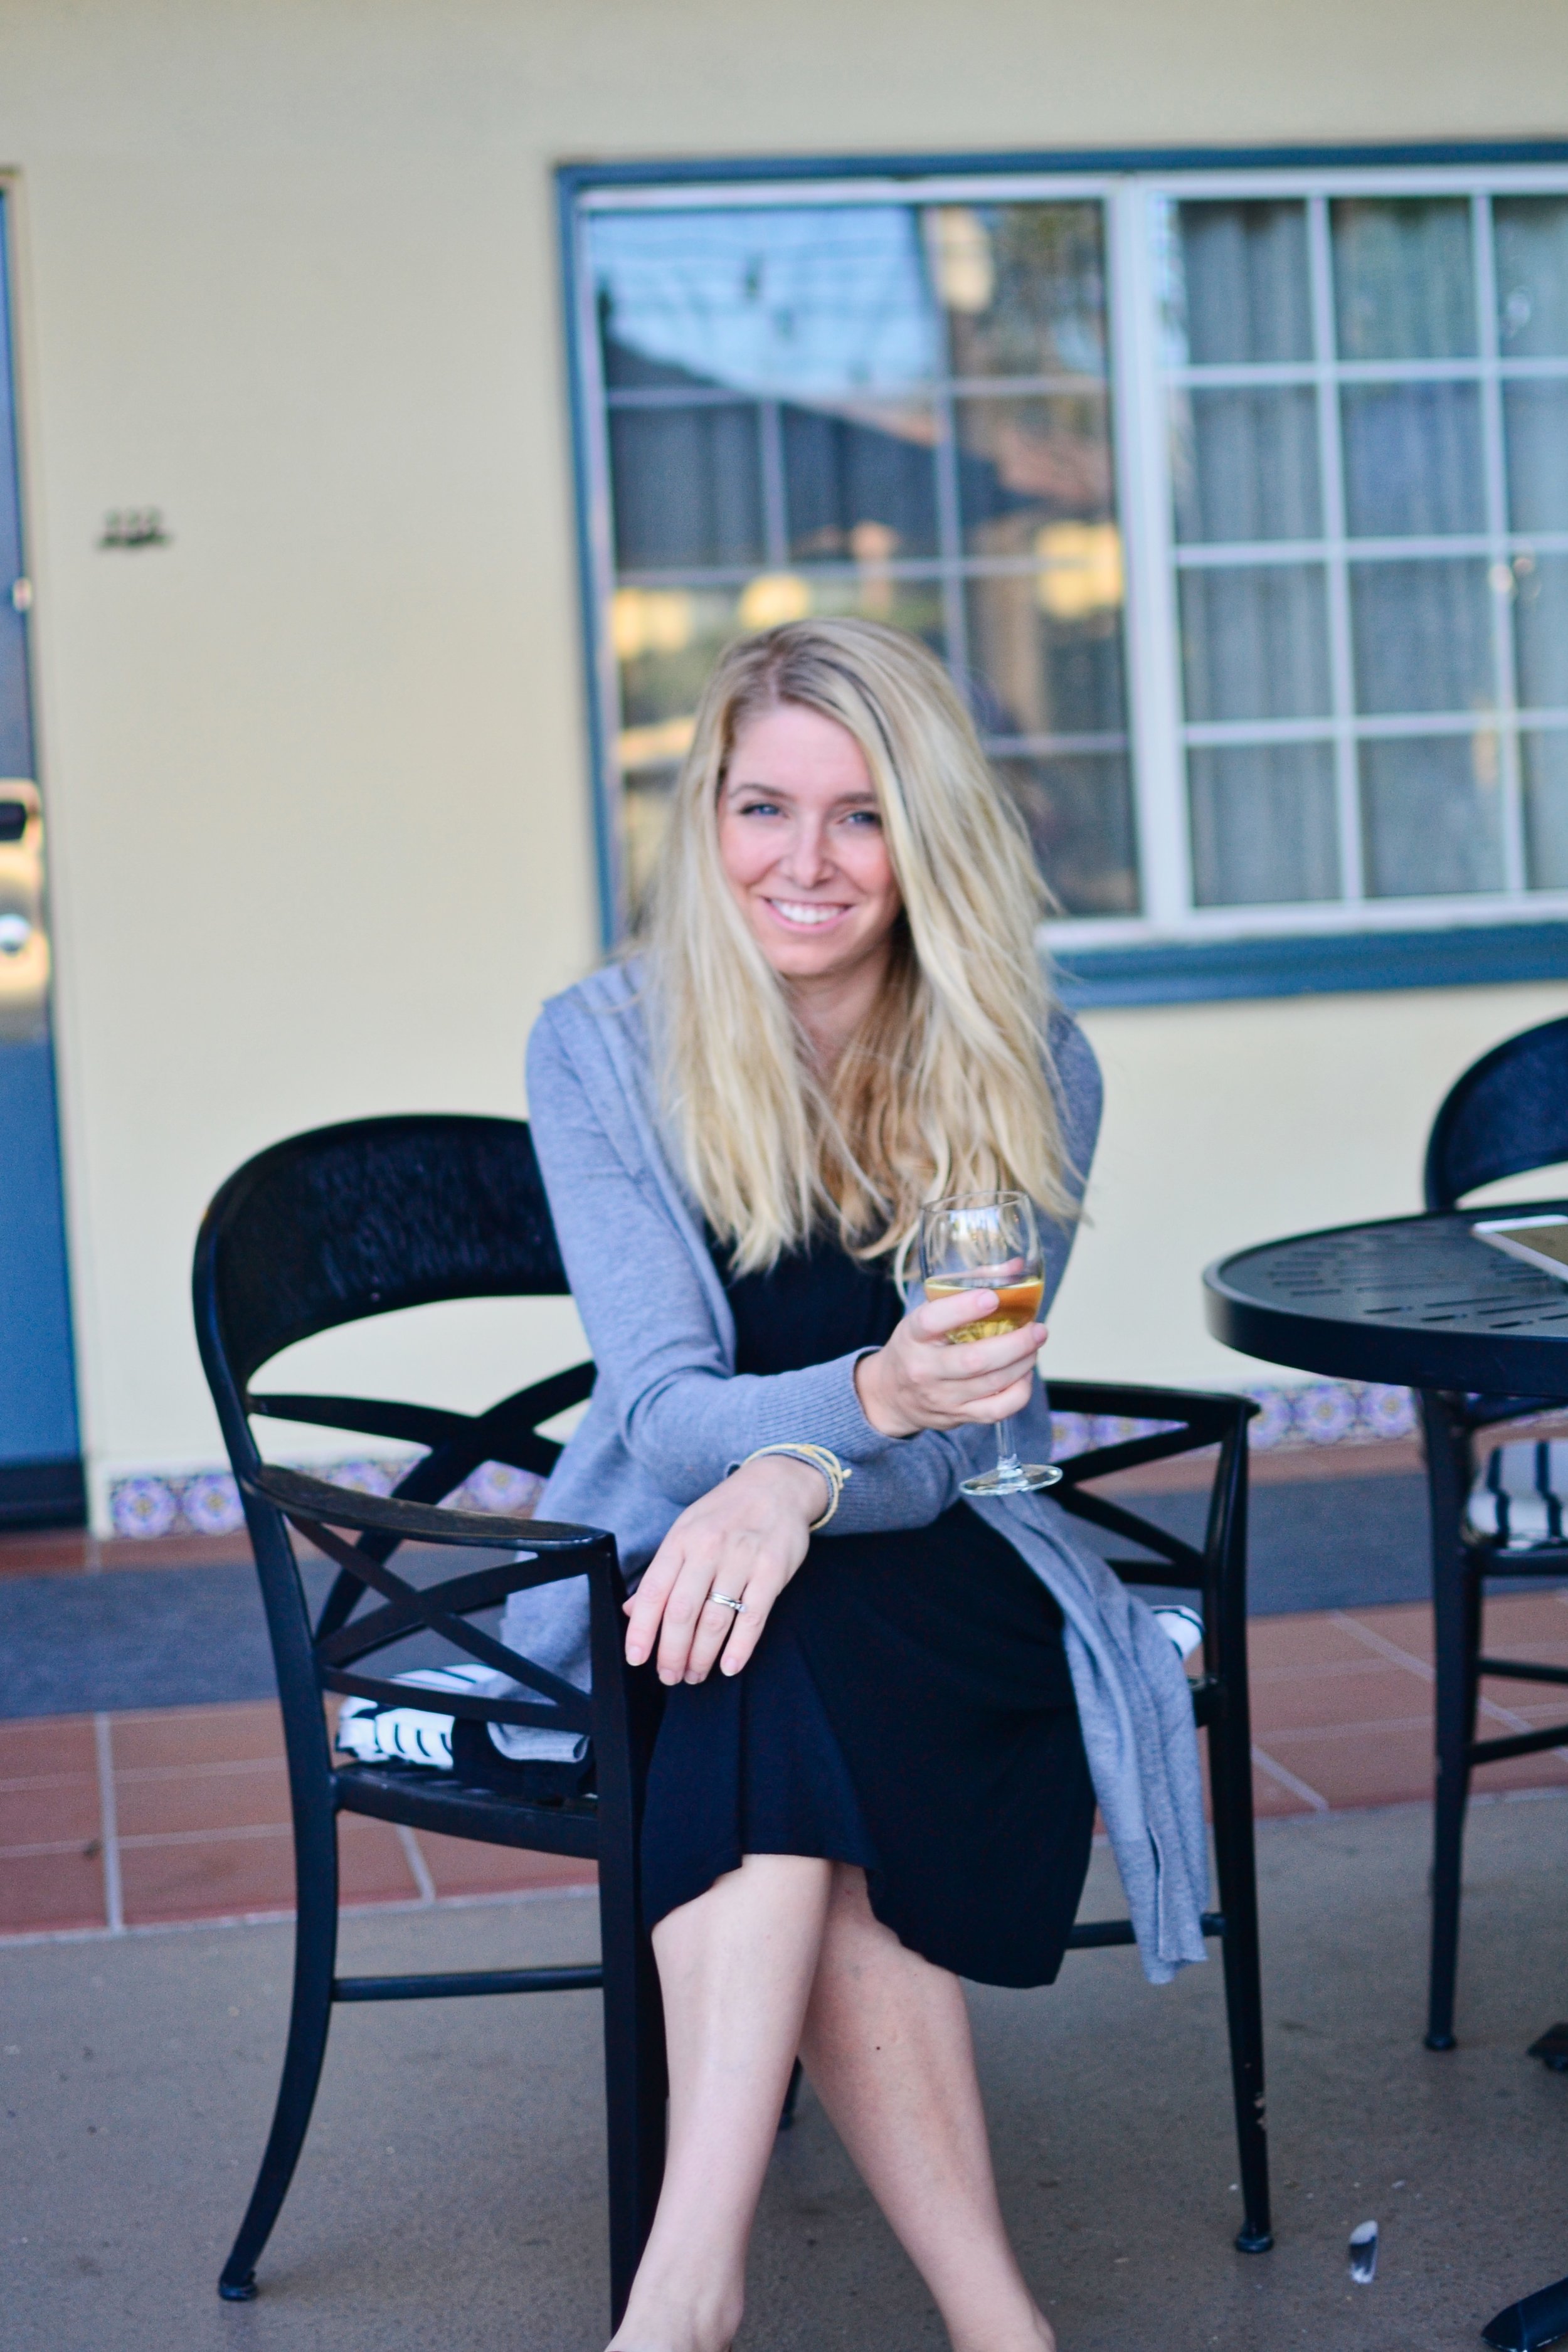
I’m no longer shy about taking a moment to frame a shot before I eat or enjoy a tourist activity. I let people know which photos I’m looking for, and take my time getting them.
Then once I’m satisfied with my photos, I can set my camera aside and be in the moment. Often it only takes a few extra minutes and people are happy to help or wait.
GET A MIX OF PEOPLE AND B-ROLL
Obviously, the stars of most of my personal travel photos are my kids or family members. I think photos are so much more interesting when there are people to give it a story or provide scale.
However, there is also a time and a place for what I call my “B-Roll” photos. This means photos of landmarks, landscapes, buildings, meals, maps, brochures with scenery in the background, trolleys, airplane wings, coffee cups, etc. Basically any photos that help tell the story of your trip.
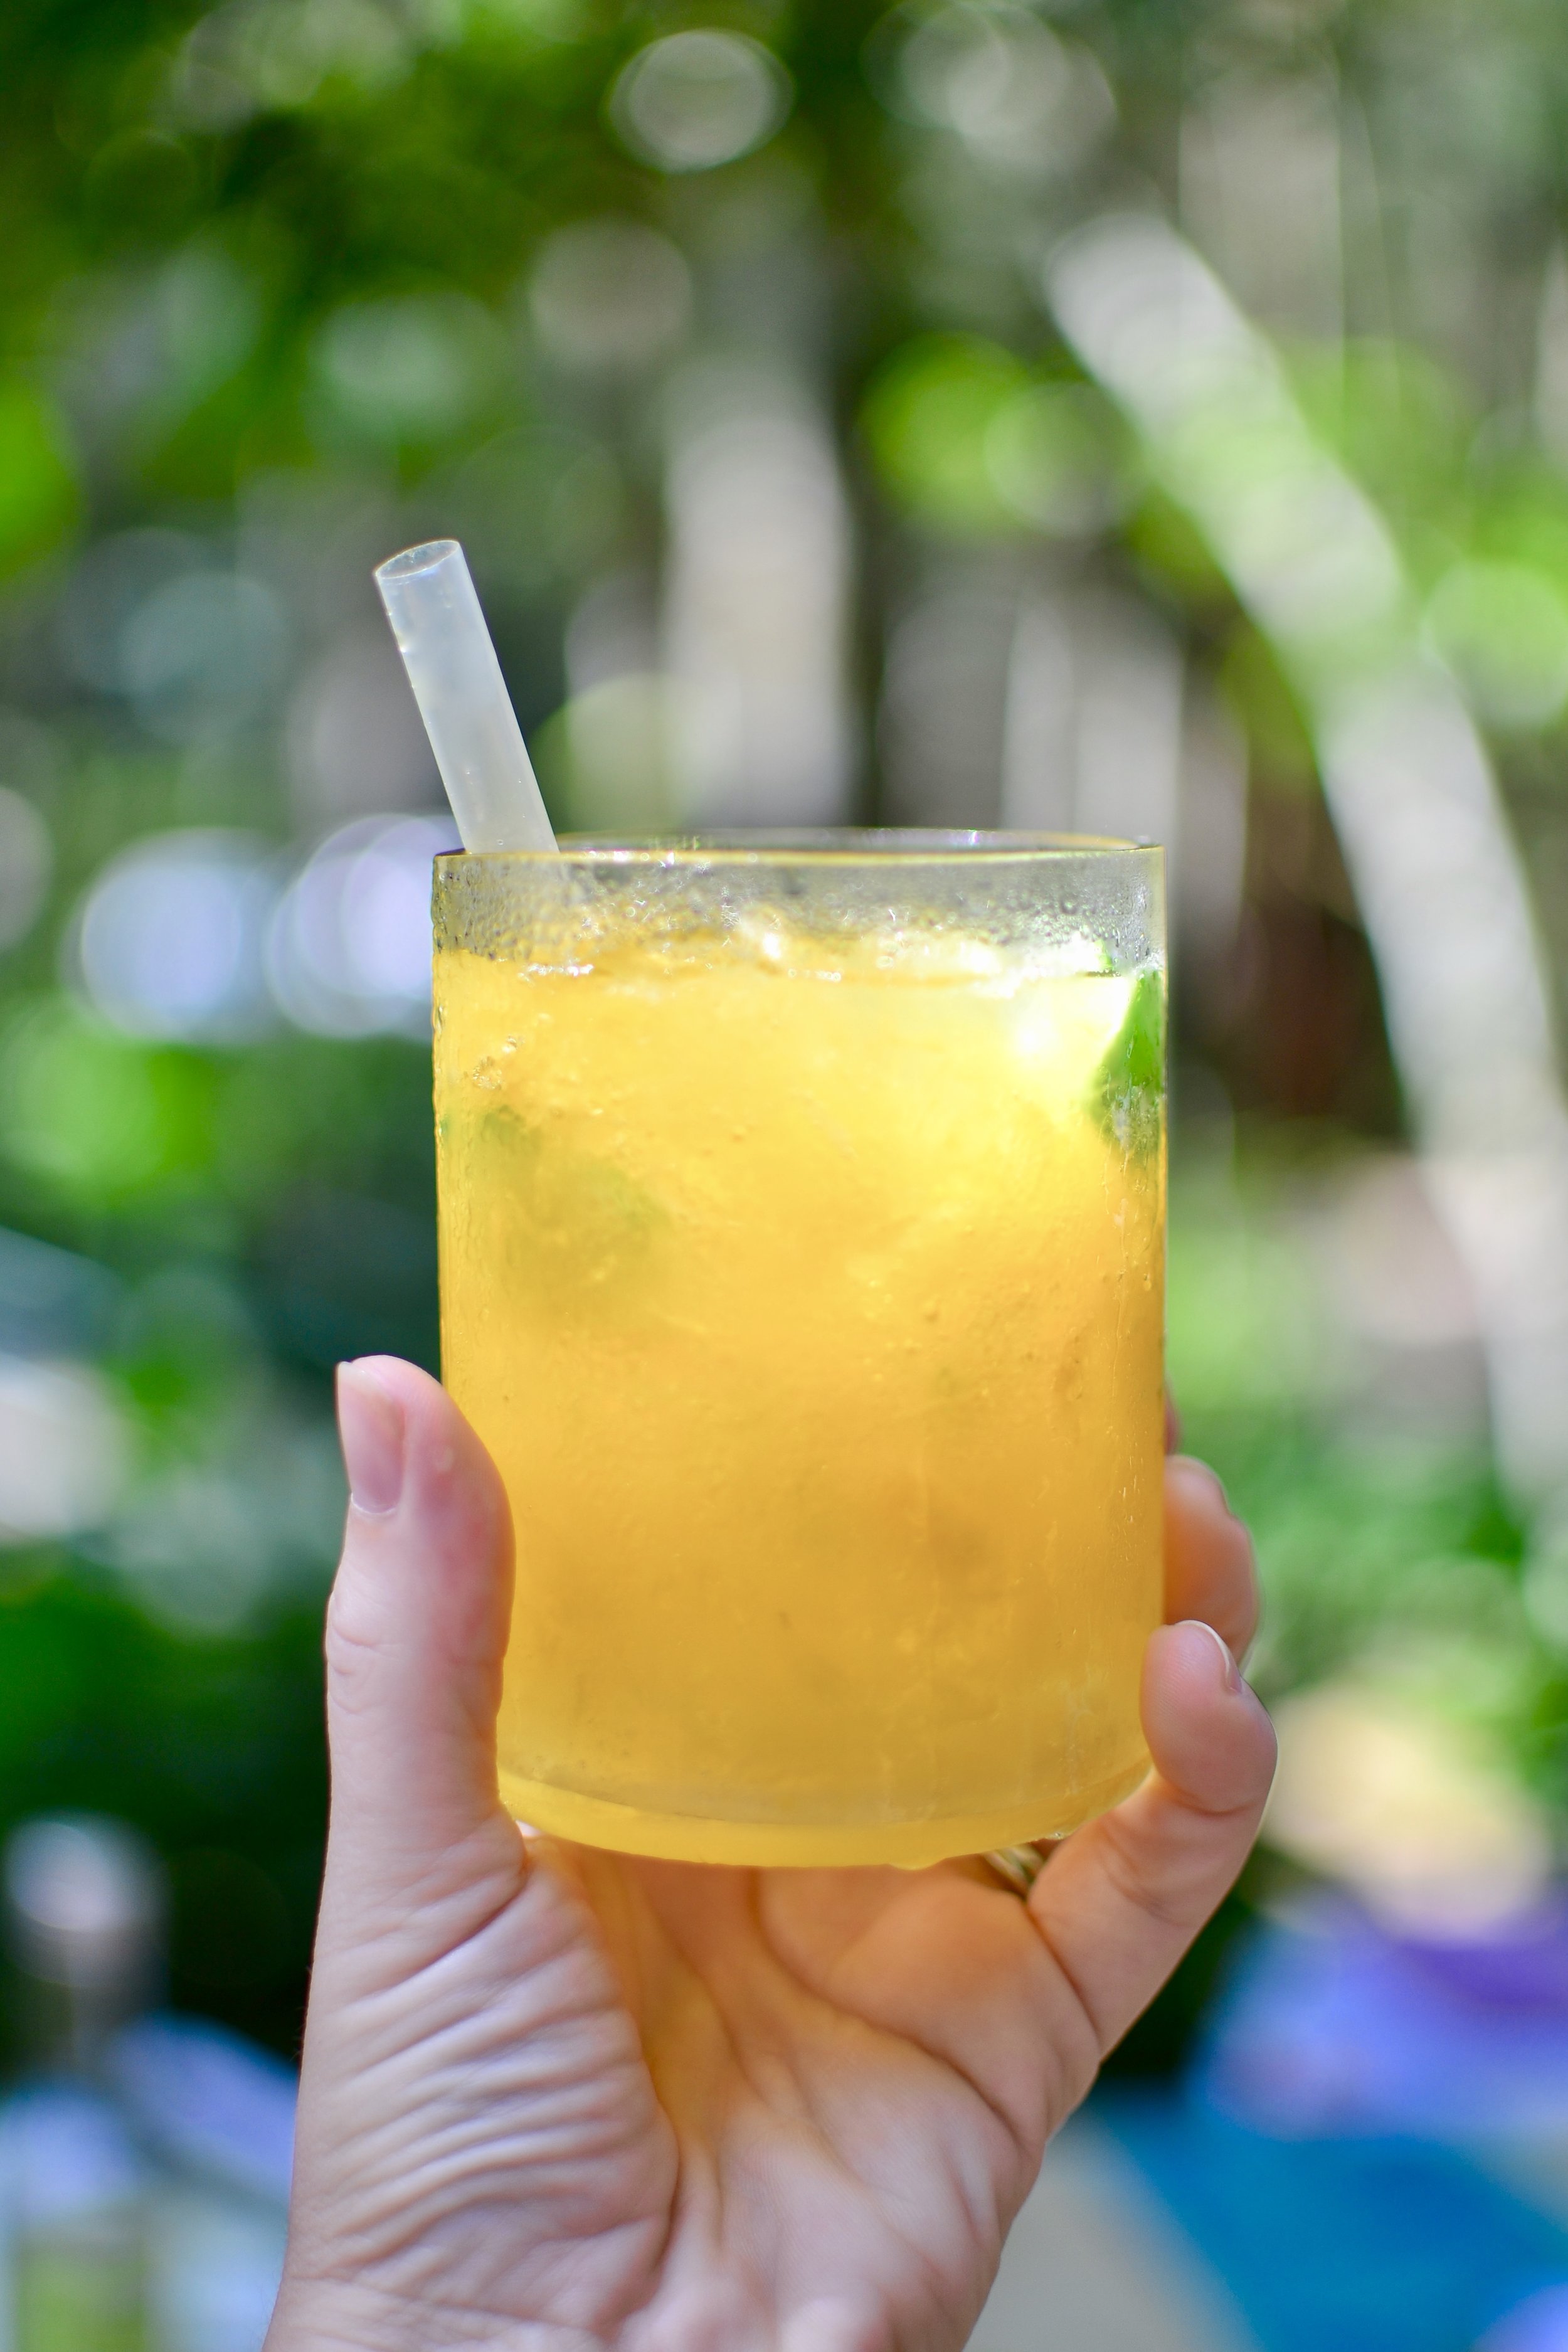
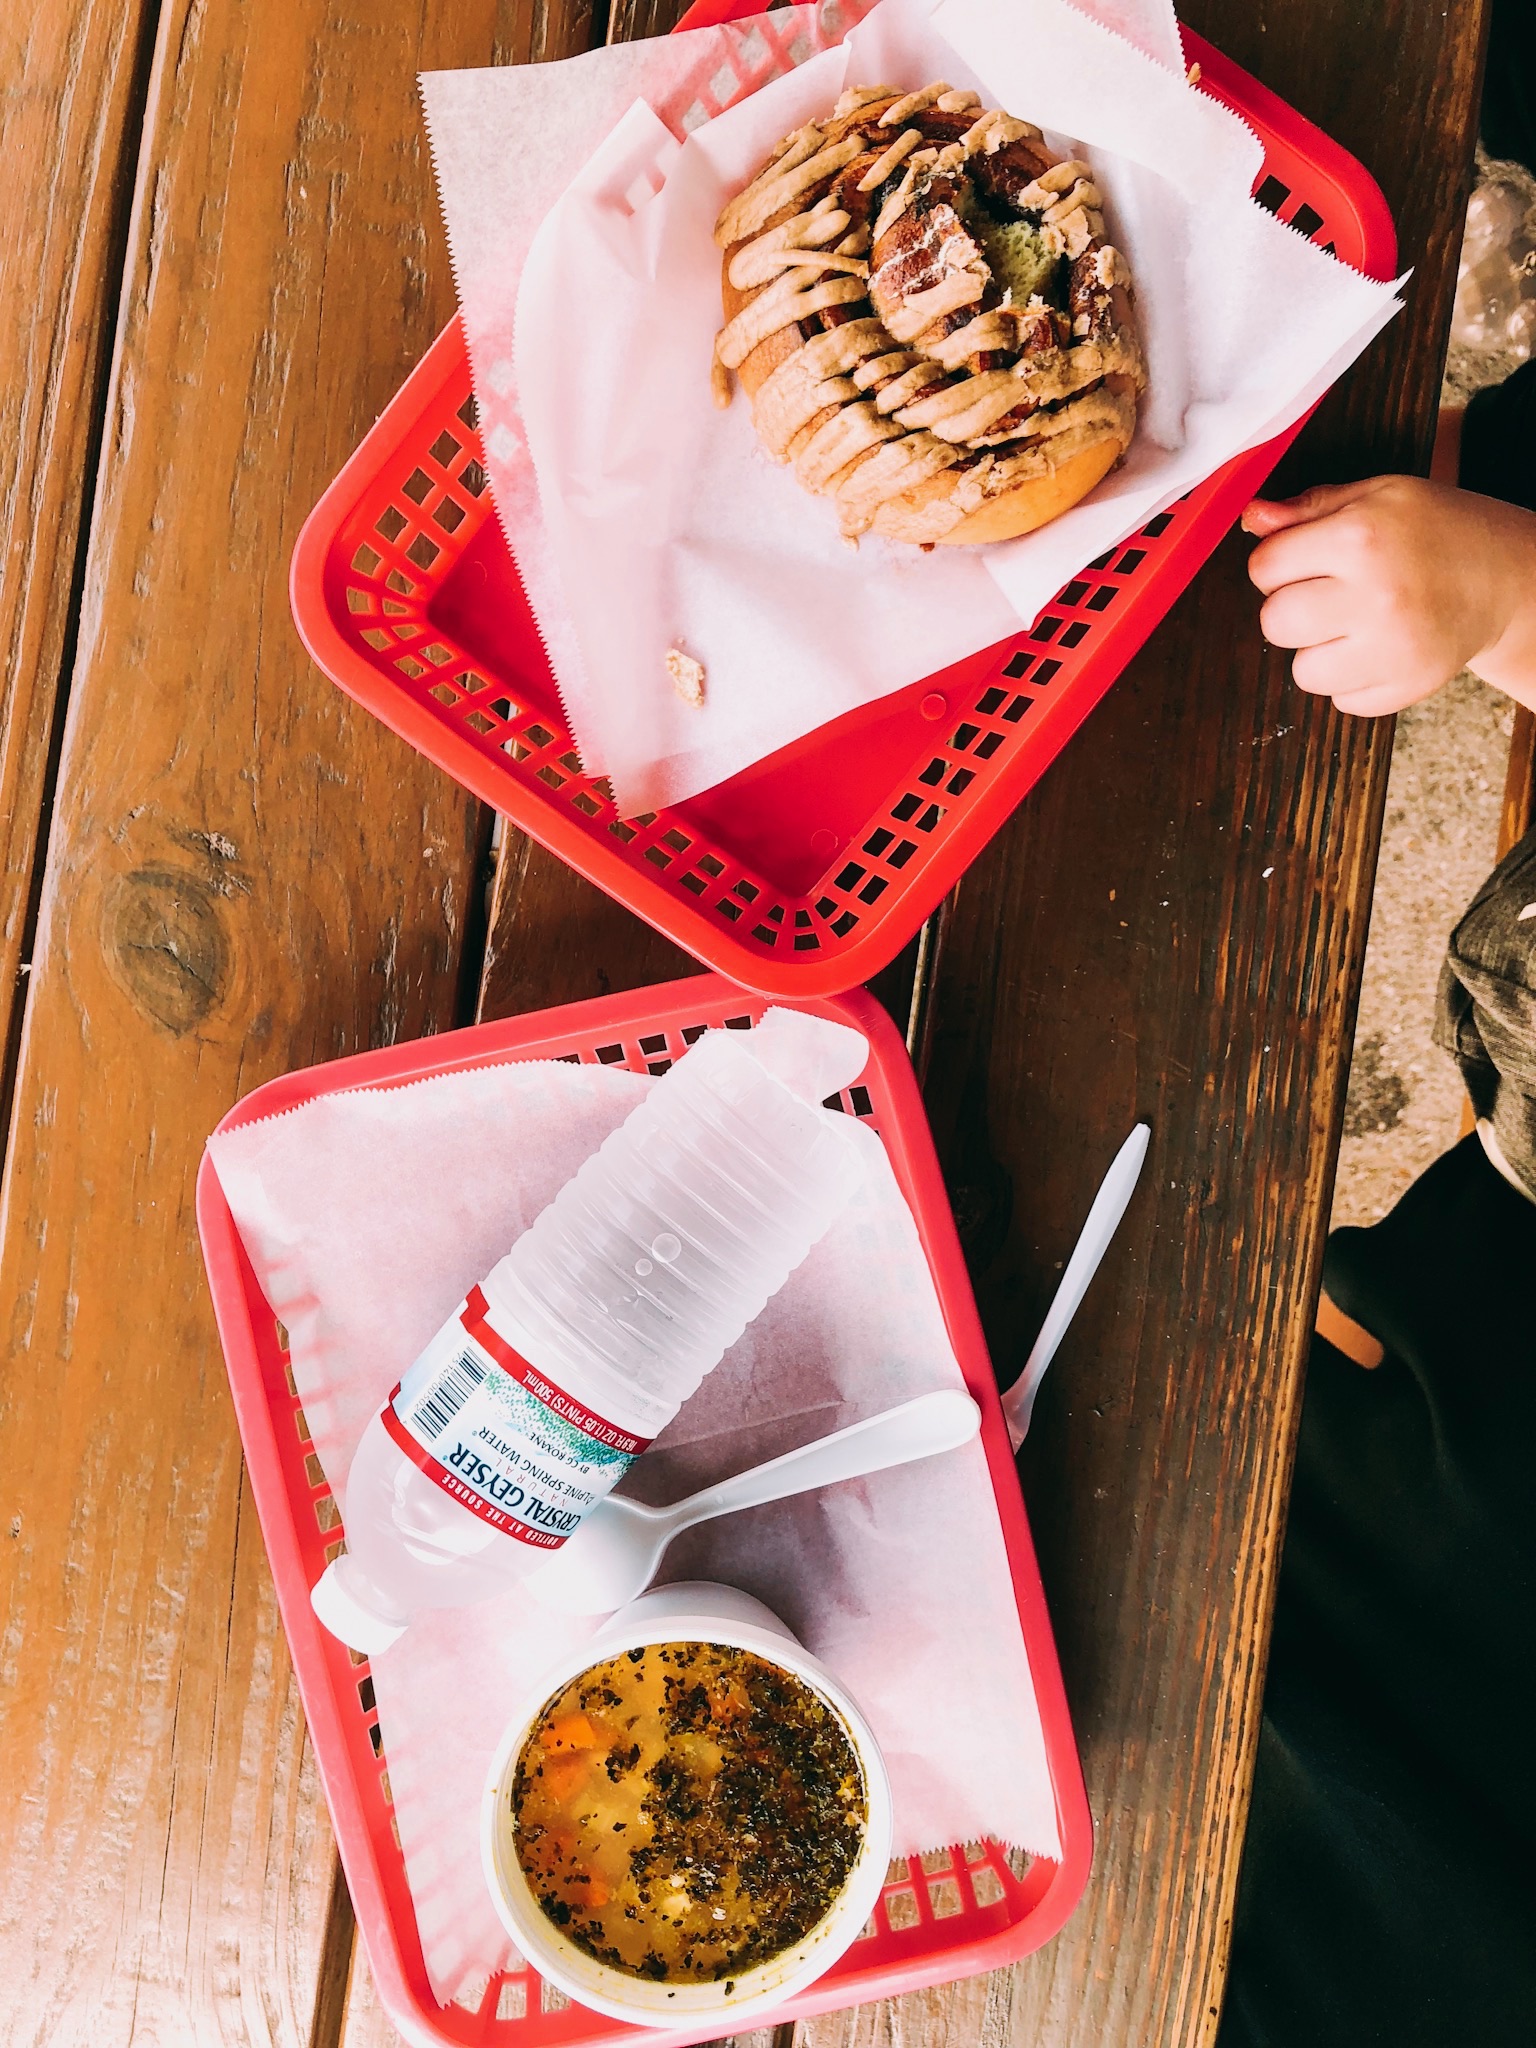
Even if you’re not a travel blogger, these photos can be used anywhere to share the story of your trip. Create a Facebook album and caption each photo with a memory. Create a Shutterfly photo book to remember your trip. Do an Instagram Story Highlight archive of your trip. Each of these B-roll photos evoke certain memories of your trip. Where did you stay? Where did you eat? What was your favorite coffee shop? How was the view?

TECHNICAL TIPS
Let me remind you once more that I am not a professional photographer. These are tips I’ve picked up from a photography class I took or from online articles/classes.
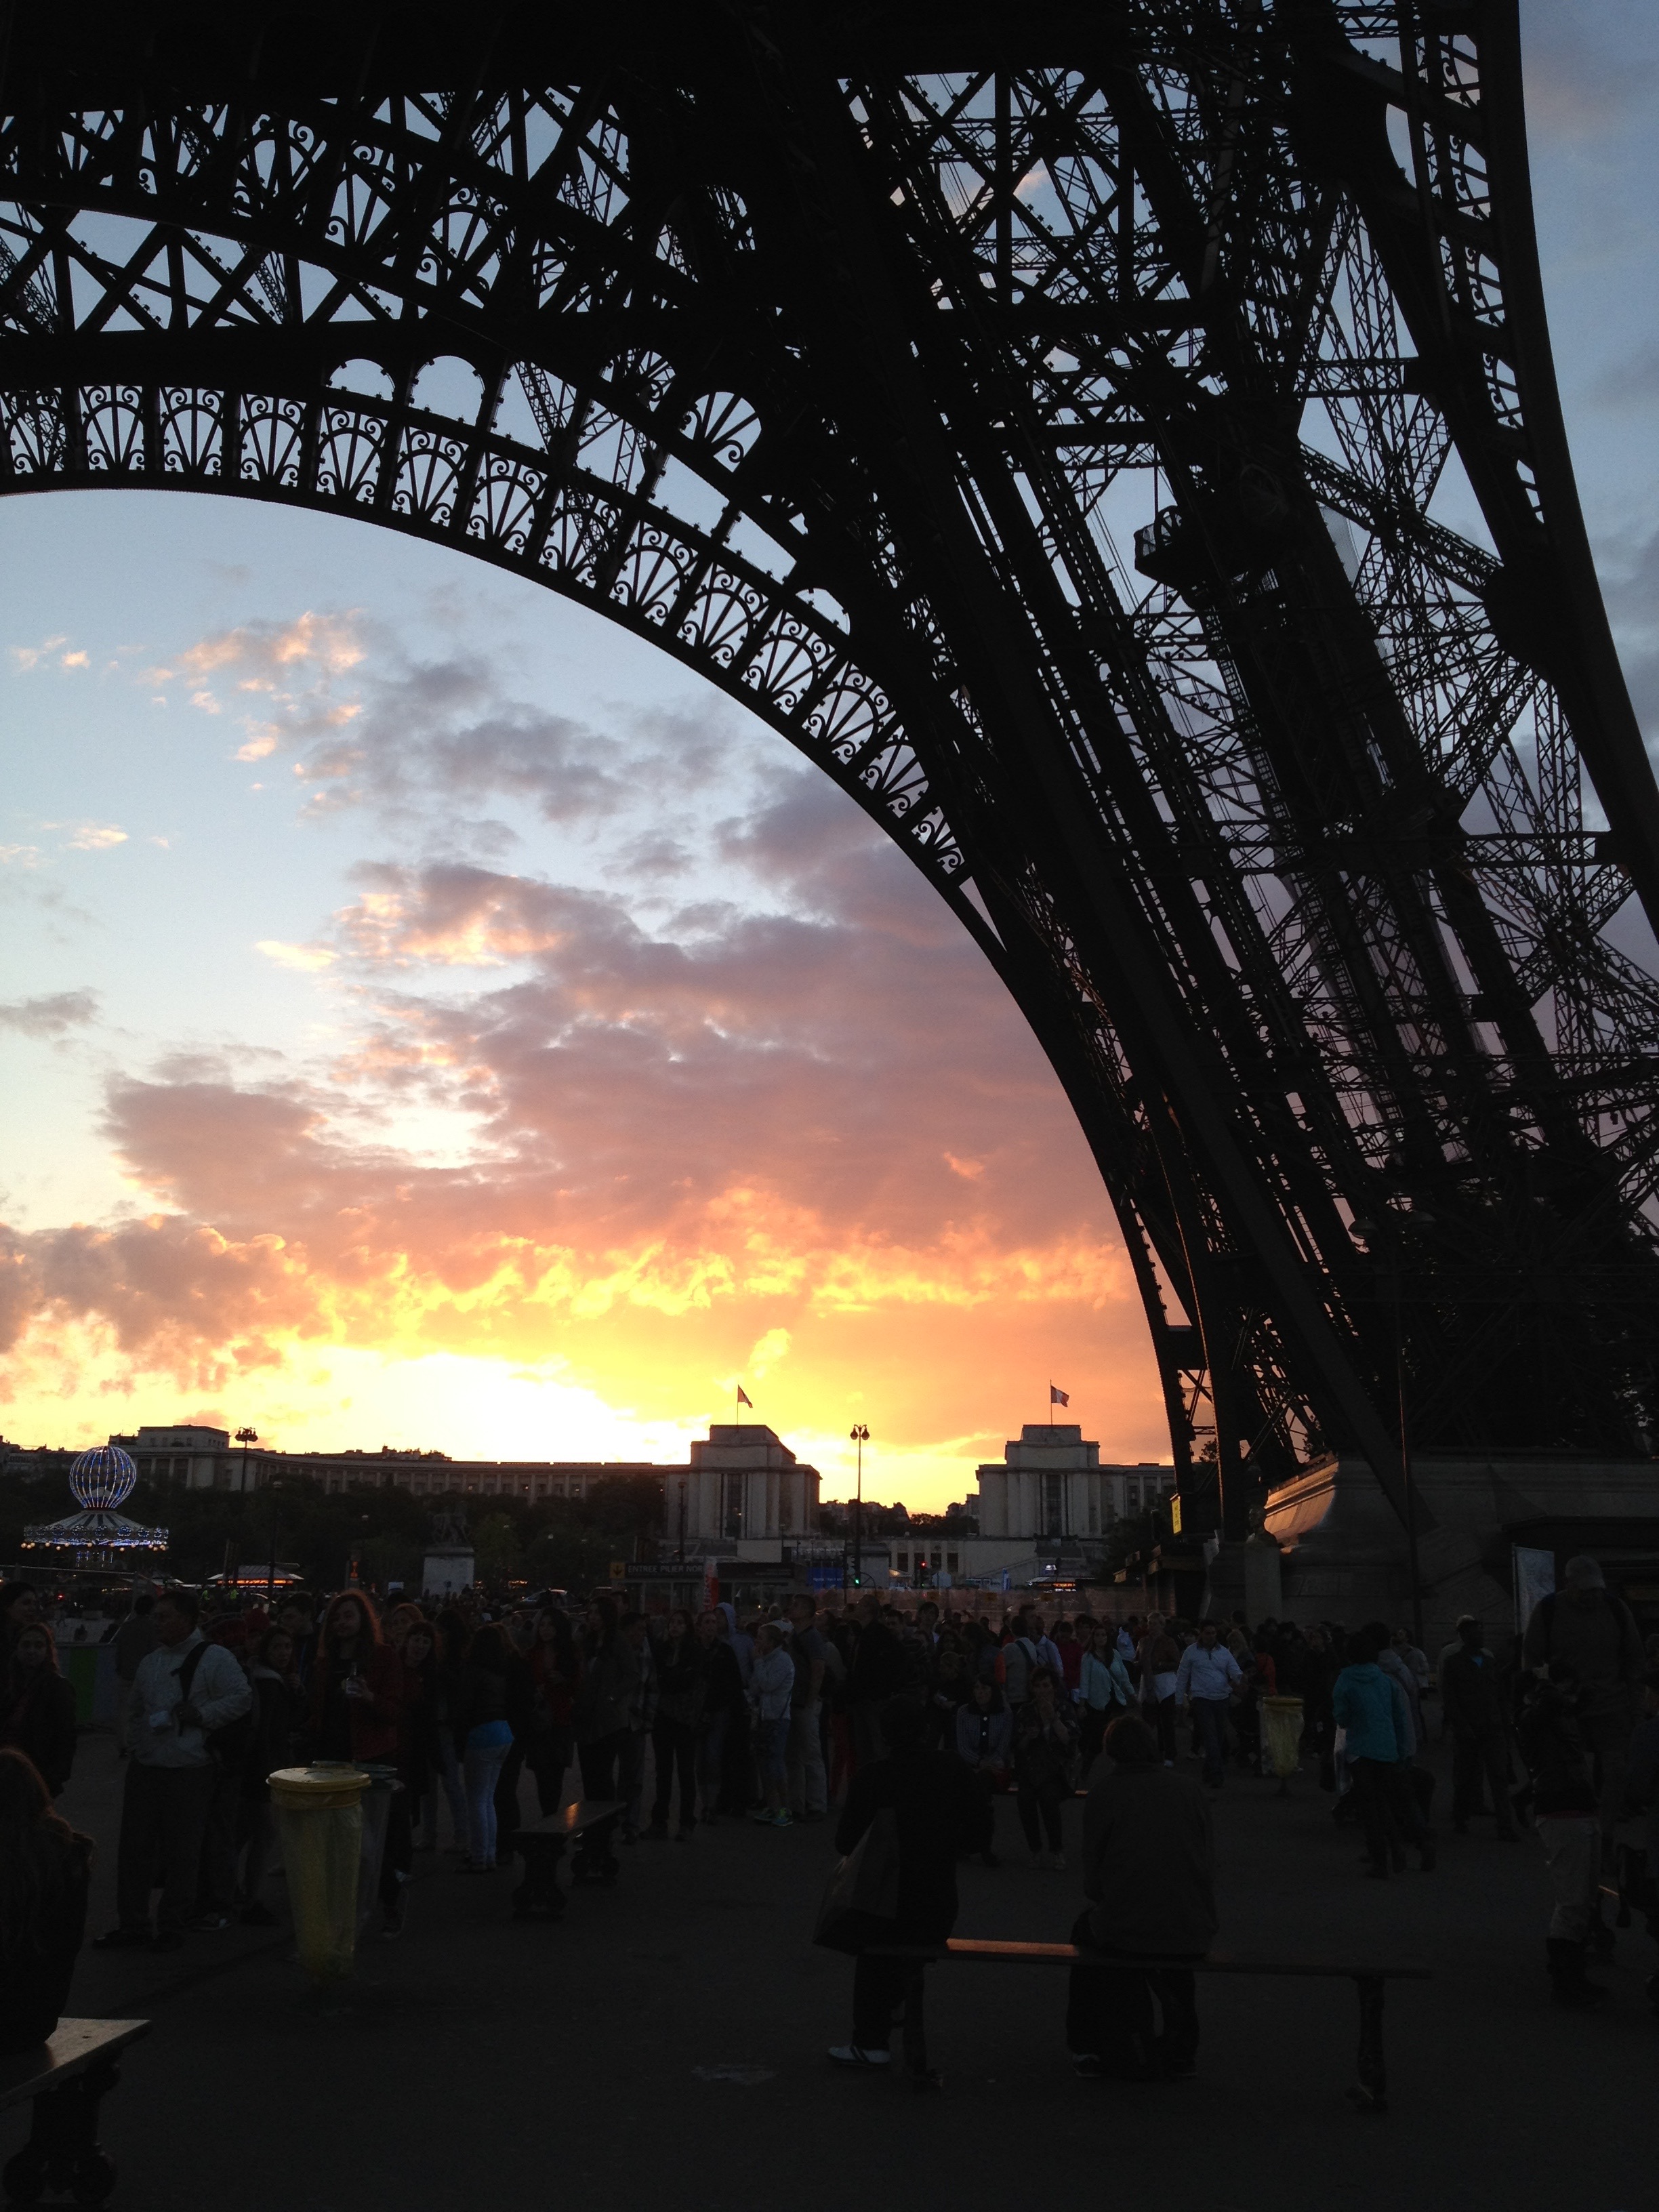
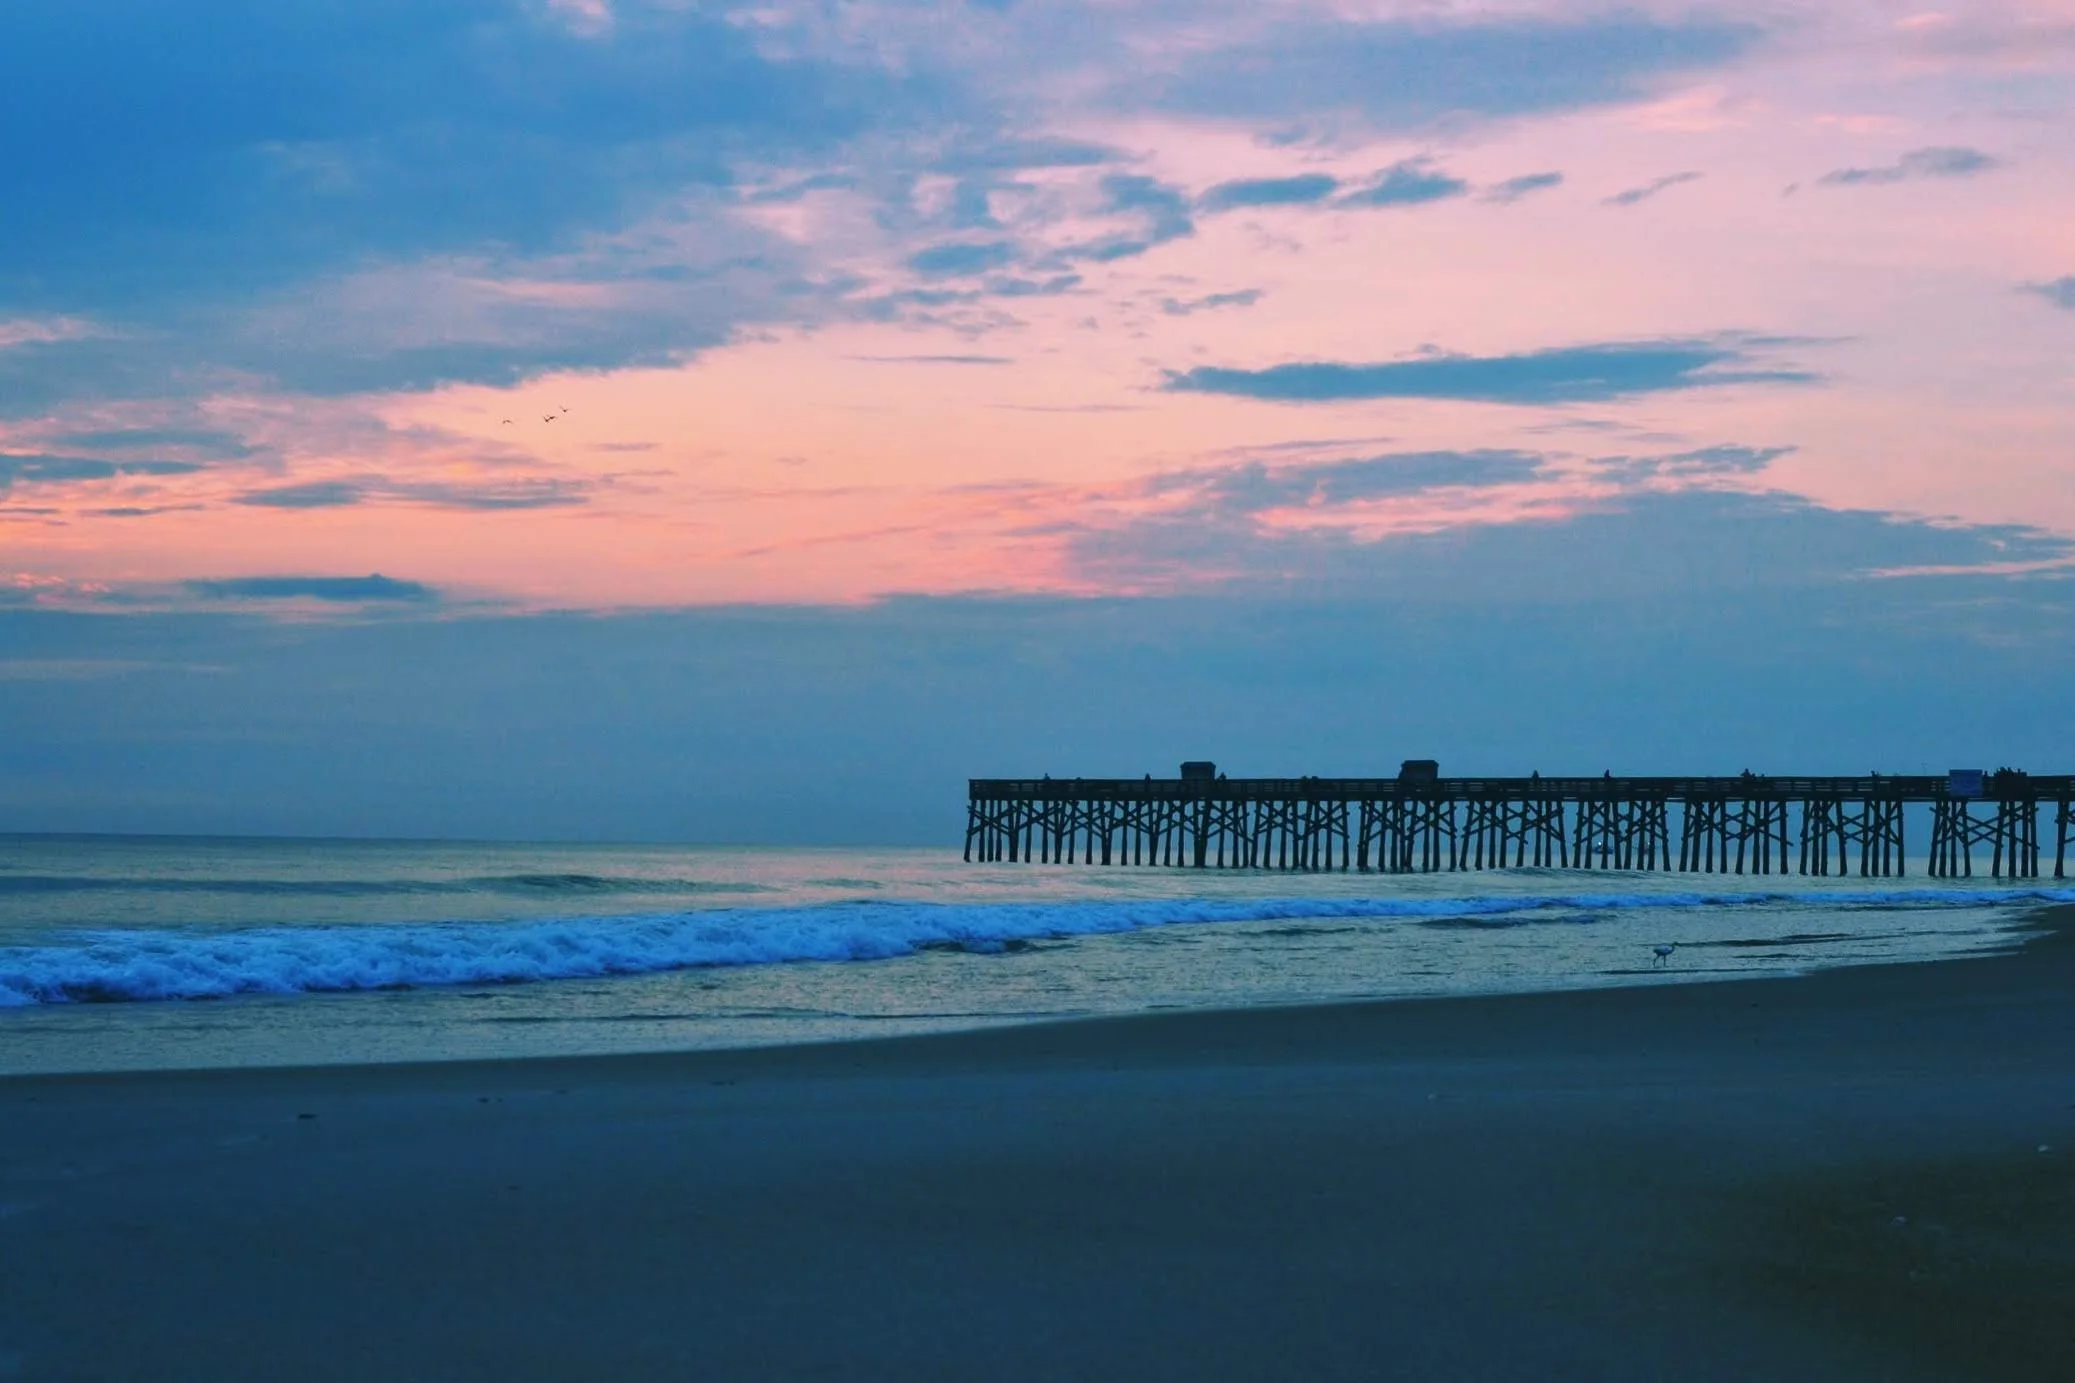
FIND THE LIGHT
You’ve probably read this tip before, but the best lighting for photos is during Golden Hour - that time right after sunrise and just before sunset. However, when you’re traveling with kids, most of the situations you want to photograph are either in direct sunlight during the middle of the day or in a dark room.
Do your best to find some shade if you’re outside, or get closer to a window if you’re indoors. If neither of those is possible, then adjust your camera settings the best you can and edit later. (See the next tips for camera settings).


SHOOT IN MANUAL
If you’re shooting with a DSLR, start learning how to use your camera in manual instead of auto so that you have more control over the quality and look of your photos. The instructor during the photography class I took in 2011 talked about the exposure triangle: shutter speed, aperture, and ISO. You can adjust these three settings to take brighter or darker pictures.
SHUTTER SPEED: adjusts how fast or slow your camera shutter opens and closes. Choose a faster setting for kids running around or zoo animals on the move, and choose a slower setting to smooth out waterfalls and moving water or for city photos at twilight. Make sure to use a tripod for slower shutter speeds.
APERTURE: adjusts how much light your lens allows in. A larger aperture will let in more light, but has a lower number, like f/1.8 or f/2.4. A smaller aperture will let in less light but has a higher number, like f/11 or f/22. The lower f-stop (larger aperture) will focus only on your subject and blur the background, while the higher f-stop (smaller aperture) will put the whole scene in focus.
ISO: adjusts the lightness or darkness of your photo. Keep it low (ISO 100) for bright, sunny, outdoor photos. Bump it up to ISO 400 or 800 for indoor shots, unless you’re near a very bright window. Remember, the higher your ISO, the grainier your photo.

OR EASE INTO MANUAL
If shooting in Manual is too overwhelming at first, I understand. I’ve been shooting in Manual for 7 years, and still have moments where Mom Brain makes it too hard to figure out what settings I need, or the lighting is especially tricky. I have a few tips for you if you want to ease into Manual.
(1) Shoot in Aperture Priority. This way you can control how much of the scene is in focus, but your camera will figure out the shutter speed for the situation. This is a great step in the right direction toward using Manual, but you won’t have to think quite as much about what you want your settings to be.
(2) Consider using a cheat sheet. You can create your own, or you can do what I did and purchase a set of cheat sheets specific to your camera that gives you camera setting suggestions for all different kinds of situations (photographing children inside/outside/in direct sunlight, group photos in different lighting, photographing babies, photographing landscapes, etc.)
I purchased Moose’s Cheat Cards (this is not sponsored or an affiliate link. I just found these really useful and VERY affordable). You can print them out or just save them as a PDF on your phone, and he has cards for almost every type of Nikon or Canon camera.
Once you get the hang of which settings to use in which situation, you probably won’t refer back to the cards as much, but they’re really nice to have, especially if a group of people is depending on me to get some nice group photos, and I don’t want to mess it up!
USE THE RULE OF THIRDS
There is a lot to learn about how to properly compose a photo, but for the sake of simplicity, let’s just talk about the rule of thirds. Use the grid mode on your phone and camera to make sure you’re putting the subject where the lines intersect, which makes for a more interesting photo.

SHOOT FROM DIFFERENT ANGLES
I find that when I don’t move at all, and just shoot the scene as I see it, those tend to be my most boring photos. I use a fixed lens, so if I want a closer shot or a further away shot, I can’t just adjust my lens; I have to physically move my feet closer or farther away from my subject.
I think that’s a good practice, though. Physically move your body to get more interesting shots. Get down low to the ground, take photos from a higher point in the city, try an unexpected angle.
LEARN AS YOU GO
As I said, I’m not a professional, and I’m still learning as I go. But this important thing is that I’m doing it! There’s no better teacher than experience. Try taking some photos, adjust your settings and try again. Play around with different styles, angles, and lighting.
And if you’re someone who learns best in a class setting, try an online photo course! There are photographers out there who will walk you through every step of how to take better photographs.

EDIT YOUR PHOTOS
Don’t go crazy with 3 different full-strength filters, but do adjust the brightness, color, and temperature on your favorite photo editor. I go for a specific bright and colorful look on my Instagram feed, but I definitely don’t do that much editing on my photos for my blog or Shutterfly photo books - just enough to make them look crisp, bright, and clean.
I edit most of my photos on my phone using Lightroom CC. It’s a free app, and I buy Lightroom Mobile Presets from Etsy or Creative Market to make editing quicker and easier. Once you download these presets to your phone, it’s basically a one-tap edit. I usually make a few adjustments depending on the lighting of the photo.
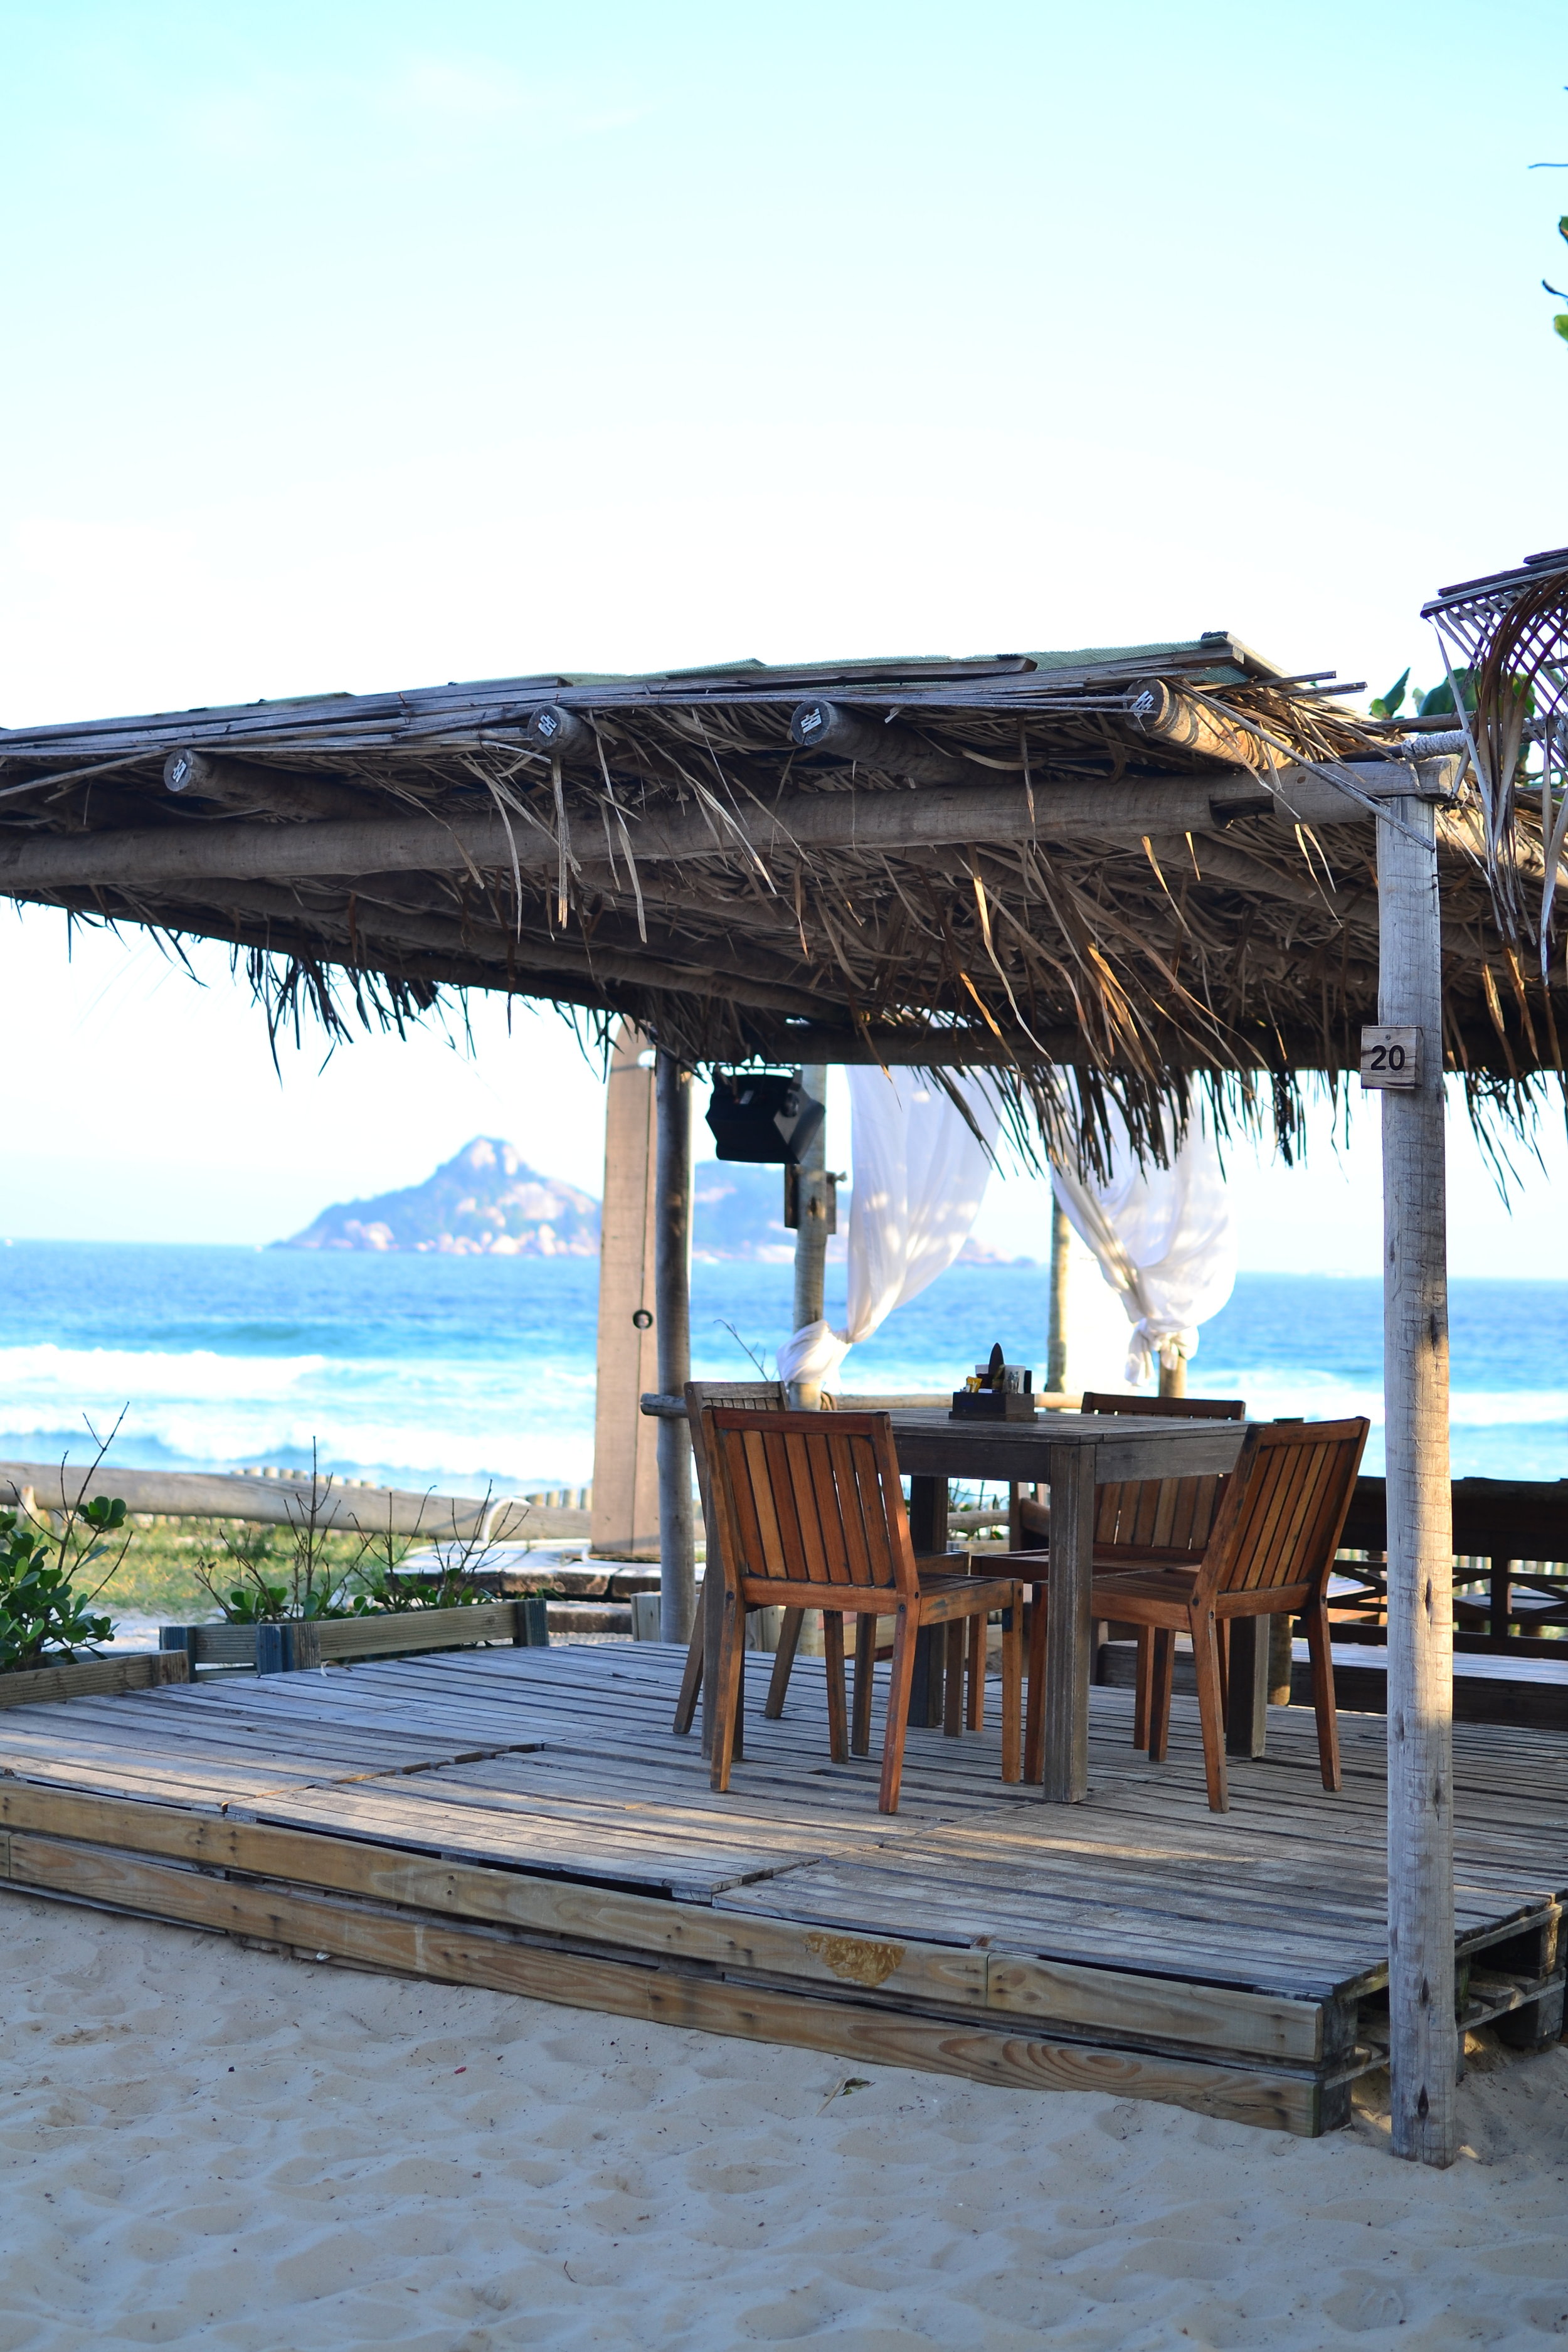
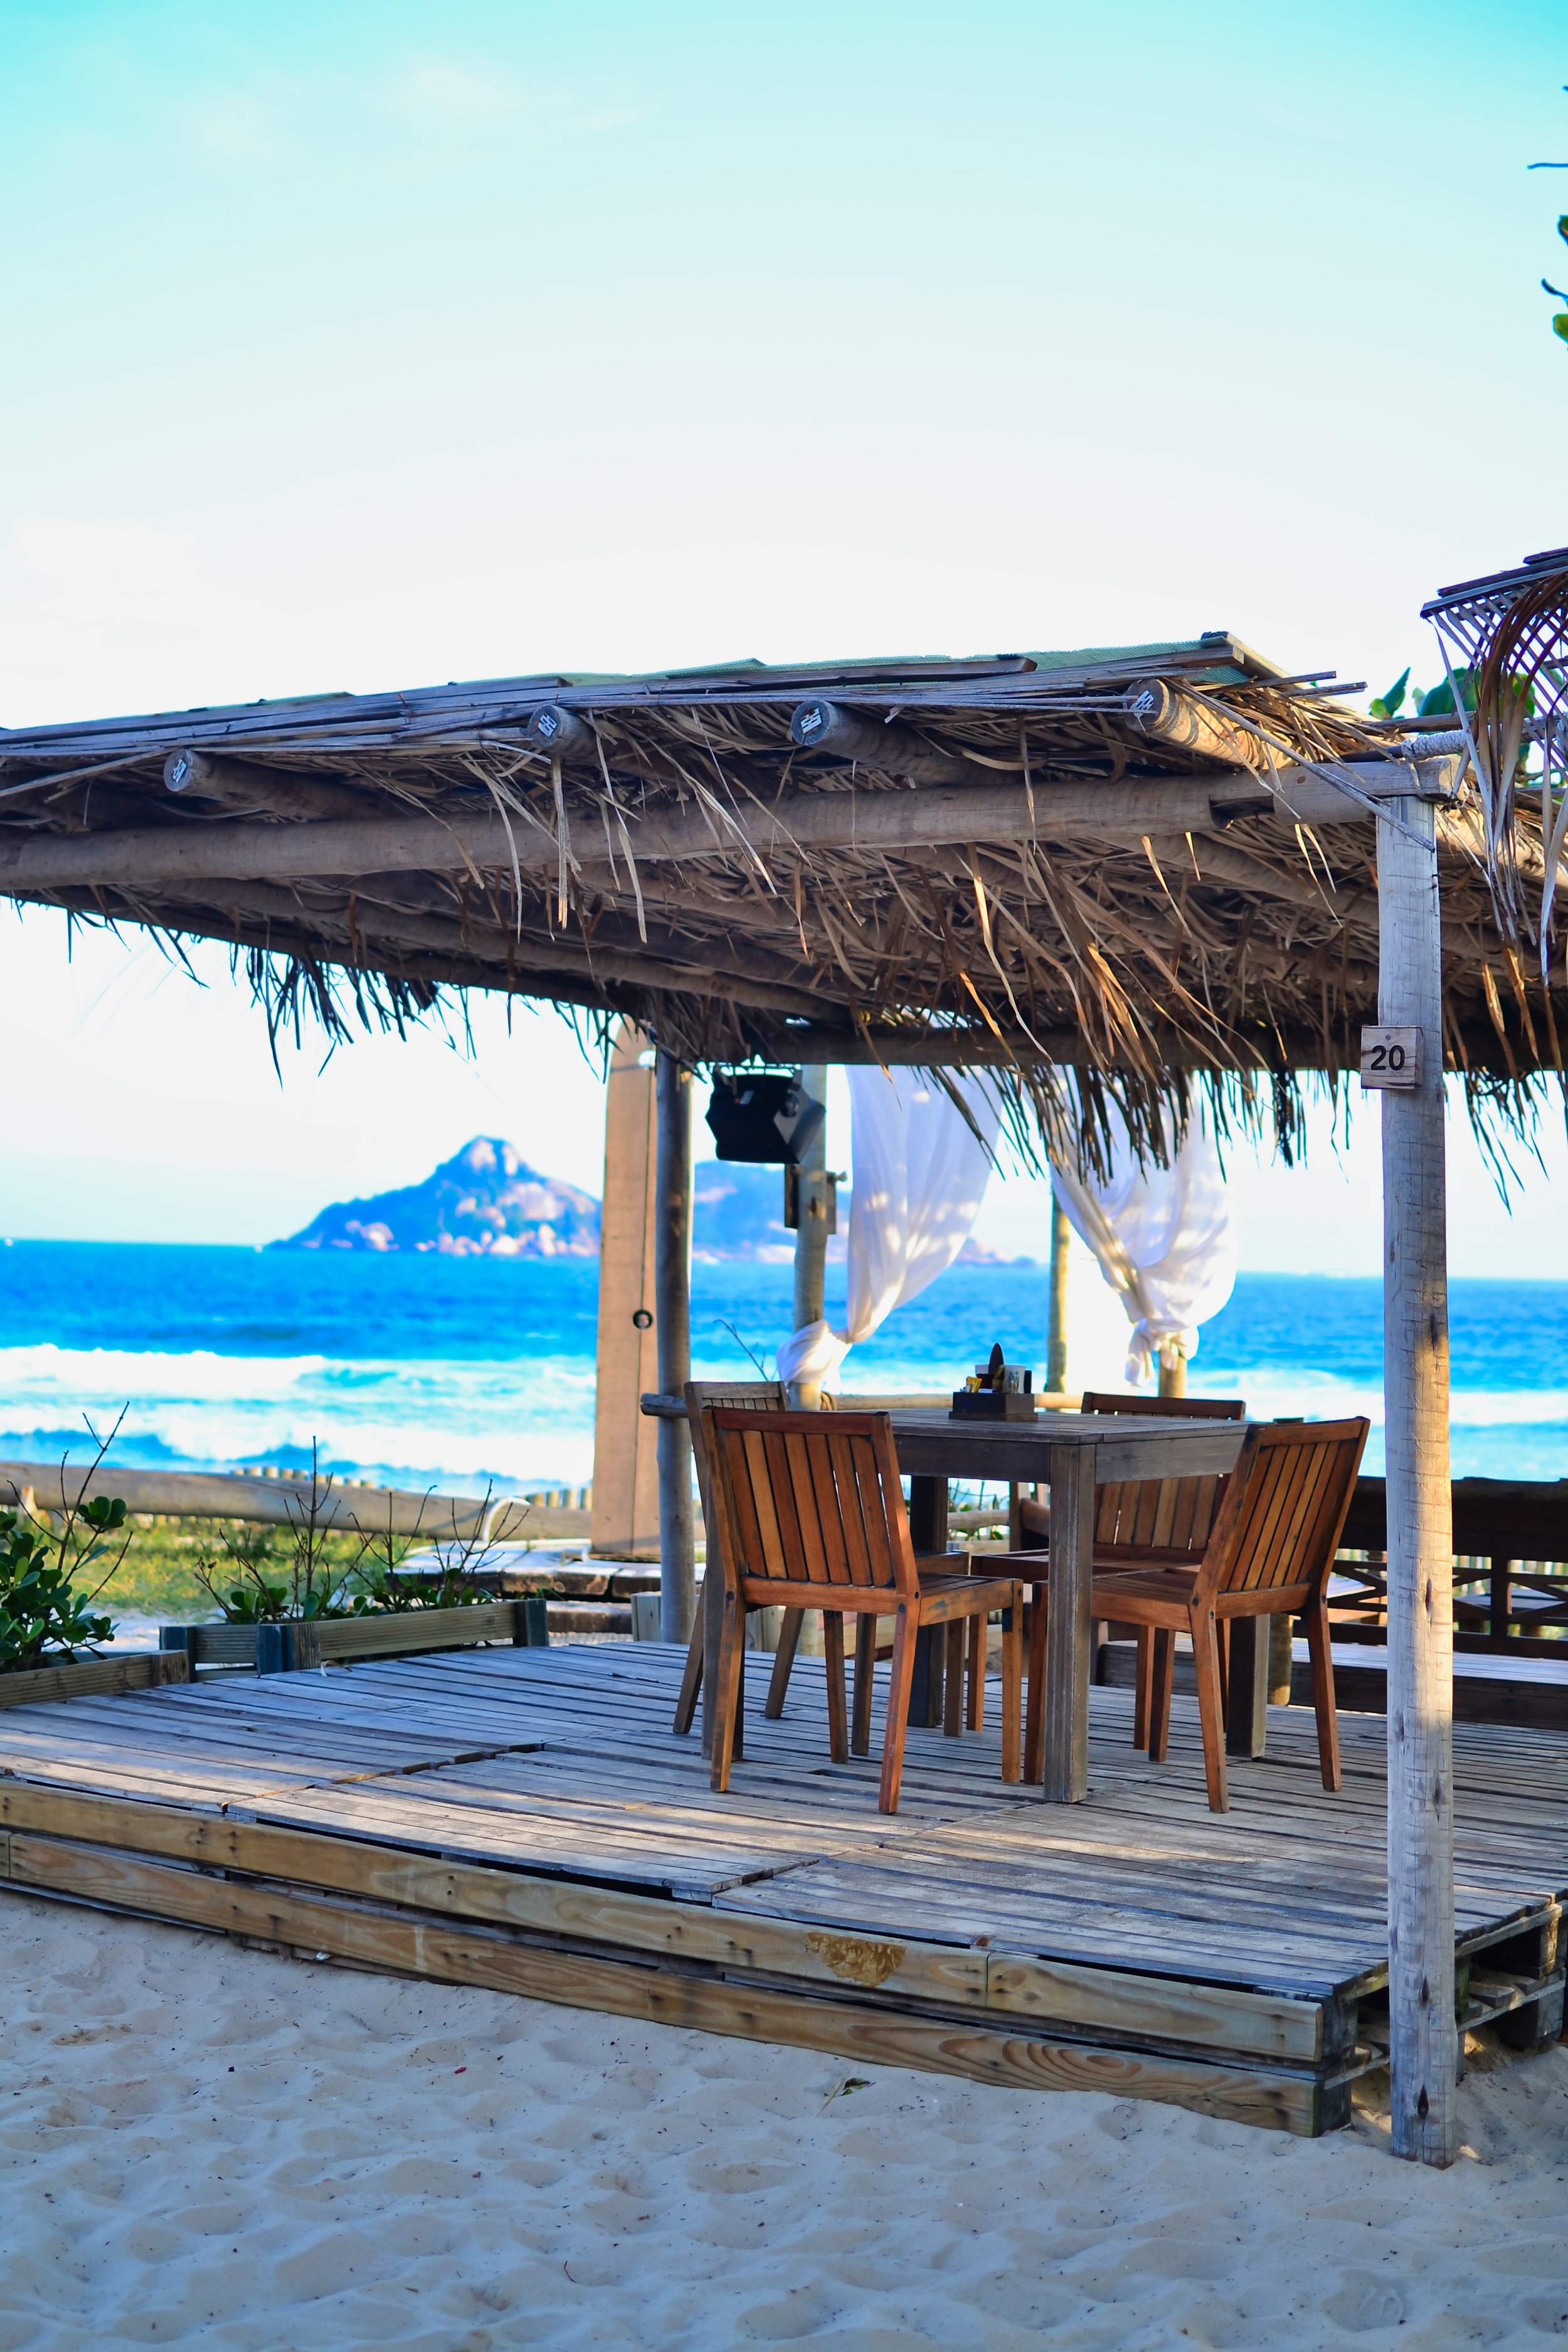
Another easy photo editor for beginners is PhotoLemur. You literally do nothing except upload a photo and let it work its magic. Here’s a before and after.
I’ve also been using Skylum’s photo editor Luminar 2018. I love that it has smart filters and presets, since I don’t have a lot of time to be spending on photo editing, but I still have a ton of creative control over lighting, color, and structure. It can also be used as a plugin with Adobe Lightroom.
I also use apps like Snapseed, PicTapGo, and A Color Story to get the desired effect in my photos.
INVOLVING THE KIDS
LET KIDS BE KIDS
I always find my least favorite photos are the ones where I pose the kids and make them smile and say cheese. I much prefer photos of them being natural, even if that means not everyone is looking at the camera. How do I achieve relaxed, natural shots? A few ways.
One way is to simply take candids of them exploring. I realized the other day as I was planning out my Instagram grid that I have a crazy amount of photos of my daughter looking out at a view. Grab photos of them running around, climbing, resting on a bench, etc.

Another way is to get a posed shot with them in a specific location, but direct them to DO something instead of just standing there. Some ideas: hug each other, hold hands, tickle each other, play a hand game, run toward me, jump as high as you can, turn around and look at the view - can you find the ice cream shop we’re going to later?, look at each other, look up at Dad, etc.

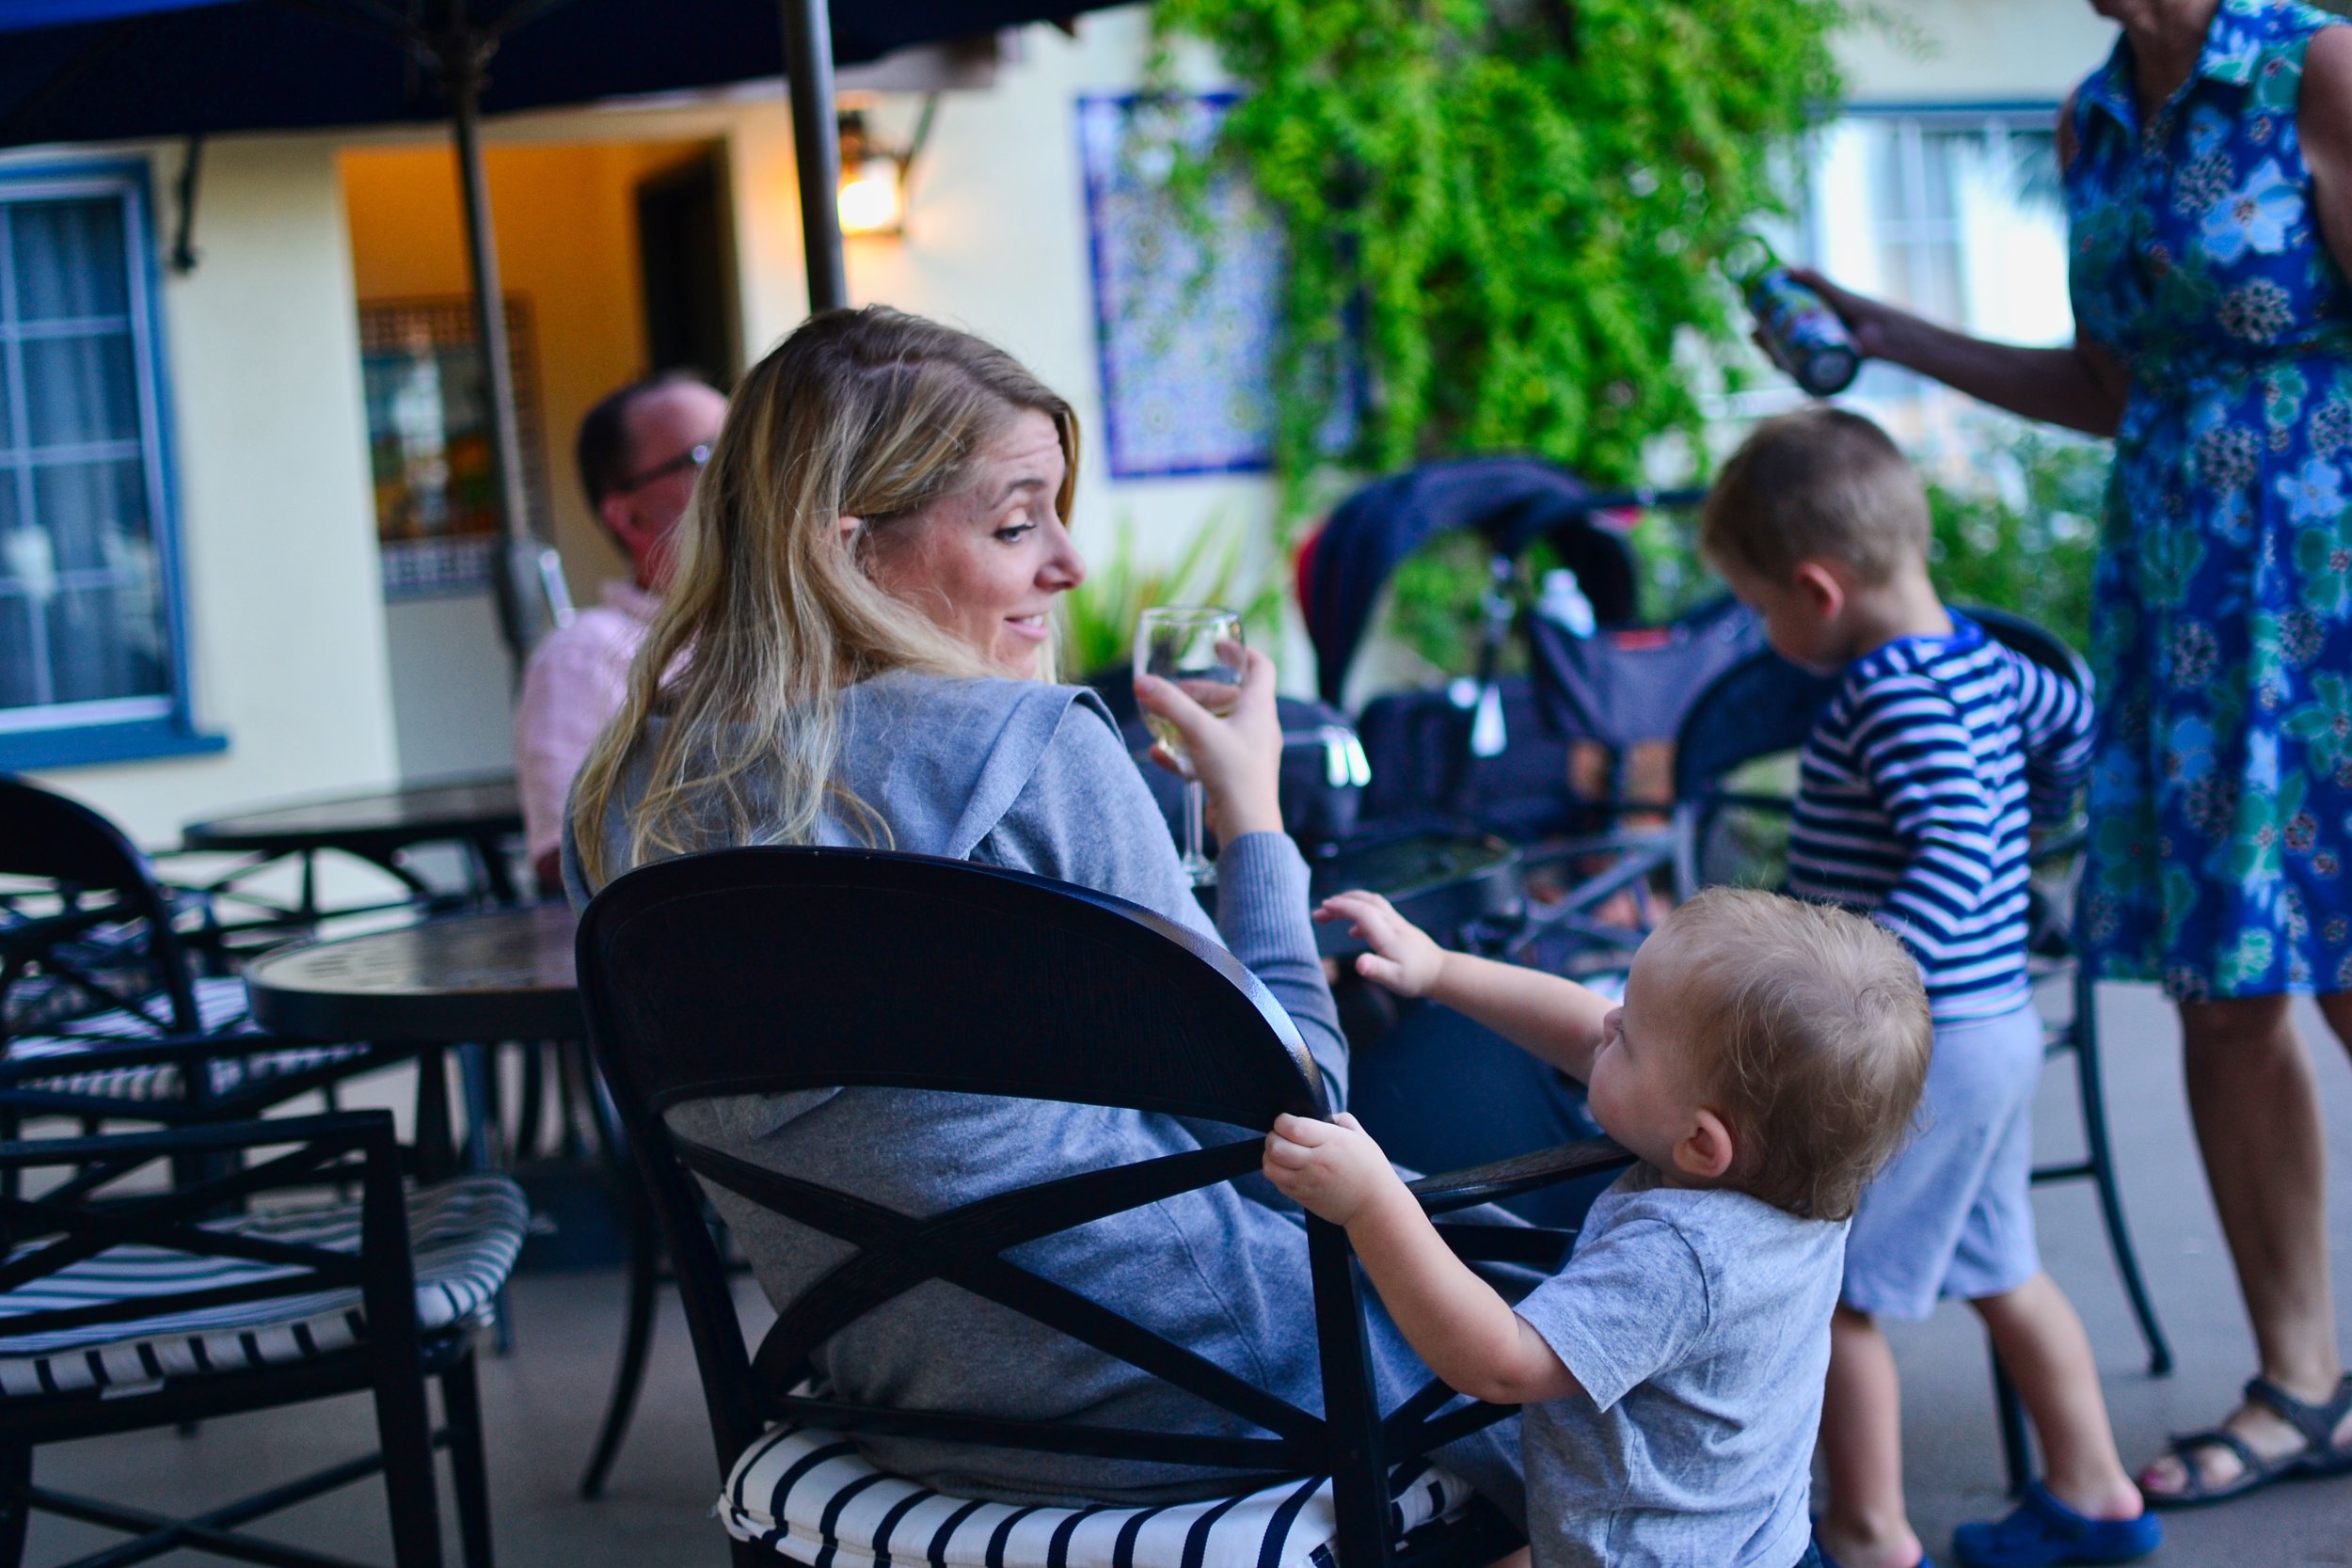
GET IN THE SHOT
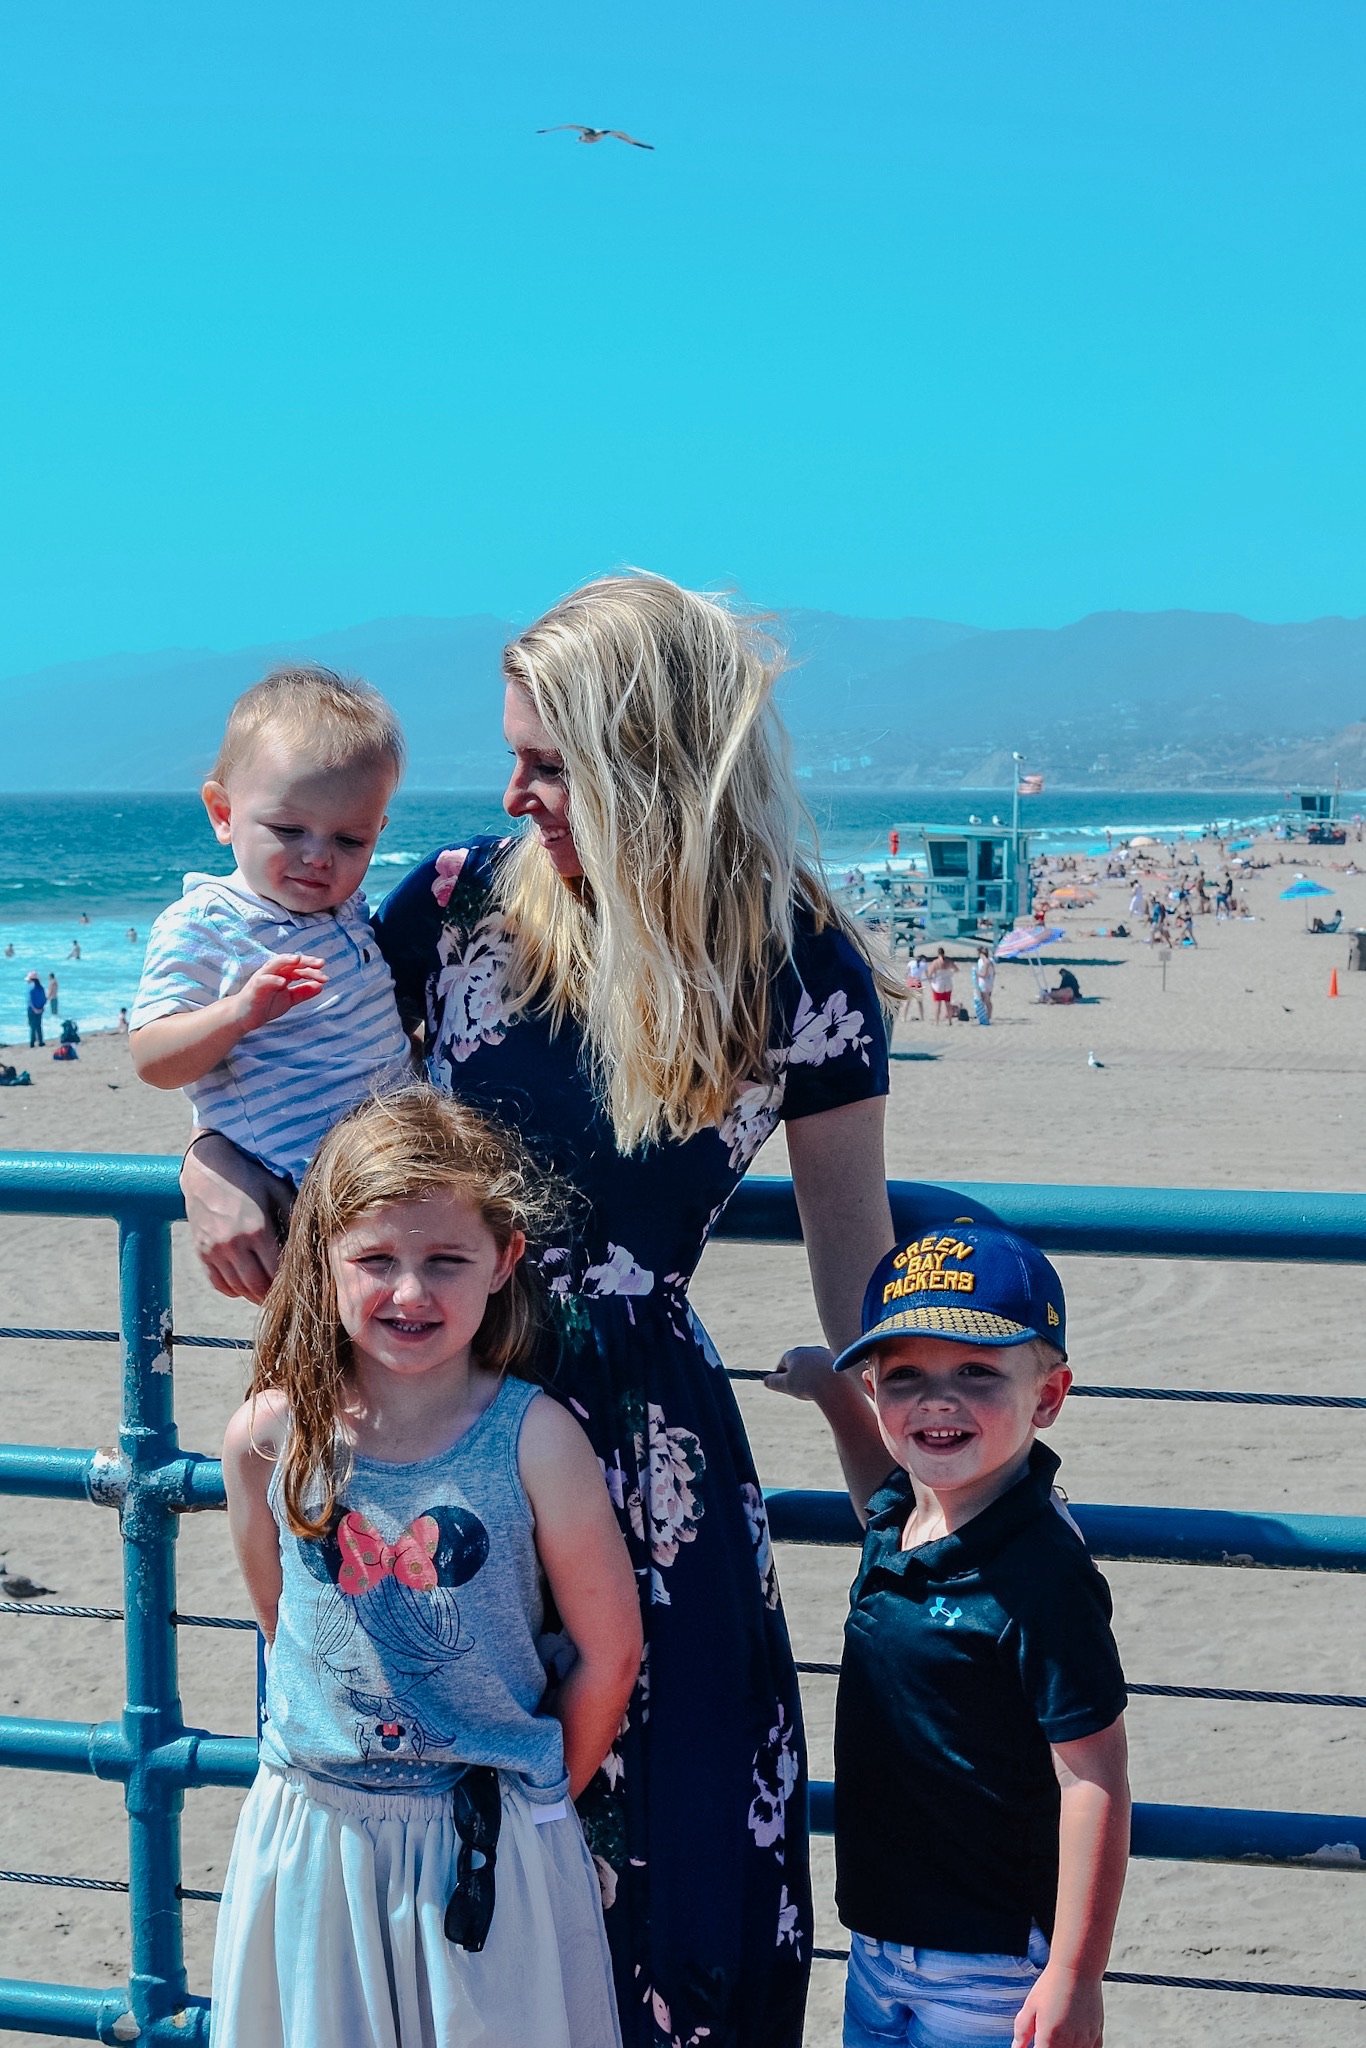
A few months ago I read this post about How to Take Self Portraits with Your Kids by Sina at Happy Grey Lucky, and since then I’ve LOVED all the photos I’ve gotten with my kids. I mean, really, 943 photos of your kids enjoying vacation is great, but what a tragedy if you’re not in ANY of them!
My favorite tip she offers if you’re uncomfortable posing for photos (like I am…like most people are) is to LOOK AT YOUR KIDS in the picture. You’re engaging with them and you don’t have to worry about awkwardly looking at the camera. Genius.
Hand off the camera (to your spouse, your parents, a kind stranger) and just direct them to take a ton of photos. You might be pleasantly surprised with the results.


HAND THEM THE CAMERA
My daughter is 5 and is starting to show and interest in taking photographs. Sometimes I will adjust the settings for her, put the camera strap around her neck and let her take photos for a few minutes (under my supervision, of course).
I’m always pleasantly surprised by how well she takes photos, and I love seeing things from her perspective. Here are a few examples of photos she’s captured with my nice camera.
As a bonus, she’s gotten so good at taking photos that I now ask her to be my photographer if I need a solo shot and my husband is not around to do it!
She’ll even go so far as setting up the props and directing me to look a certain way. The photos below were all taken by my 5-year-old daughter:
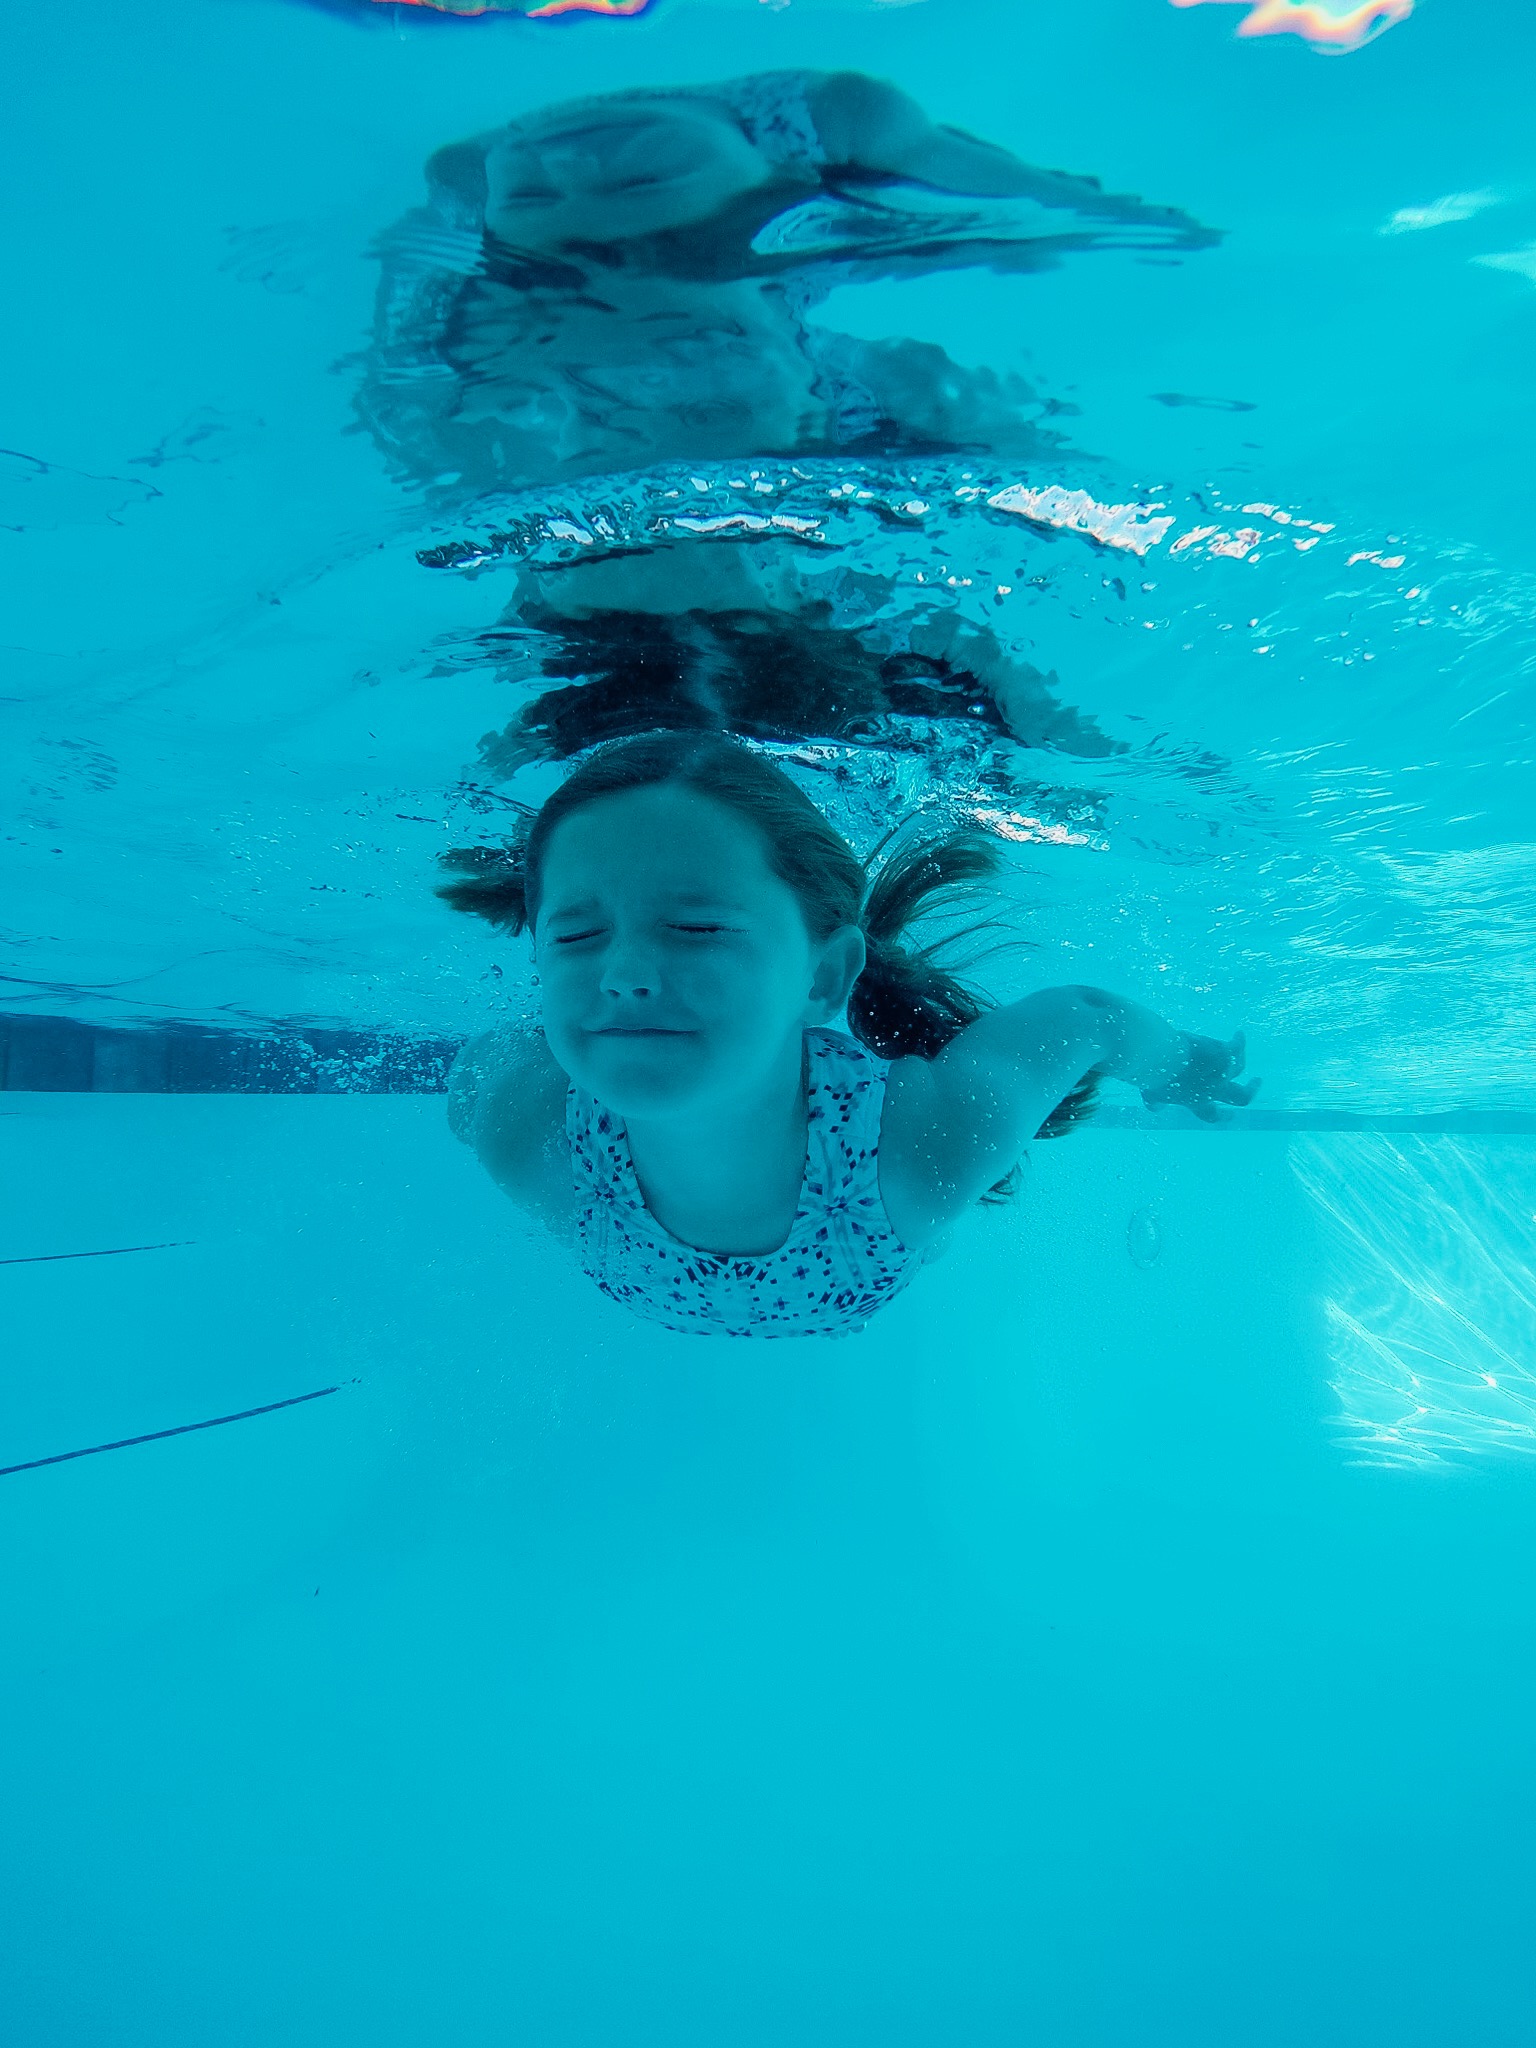
INVEST IN A WATERPROOF CAMERA
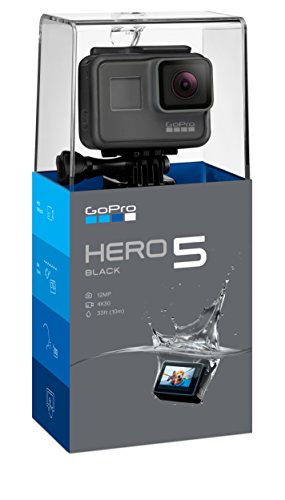
We purchased a GoPro Hero 5 at the beginning of this summer and our whole family loves to use it, especially when we’re in water situations.
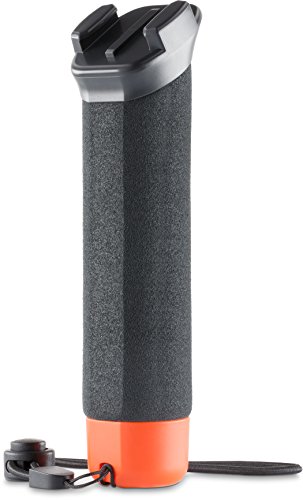
The kids love trying to pose for or capture underwater shots, and the GoPro photos often end up being some of my favorite candids from the trip. We attach the GoPro to a floating handle with a wrist strap and let the kids go nuts taking photos or videos in the pool or at the beach. So fun!
Obviously, the GoPro also takes excellent video, and I use it for the video montages I put together after a trip. Check them out on my YouTube channel!
IF ALL ELSE FAILS, BRIBE THEM
Seriously. Candy…the promise of ice cream…a show on the iPad. If there’s a shot you have in mind that you REALLY want and the kids aren’t cooperating, consider resorting to straight up bribery.
I always try to keep photographing my kids light and fun so they don’t see it as a chore, and sometimes that means promising a lollipop when Mommy gets the shot she wants! I figure that since I’M the one that wants the photo, not them, it’s a sort of payment for their services.
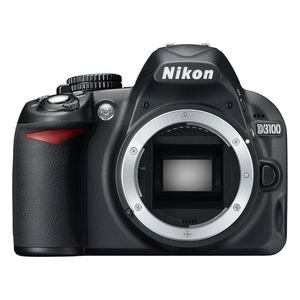
MY EQUIPMENT
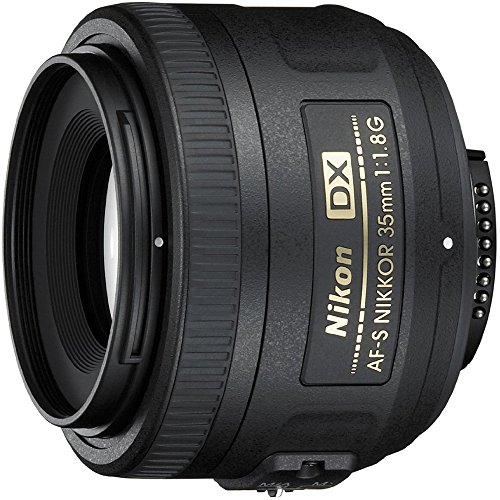
I use a Nikon D3100 for most of my photos. It’s a pretty entry-level camera body, which is fine by me! I purchased a fixed lens - Nikkor 35mm f/1.8, and I love the quality of portraits and shallow depth of field shots it produces. (Someday I hope to invest in a nice wide angle lens!) I never use my kit lens…it’s been languishing in the back of my closet for about 6 years now.

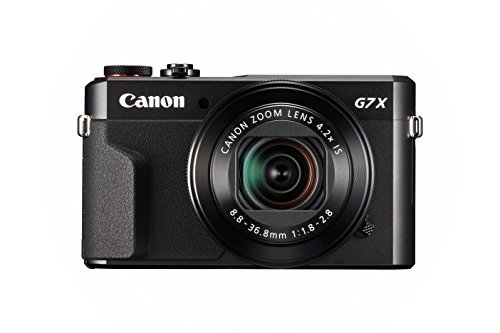
I JUST purchased a Canon Powershot G7 X Mark II. The reason I bought this was mainly for video capabilities (for my growing YouTube channel!), but I’ve also been really impressed with the photo quality! It is a point-and-shoot, but you can still use it in manual mode like a DSLR.
The photos are crisp, the camera is lightweight, and it has a flip screen for easy selfies. I foresee this being my new go-to camera when we’re on-the-go with kids.
I use my iPhone 8 Plus for a lot of on-the-go photos, panoramas, and videos. I love the portrait mode and use it for my kids and for shots of food or coffee when the lighting is good.
We also have the GoPro Hero5 Black for the beach, swimming, and situations where there’s a risk of getting the camera equipment wet (like at Iguazu Falls in Brazil).
I have a gorilla pod an full length tripod for my Nikon, and a small tripod for my iPhone. I don’t use the tripods too much on vacation, mainly because my hands are usually too full of babies to set up a tripod. The gorilla pod and iPhone tripod are great to have for low light situations or group shots, though.

I hope you found these tips helpful! As I mentioned, I’m always learning more about how to improve my travel photos, and really love sharing what I’ve learned. If you have any other great tips to share about how to get better family travel photos, be sure to share them in the comments!
COME SAY HI ON INSTAGRAM FOR LOTS OF FAMILY TRAVEL PHOTOS
&
FOLLOW ALONG ON PINTEREST FOR MORE FAMILY TRAVEL TIPS!
>>> PIN IT FOR LATER <<<