
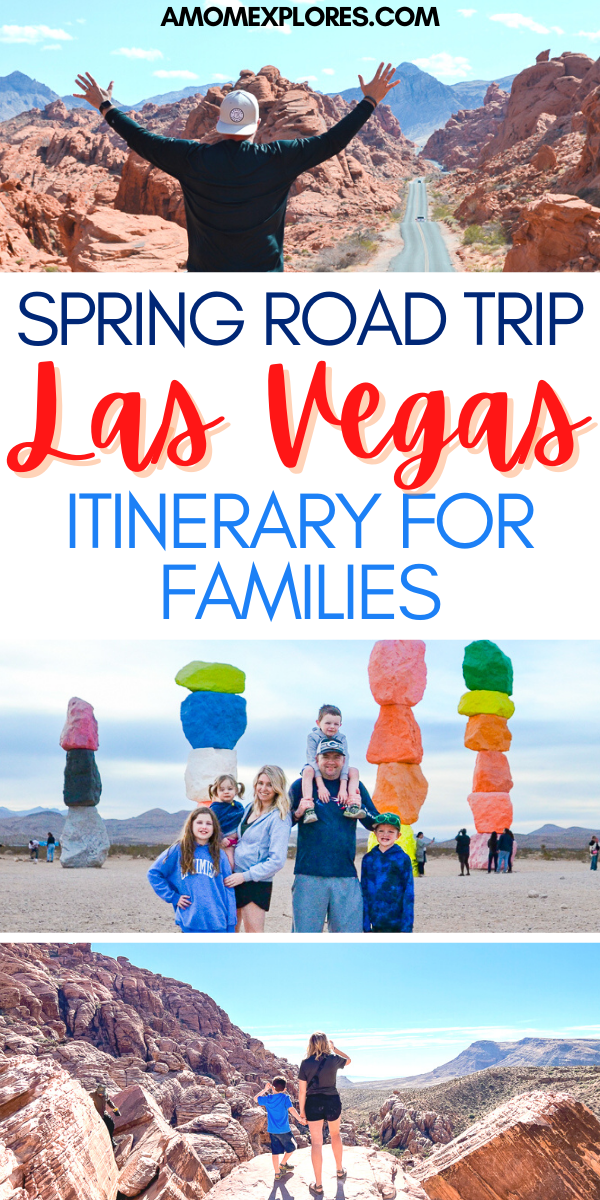
1 Week Family Spring Break Itinerary Las Vegas and Death Valley
In 2022 we decided to plan a southwest road trip from Las Vegas to Death Valley National Park and back for our spring break.
We’re from Wisconsin, and my winter blues were out of control. I knew we all needed some warm weather and adventure to break out of the funk our entire family had been experiencing. So when I saw cheap flights to Las Vegas from several nearby airports, you better believe I booked our trip on the spot!
As much as we love Florida, and there are so many amazing spring break destinations there, we wanted to explore a new area of the country!
I knew we wouldn’t want to stick around Sin City with 4 young children for an entire week, so I decided to look for some nearby outdoor adventures. To my surprise, I discovered that there are so many awe-inspiring parks and natural areas that are just a day trip away from Las Vegas.
This is the 5 day spring break road trip itinerary I put together for our family between Las Vegas and Death Valley. We partnered with Chevrolet and borrowed a Chevy Tahoe to make our road trip possible. It was the perfect vehicle for family adventures!
Hopefully you find some inspiring ideas and helpful tips as you plan your family’s trip to this area.
Disclosure: Chevrolet loaned us a complimentary vehicle for our Las Vegas to Death Valley road trip in exchange for editorial consideration. All opinions are my own.
This post contains affiliate links. That means if you click on a link and make a purchase I may receive a small commission at no extra cost to you.
Las Vegas Spring Break Road Trip Itinerary Overview
Day 1: Arrive in Las Vegas
Day 2: Road trip to and explore Death Valley National Park
Day 3: Explore Death Valley National Park & head back to Las Vegas
Day 4: Red Rock Canyon and Seven Magic Mountains
Day 5: Valley of Fire State Park
Day 6: Las Vegas Strip
Day 7: Fly home
Trip Budget
Hotels:
The Ranch at Death Valley: $345.68 (1 night)
Las Vegas Airbnb: $767.41 (3 nights)
La Quinta Airport (suite): $139.74
La Quinta Airport (regular): $146.26
Total: $1,399.09
Flights (from WI to Las Vegas)
Frontier on the way there: $478 total for 6 people
United on the way back: $831 total for 6 people.
Total: $1,309
Food: $315
Gas + Park Entry: $205.85
TOTAL: $3,228.94

Trip Details
Day 1: Getting to Las Vegas
We used Las Vegas as the home base for our adventures since it was cheap to fly into and within a reasonable drive of the parks and natural areas we wanted to visit.
>> Insider Tip: I always use Going for finding cheap flights to destinations both domestic and abroad. There is a free membership you can sign up for which sends you emails anytime there is a cheap flight out of your home airport(s), but I pay for the premium membership which serves up better deals more often because my work involves travel!
We arrived late at night, so we just booked a hotel near the airport for convenience, since we knew we would be heading out to Death Valley National Park the next morning. We chose the La Quinta Inn & Suites by Wyndham Las Vegas Airport N Conv. because it was near the airport and very affordable.
Just be aware that even though the confirmation email says they have cribs available, when I arrived and inquired about one, they said they don’t have any and never have. If you’re traveling with a baby or toddler, this might be an issue like it was for us.
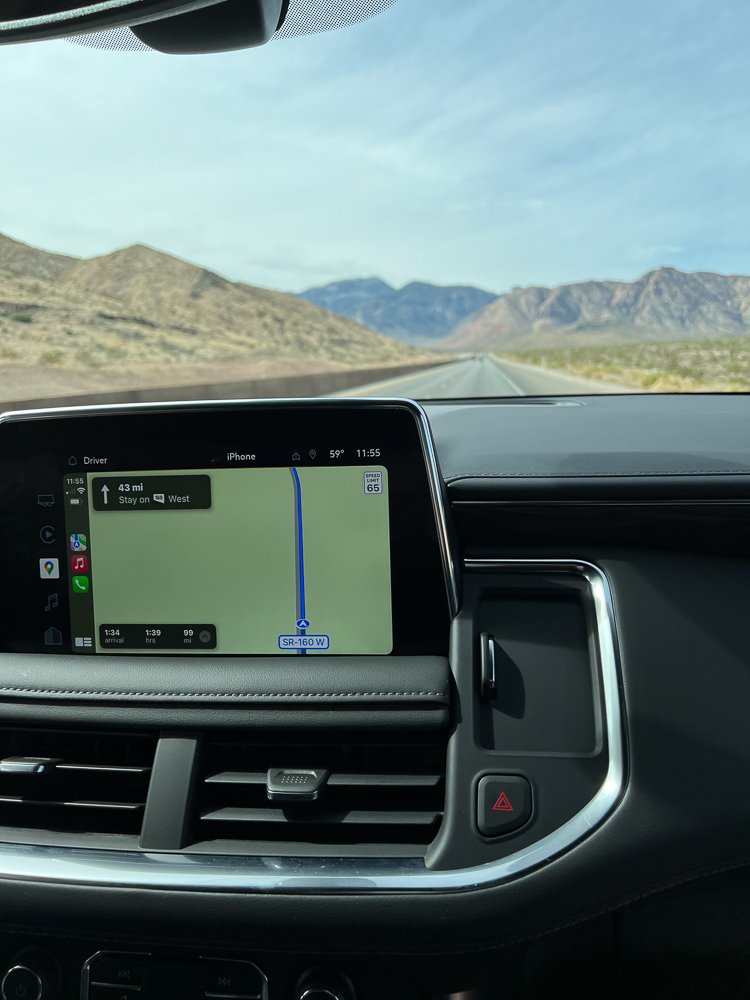
We picked up the Chevy Tahoe we were borrowing for the week, and were so grateful for the built-in on-screen navigation option. Even late at night after a long flight with 4 kids it was easy to plug our destination into the Google Maps app on the display screen.

Days 2 and 3: Death Valley National Park
We woke before the sun (not by choice), and waited for the continental breakfast at the hotel to open. Once we’d had our fill, we got ready for the day, packed up, and loaded our bags in the Tahoe.
With the sun shining and a bit of time on our hands, we finally had a chance to play around with some of the Tahoe’s features, especially the rear seat media system. With an HDMI cord we were easily able to find when we ran to the store for some snacks, we could stream movies for the kids and display them on the LCD touch screens.
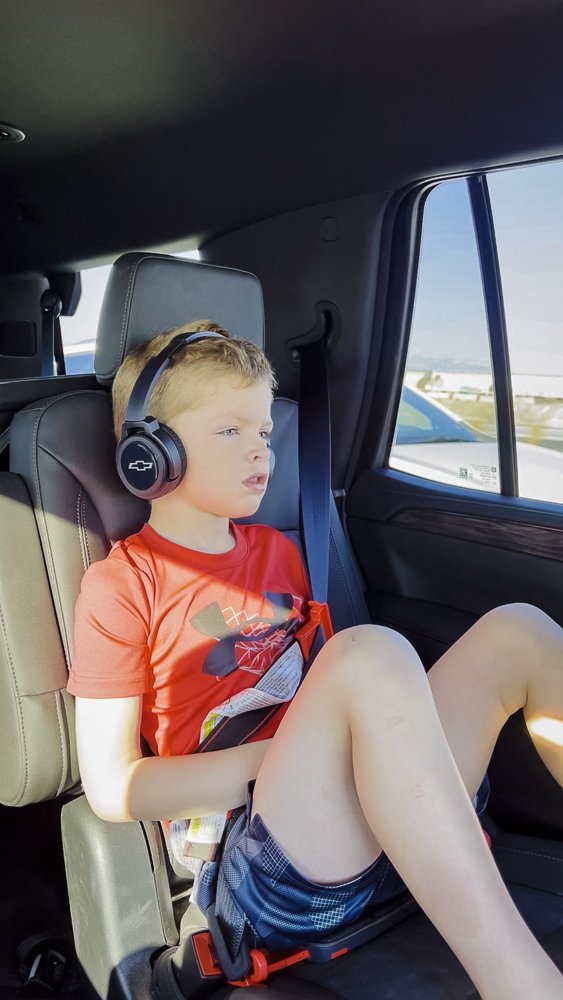
With a 2-hour drive through the desert, we were so thankful for that, since it kept the kids occupied to have a movie playing while they colored in their coloring books or dozed off. We even had them put the bluetooth headphones on for a while so we could play our own music! With a Starbucks in hand and our early 2000s music playing, my husband and I were able to relax and enjoy the stunning scenery on the way to Death Valley.
Ok, on to the nuts and bolts of the itinerary:
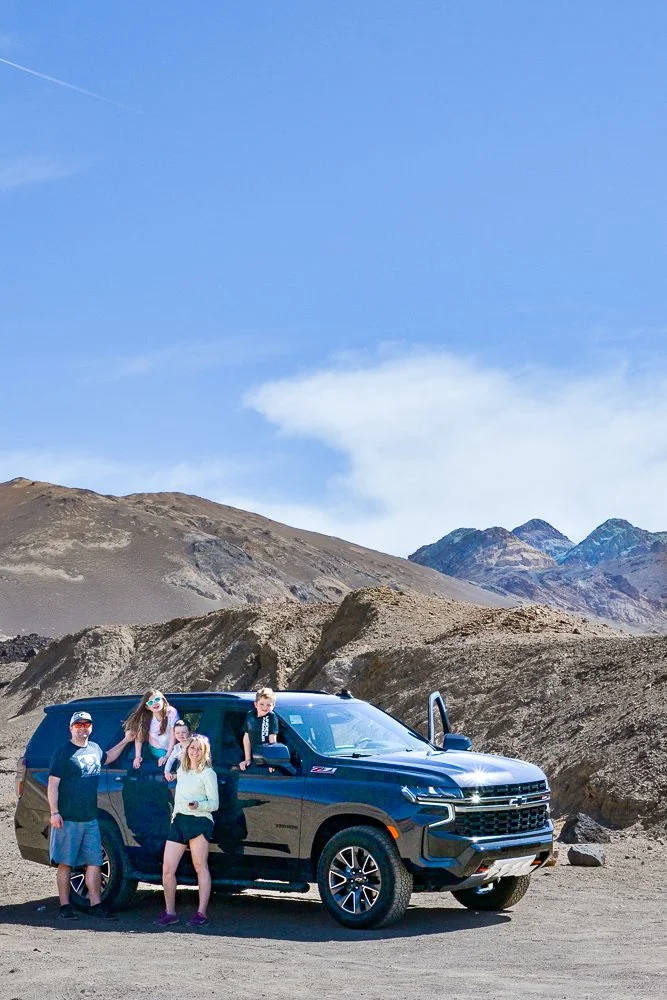
Our family with the Chevy Tahoe in Death Valley. It became like the 7th member of our family. We loved driving this vehicle in the desert!
Death Valley National Park
Entrance Fee: $30 per vehicle. This pass is good for 7 days, and you can come and go as you please throughout the 7 days. If you have an America the Beautiful Annual Pass or the 4th Grade Pass- Every Kid Outdoors Pass you can use either of those to enter the park.
Where to Stay: There’s so much to see and do in Death Valley that we decided to spend one night inside the park. Without any camping gear along on our trip, we decided to stay at The Ranch at Death Valley, but you can also choose from The Inn at Death Valley and PANAMINT SPRINGS. There are RV hookups and campsites inside Death Valley as well. Find more information here.

Hiking the Mesquite Flat Sand Dunes at sunrise. The shadows on the sand dunes were so cool!
Top Things to Do with Kids:
Badwater Basin Salt Flats: This is the lowest point in North America at 282 ft. below sea level. It’s the site of an ancient lake that has since evaporated, leaving behind salt deposits, sometimes forming salt polygons when groundwater evaporates. The bleached white flats set against the looming mountains in the distance makes for a visually appealing setting, and kids love playing in the salt. Be sure to dress kids in clothes you don’t mind them getting dirty!
Golden Canyon: This trail is exactly what it sounds like: a path between yellow-colored canyon walls! We added this hike to our list specifically because our second-oldest is interested in Star Wars, and some scenes were filmed in this location. You can choose your level of difficulty on this hike. We did a simple out and back, turning around when the kids got tired and hot. Take the time to explore some of the side canyons off the path, too!
Mesquite Flat Sand Dunes: The diversity of geography in this park absolutely blows me away. Near Stovepipe Wells Village you’ll find sand dunes created from the eroding mountains. The hike is both easy and difficult at the same time. The path itself isn’t hard to navigate, it’s just a bit harder to walk and climb on sand. Once everyone in our part was over the “trauma” of having a pile of sand in their shoes, they enjoyed running up and down the dunes. There’s no official trail here, so explore to your heart’s content!
Artists Drive and Artists Palette: Be sure to tour Artists Drive, a 9-mile scenic drive through colorful hills. If you’re up to it, immerse yourself in the colors by hiking around Artists Palette. There’s no official trail here either, but rather many paths you can explore and climb to see different views and diverse colors splashed along the hillsides.
Zabriskie Point: Many enjoy coming to this gorgeous lookout point for sunrise, but it’s stunning any time of day. We stopped by before leaving the park, and it was a great last view of one of our favorite National Parks so far.
Devils’s Golf Course: This is a quick stop to see the jagged landscape of small rock salt formations. We just got out of the car for a few minutes to walk around, then headed on to our next stop.

Badwater Basin Salt Flats at Sunset. It was so peaceful!
Our Death Valley Itinerary:
Arrive shortly after noon.
Stop at Visitor Center to pay and get a map. There is no reception in the park, so your map will be your best friend.
Hike Golden Canyon (if it’s not too hot out. If you’re going in summer, this might be a better time for a scenic drive).
Check into your hotel. Rest, grab some food, swim if you have time.
Head to Badwater Basin Salt Flats for sunset. Take some family photos!
Get some sleep.
Wake up early and catch sunrise at Mesquite Flat Sand Dunes.
Come back to the hotel and get the breakfast buffet at 1849 Restaurant.
Do Artists Drive and Artists Palette scenic drive and hike.
Check out Devil’s Golf Course and Zabriskie Point before you leave.
Drive back to Las Vegas to check into your hotel or Airbnb.
READ MORE HERE: What to Do in Death Valley National Park with Kids
Note: Our Chevy Tahoe was perfect for this part of the trip for 2 reasons:
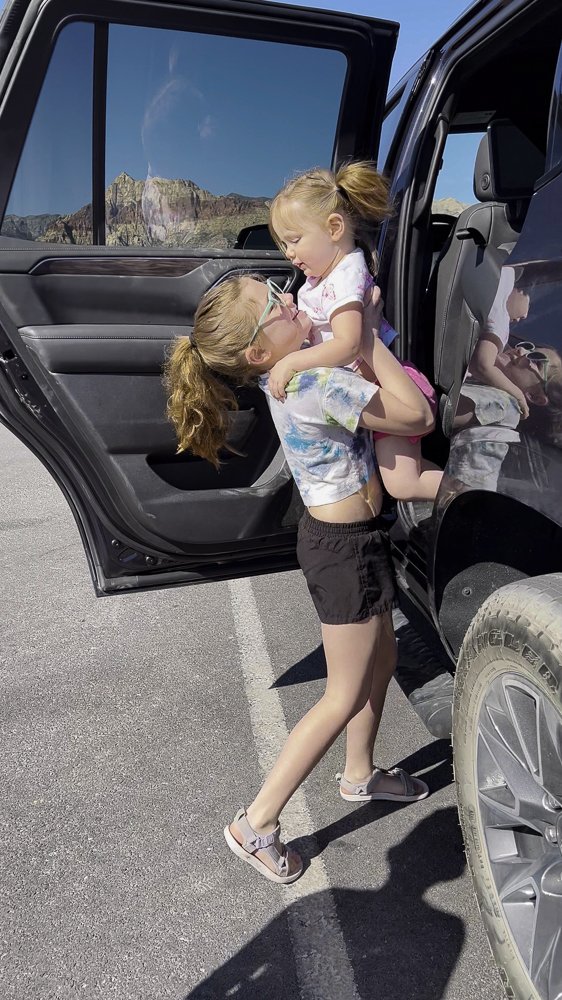
We have 4 kids in car seats. There was a lot of climbing in and out of the car for hikes, viewpoints, and photo ops. The middle row seats fold down so easily my husband quipped, “Hey! These are so easy to fold down even YOU could figure it out without help!” Nice, hunny. Thanks.
You can adjust the height of the vehicle depending on the road conditions. For some of the scenic drives in the park, we could adjust the suspension (look at me, using car terminology) to be higher. We then lowered the Tahoe to be more efficient for our drive back to Vegas on the highways.

View from Calico Hills in Red Rock Canyon National Conservation Area
Day 4: Red Rock Canyon & Seven Magic Mountains
Where We Stayed: We found this Airbnb which fit our family of 6, had both a pack & play and a high chair, had a separate room for the kids, a tv in each bedroom and the living room all hooked up to streaming services, a washer and dryer (we NEEDED it so badly after the dusty Death Valley hikes), a pool, and a view of the Las Vegas Strip.
Our Itinerary for the Day:
Sleep in (finally)
Eat breakfast at our Airbnb (we had grocery shopped at Wal Mart on our way back into Las Vegas from Death Valley)
Make a reservation for Red Rock Canyon.
Arrive at Red Rock Canyon around 9:15 a.m.
Drive around Red Rock Canyon and do a few easy hikes until lunch time.
Lunch at Airbnb
Let our toddler nap while the other kids swim.
Early dinner at our Airbnb
Head to Seven Magic Mountains before sunset.
Red Rock Canyon Fee: You’ll need to make a timed reservation online between the months of October and May. It’s super easy to do, and you can also pay the $15/vehicle fee online when you make your reservation. We made our reservation the morning of and there was plenty of availabilty.
Things to Do in Red Rock Canyon with Kids:
Stop at the Visitor Center and be sure to pick up a Junior Ranger booklet and a map.
The Red Rock Canyon Scenic Drive is a 13-mile loop, and it only goes one way. Be sure you know which stops you want to make before you start your drive!
Stop at Calico 1 for the scenic view. We wanted to try the hike here because I heard it was really pretty, but my kids just could not get into the Calico Hills hike. The descent to get to the trail was slippery with lots of loose rocks, and the toddler was screaming in the baby carrier. It just was not worth it! Your kids might do better, especially if they’re a bit older than ours.
Check out the Petroglyph Wall Trail and the Lost Creek Children's Discovery Trail - both are short and easy to do with any age kids!
Take any opportunities to stop and check out the overlooks - there are many along the 13 mile trail!

Tips for Seven Magic Mountains:
Seven Magic Mountains is an art installation in the middle of the desert about 30 minutes from the Las Vegas Strip.
It is FREE to visit, and there is plenty of parking available.
We went around sunset. The crowds were not terrible, but it was still hard to get a photo without other people in the background. I’ve heard going at sunrise is a great time to go for fewer crowds.
Let kids run around and explore (while still being courteous of other people taking photos). They will love the brightly colored rocks contrasting with the dull desert.

Day 5: Valley of Fire State Park
I had seen so many impressive pictures from Valley of Fire that I knew we would want to spend a little more time in this park, so I planned to spend the whole day there.
We left shortly after breakfast, and it’s almost a whole hour from the Las Vegas Strip. We were once again thankful for the display screens in the Chevrolet Tahoe so the kids could watch a movie! I’m not usually a screens in the car mom, but I knew I was asking a lot of the kids with all the hiking and driving. Plus it was vacation! I was happy for them to have a chance to relax.
Valley of Fire was probably my favorite day of the trip, and there’s so much to see and do there!
Cost: $15 per vehicle if you’re not from Nevada, $10 per vehicle if you’re from Nevada.

Things to do In Valley of Fire State Park with Kids:
(READ MORE HERE: Things to Do in Valley of Fire State Park with Kids )
See the Beehives: The Beehives are sandstone rock formations that look like giant beehives! You can walk around, climb in and out of the hives, and take photos. It’s very close to the West Entrance, and all you have to do is pull into the small parking lot to see the Beehives. There’s no hike to get there!
Stop at the Visitor Center: There are 2 main roads in Valley of Fire State Park: Valley of Fire Road, and White Domes Road (and several smaller roads off the main 2). You’ll find the Visitor Center in the middle of the park where the 2 roads intersect. Stop in for souvenirs, to use the restroom, grab a map, and see if they have any Junior Ranger booklets available.
Walk to Balancing Rock: Don’t leave the Visitor Center Parking Lot just yet! From the Visitor Center there is a 0.1 mile out-and-back walk to Balancing Rock. This path was easy enough that we could even let our 2-year-old out of the carrier to walk. This is a great stop for families with young children, and it’s just a really cool rock formation to see!
Drive White Domes Road: Even if you don’t plan to get out of the car, the vista around every bend on White Domes Road is simply jaw-dropping. It’s a scenic drive you don’t want to miss!
Hike the Fire Wave: I had seen the famous Fire Wave on Instagram, and wanted so badly to hike out to it. I prepped the kids for the 1.5 mile out-and-back hike, and they did awesome! (We did have the toddler in the carrier). There was one part that was a bit slippery descending down to the Fire Wave area, but once we were on the rock it was amazing to see the bright red and white striations!
Hike White Domes Trail: I would not recommend this trail with toddlers or preschoolers, but my husband and I took turns doing this hike with our older 2 children (ages 8 and 6 at the time) while the rest of us waited in the car eating lunch and watching pre-downloaded movies. The beginning of the trail is tough and quite slippery as you descend into the canyon, but once you’re down there you get to hike a beautiful slot canyon and see some incredible rock formation sand views.
Take a photos of the Instagram-famous spot on White Domes Road: If you search Valley of Fire State Park on Instagram, you’ll likely see photos of people perched on a rock high above a road framed by tall red rock formations. This spot is along White Domes Road, and you just need to pull over onto a gravel pull-off just past Rainbow Vista parking lot (if you’re driving back toward Valley of Fire Road) and climb a big rock (it takes like 10 seconds to get to the top of the rock) for that famous view. I’ll be sure to write a more detailed description of how to get there in my Valley of Fire blog post, so stay tuned for that. For now, I have it in this Instagram Post.
See Elephant Rock: Similar to Balancing Rock, this is a quick jaunt from the parking lot. There’s a lot right by the East Entrance of the park, then a 0.2 mile walk will take you to Elephant Rock. If you want a more unique view, you can do the Elephant Rock Loop, which is 1.25 miles. I haven’t done this hike, so I can’t speak to what age levels could do it.

Day 6: Las Vegas Strip
I did want to spend one day seeing the highlights of the Las Vegas Strip with the kids, but we wanted to keep it low-key and not spend a fortune. There are lots of shows, rides, and experiences you can have, too, if you’re willing to shell out the cash, but with 6 family members it adds up quickly. Plus we were exhausted from all of our outdoor adventures, so we kept it chill.
What to Do on the Strip with Kids:
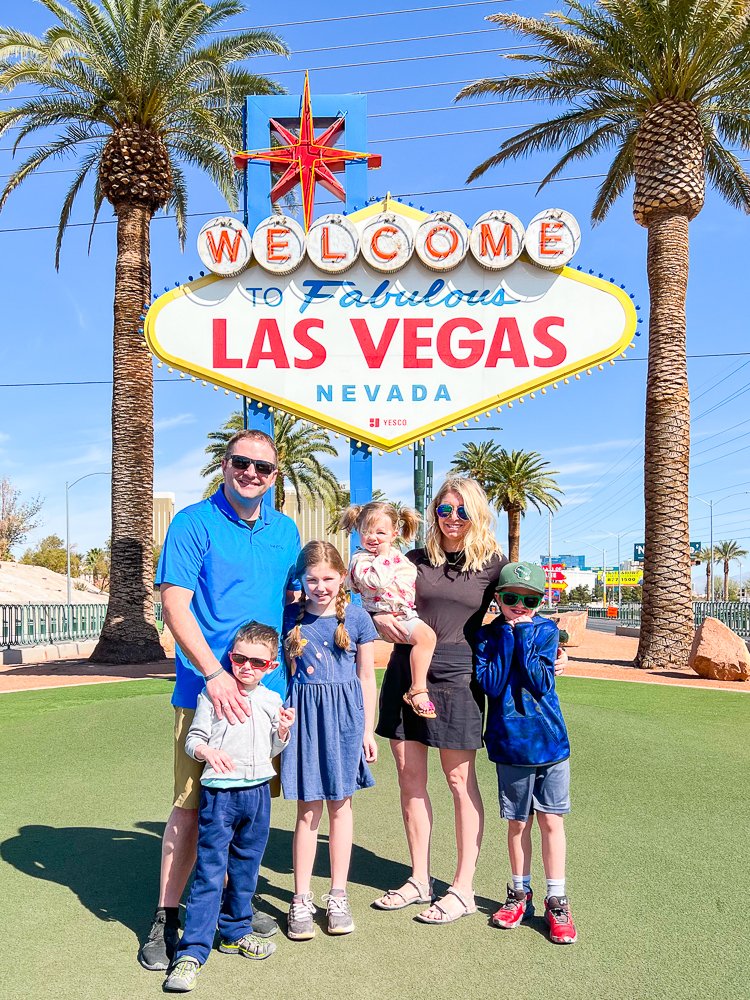
Take a photo at the Welcome to Las Vegas sign
Explore some of the hotels with cool themes
See the colorful steps outside the Fashion Show Mall
Stop at the M&M store and stock up on unique colors of M&Ms
See the Belagio Fountains
See the Flamingo Wildlife Habitat at the Flamingo Hotel
Las Vegas is a perfect home base for family-friendly outdoor adventure, especially during spring break!
I know a lot of families don’t consider Las Vegas due to its reputation, and personally I wouldn’t necessarily spend tons of time in the city and on the Strip, but you would be surprised by how much there is to do and see in this beautiful area of the country.
Thanks again to Chevrolet for making our road trip adventures possible on this trip! I couldn’t decide if I was sadder about leaving the warm weather or leaving the Chevy Tahoe behind as we arrived at the airport. It’s such a great vehicle for families, and we enjoyed every second of our trip in it!
DON’T FORGET IT! PIN IT!


Emily Krause is a Florida-based travel blogger who writes about exploring the world with kids. On A Mom Explores you’ll find best family travel destinations, Disney World tips, and how to make travel with babies and toddlers a little easier.
Emily believes that exploring starts in our own backyards, and adventure can happen anywhere with the right mindset.