
Galápagos with Kids: How We Planned Our Land-Based Galápagos Islands Trip
Did You Know You Could Visit the Galápagos Islands Without a Cruise?
As someone who is very familiar with Ecuador, I knew surprisingly little about the Galápagos Islands! I visited Ecuador twice in college - once on a 6-week immersion trip, and once for an entire semester. I returned to Ecuador as an adult with my husband and without the kids. During those 3 visited I explored mainland Ecuador extensively, but never had the chance to visit the Galápagos Islands.
Like many people, I assumed you could only visit by cruise, and that it would be VERY expensive.
But when I decided that our family vacation for summer of 2026 was going to be to Ecuador, and I started doing research on visiting the Galápagos Islands with kids, I realized that you could plan your own land-based tour of the Galápagos for much cheaper than the cruise options.
Since we only had 13 days total in Ecuador (including travel days), we limited ourselves to 5 days/4 nights in the Galápagos because there was so much of mainland Ecuador that I wanted to show my kids. The more I researched, the more I realized that 4 nights wasn’t NEARLY enough time to see and do everything we wanted to do, but it was a great start! It just gives us a reason to go back and see more!
I loved the cost and flexibility of a land-based trip with kids, but I think if you can swing it financially, a Galápagos cruise has the ability to show you so much more than we were able to see on our own. There are pros and cons to both, so you just have to decide what works for your schedule and budget.
I’m going to share how we planned our land-based trip to the Galápagos with kids, what I would do differently, where we stayed, what we did ,and more.
If you want to hear about the rest of our Ecuador trip, you can find our 2-Week Ecuador with Kids Itinerary here, and How Much We Spent on 2 Weeks in Ecuador as A Family of 6 here.
Disclosure: This post contains affiliate links. That means if you click on a link and make a purchase I may receive a small commission at no extra cost to you.
What Is a Land-Based Galápagos Trip?
There are two ways to visit the Galápagos Islands. You can take a Galápagos cruise where you eat and sleep on a small ship or yacht which takes you to a variety of islands in Galápagos National Park. The benefit is that you can reach uninhabited islands easily, while the downside for families might be the rigorous schedule with multiple excursions each day, including early wake up times. This would be a great option if you have the time, the budget, and you’re confident your kids can handle hiking and snorkeling with a group tour for multiple days on end.
A land-based Galápagos trip is often cheaper with a more flexible schedule. You can pick where to stay, which tours to do, and if you want to take a day off to relax, shop, or just go to the beach, you can do that. The downside is that you’re limited to staying on the inhabited islands: Santa Cruz, San Cristobal, and Isabela Island. You need to take day trip tours to reach the uninhabited islands. This requires strategic planning and a bit of research before you book your trip.
We chose a land-based tour mainly for the flexibility. We booked our flights to Ecuador first, then realized that many of the cruises wouldn’t fit neatly into the dates of our trip, or would take up way more time than we were planning to spend in the Galápagos. Also, it was nice to have a more budget-friendly trip with a family of 6. We still kind of want to try a Galápagos Cruise, though, now that we’ve gotten a small taste of the islands!
Can you still see wildlife on a land-based trip?
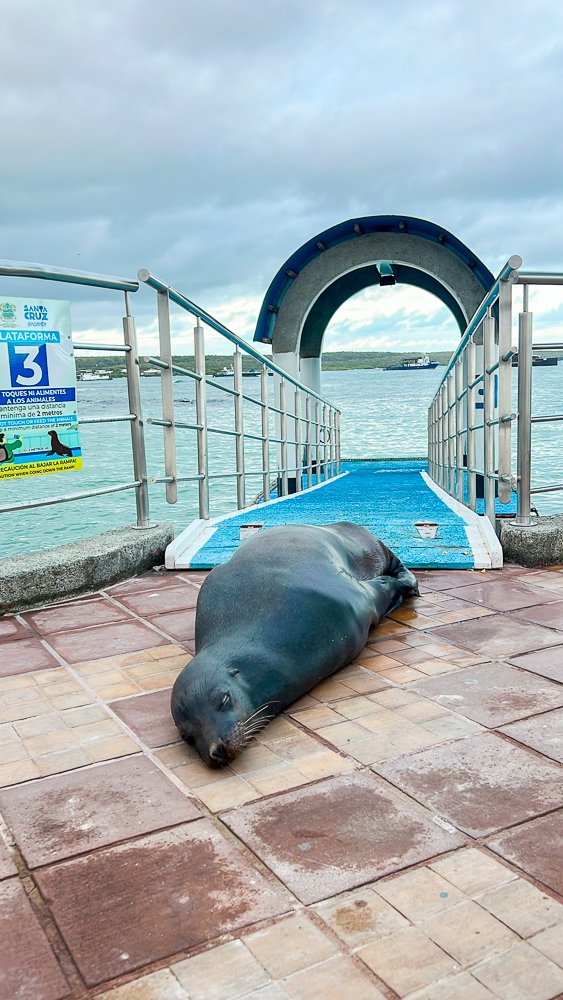
Absolutely. We saw wildlife from the moment we stepped off the plane! We saw sea lions everywhere as we enjoyed our morning coffee or our evening ice cream cones. We saw a large variety of birds, marine life, crabs, and iguanas just sitting by the pier. We joined a group tour to see even more.
In fact, it’s hard to •miss• wildlife in the Galápagos Islands no matter which time of trip you choose!
Is a Land-Based Galápagos Trip Good for Kids?
My kids were ages 6, 9, 10, and 13 at the time of this trip. I wasn’t sure how they would do with long tours or snorkeling. I knew the older kids would do great, but the younger kids had never been snorkeling before.
That’s why a land-based trip with 1 snorkeling excursion sounded perfect to me! And looking back, I wish I had known how much everyone would enjoy it, because we fell in LOVE with snorkeling in the Galápagos and wished we could have gone on another snorkeling excursion.
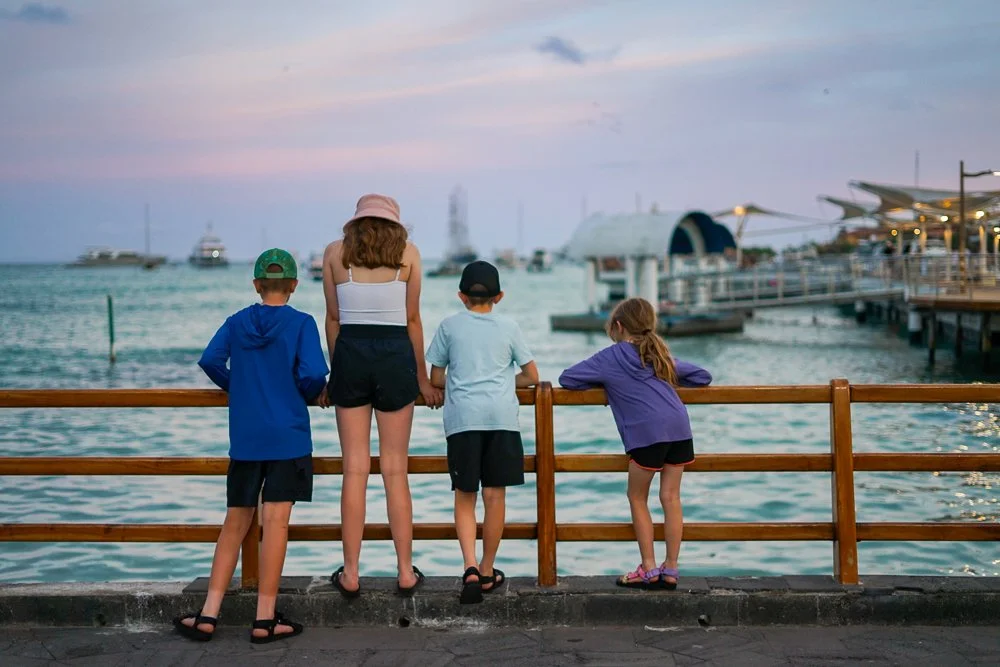
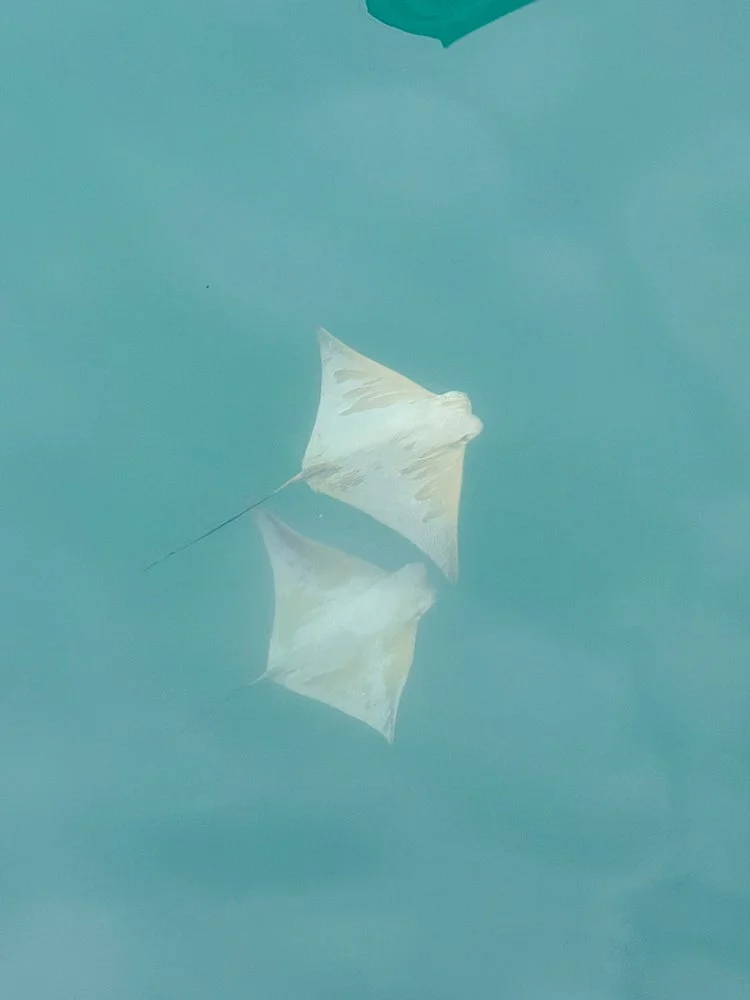
But one of the things we all loved about our land-based itinerary that we would not have bene able to do on a cruise was walking along the port at sunset every night with our ice cream. We saw so much wildlife during this time, like black tip reef sharks, pelicans, sea lions, Sally Lightfoot crabs, marine iguanas, and golden rays.
The laid back evenings, and the ability to relax and do a beach day when the kids were tired was SO nice. I think if we had been on a cruise, I would have felt pressured to make the most of the money we spent and participate in every excursion or activity.
I would say a more challenging part of a land itinerary is getting from one island to another. Ferries between islands leave at 7:00 a.m. or 2:00 p.m. and take about 3 hours (more or less depending on the island). If you’re taking the 7:00 a.m. ferry you need to be there by 6:00 a.m., which means an early morning for everyone, followed by a VERY bumpy boat ride.
Personally, I think land-based is the better option for younger children and families that want to have a slower pace with down time in between activities. A Galápagos cruise would be better for families with slightly older children who are adventurous and enjoy hiking and snorkeling.
Our family was right on the cusp. I definitely think we could have handled a cruise, but I’m glad we did land-based first.
If you have babies and toddlers, you will still enjoy the Galápagos! Our friends who live in Ecuador took their kids when they were babies and toddlers, and the kids LOVED the wildlife all around, the slow beach days, and the laid back pace on the islands. Obviously, you can’t participate in the adventurous snorkeling excursions, though!
How Many Days Do You Need for a Land-Based Galápagos Trip?
The answer to this is going to be personal to every family, but I'll give my perspective based on my experience.
We stayed in the Galapagos for 4 nights. My reasoning for this was because I booked our flights to and from Ecuador first based on flight prices, and we ended up with 13 days to play with in Ecuador. As I mentioned, I studied abroad in Ecuador in college, so I really wanted to show my kids all of the places in mainland Ecuador that were so special to me.
And I figured while we were there, we should add on the Galápagos, too!
So the focus of this trip was not solely on the Galápagos Islands, which is why our time there was a bit shorter than I would have liked.
I also didn’t know what I didn’t know! There is a lot more information on cruise-based Galapagos trips, but not as much about how much time you’ll need on a land-based trip.
Personally, I left feeling like we had a good introduction to the Galápagos, but I would have liked 2 more nights to visit Isabel Island.
I think 6 or 7 nights is a great amount of time if the Galápagos is the focus of your trip. There are 3 inhabited islands you can stay on, and this way you could do 2 nights on each island, or stay longer in an area that looks more interesting to you.
Keep in mind that on a land based trip, you have the advantage of more freedom, but you have a disadvantage when it comes to moving between islands. On a cruise you can travel while you’re sleeping, whereas inter-island travel can eat up most of your day on a land-based tour.
Which Islands to Visit
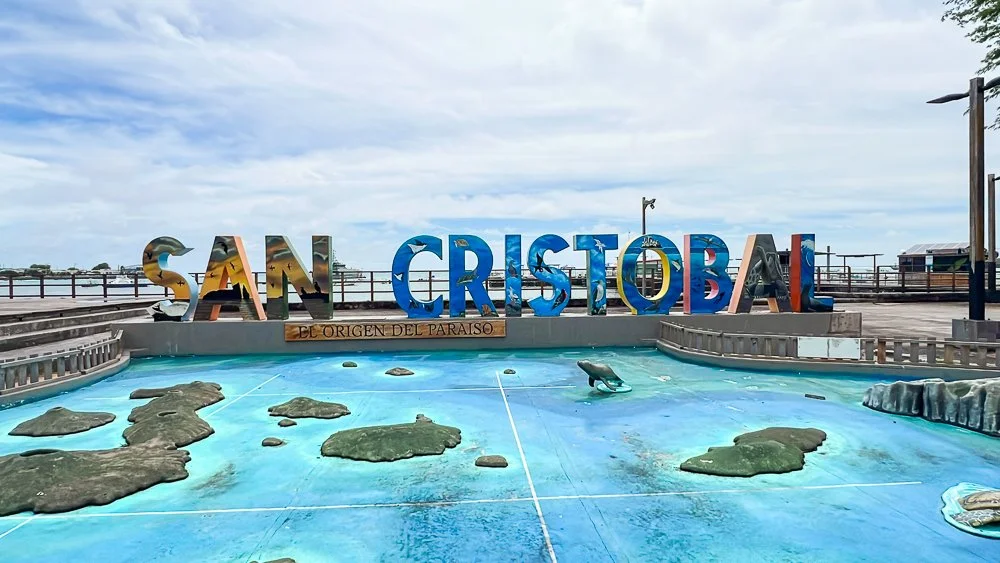
There are 3 islands you can stay on when visiting the Galápagos Islands: Santa Cruz, San Cristobal, and Isabela Island.
There are 2 airports that travel between mainland Ecuador and the Galápagos: one on Santa Cruz, and one on San Cristobal.
We only stayed 2 nights on Santa Cruz and 2 nights on San Cristobal, mainly because travel days take so long and those were the 2 islands with airports. This way we could maximize our time exploring!
I’ll give you a quick overview of the islands:
Santa Cruz
Santa Cruz is the most touristic and bustling of the islands, with good infrastructure. If you prefer a quieter, less “touristy” experience, you may want to spend more time on other islands, but I will say that it’s nice to have access to the amenities Santa Cruz offers.
Santa Cruz is easily accessible. Balta Airport is on a small uninhabited island next to Santa Cruz, and there is a bus and a ferry that take all arrivals at Balta Airport to Santa Cruz.
Santa Cruz is a good home base because it’s right in the middle of the islands. You can easily take day trips from Santa Cruz to uninhabited islands like Bartolomé, North Seymour, and South Plaza.
There are plenty of lodging options, restaurants, gift shops, grocery stores, and tour operators.
There’s a lot to do on the island of Santa Cruz, too! Tour the highlands (to see the Galapagos tortoises, visit Tortuga Bay, hang out in Puerto Ayora, and visit Charles Darwin Research Station.
Puerto Ayora is the main town, and the port also hosts the main public speed-boat ferry lines connecting to Isabela, San Cristóbal, and Floreana.
San Cristóbal
San Cristobal is also easily accessible. The airport (SCY) has flights in and out of mainland Ecuador and is located right next to Puerto Baquerizo Moreno, the main town and port on the island.
There are lodging options, restaurants, and tours, but it’s much quieter than Santa Cruz, so options are more limited.
There’s plenty to do on San Cristobal (Playa Mann, Cerro Tijeretas, and La Lobería) and cool half day and full day snorkeling tours like Kicker Rock (which we did!)
Unfortunately, there are no direct ferries from San Cristobal to Isabela, so you would have to either book an inter-island flight, or take a ferry back to Santa Cruz, then another ferry to Isabela.
Isabela Island
This is the only inhabited island we didn’t get a chance to visit. I’ve heard great things about this island!
It’s truly a laid-back beach town - different from Santa Cruz and even San Cristobal
no flights to and from mainland Ecuador, so you’ll have to reach it by ferry from Santa Cruz, or hopper flights from other islands.
You can snorkel with Galápagos Penguins on the Los Tuneles snorkeling tour!
You might see flamingos on this island.
Flying to the Galápagos: What Families Need to Know
There are 2 options for flights from mainland Ecuador which I explained above:
Santa Cruz (Baltra/GPS)
San Cristobal (SCY)
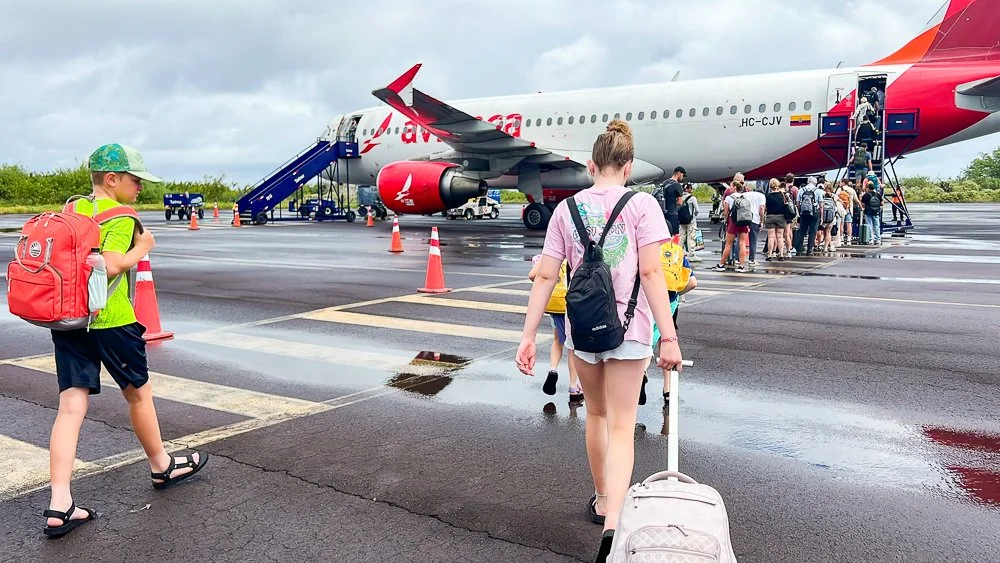
You can fly out of Quito or Guayaquil. We were not visiting Guayaquil on this trip, so we flew in and out of Quito. The flights are operated by Avianca or Copa. Roundtrip flights generally cost around $300-$350. We booked 2 one way flights and it still ended up coming out to $333 per person in total.
We decided to do an open jaw flight for our trip to the Galápagos so we wouldn’t have to backtrack at all. Our itinerary was:
Quito to Baltra Airport (Santa Cruz). This was a nonstop flight. Many flights from Quito will have a stopover in Guayaquil where you don’t have to get off the plane. This one didn’t! We booked an early morning flight so we would be able to spend most of the day in Santa Cruz.
San Cristobal to Quito. This was a direct flight but we had a quick stop in Guayaquil. We didn’t have to get off the plane. We booked an early afternoon flight so we had a nice slow morning in San Cristobal, and were back to Quito by a reasonable time.
Paperwork, Procedures, and Logistics
BEFORE YOUR FLIGHT
Fill out the Transit Control Card (TCT) on the official website before you even get to the airport. You should be able to pay the $20/person TCT fee online, too. It’s very important that you get this all filled out, paid for, and you have the QR code saved to your phone. If you don’t, there will be a long line to get this completed at the airport, and they won’t let you board until you have it.
I filled ours out online the night before, but it would not let me pay. No matter which card I tried. When I spoke with someone at the airport, they said this happens a lot with the site glitching. Don’t be like me - give yourself a few days to do it so you can try again if the site glitches and won’t let you pay.
I had no choice but to choose the option to pay at the airport, and figured it would be quick since our paperwork was all filled out. I didn’t realize I would be in the same line as all the people who hadn’t even started filling out the paperwork! The line moved so slowly, and we almost missed our flight to the Galapagos.
The other mistake we made was that while I was waiting in line to pay for the TCT, I should have had my husband and the kids take all of our bags through biosecurity to make sure we had one less thing to do once we got the TCT taken care of. I think I was just worried that I might need all members of our party present to take care of the TCT so I didn’t want them to go far, but I didn’t end up needing them. Once you pay, they will send a QR code for each member of your party to your email. You will need that to board your flight.
Leave yourself plenty of time for your flight to the Galapagos. Arrive at the airport 3 hours early if you can. You would rather be sitting at the gate waiting than miss your flight to the Galapagos. IF you have an early flight like we did, stay at the Courtyard by Marriott Quito Airport because it’s just steps away from the domestic terminal.
AIRPORTS IN THE GALAPAGOS AND ARRIVAL PROCEDURES
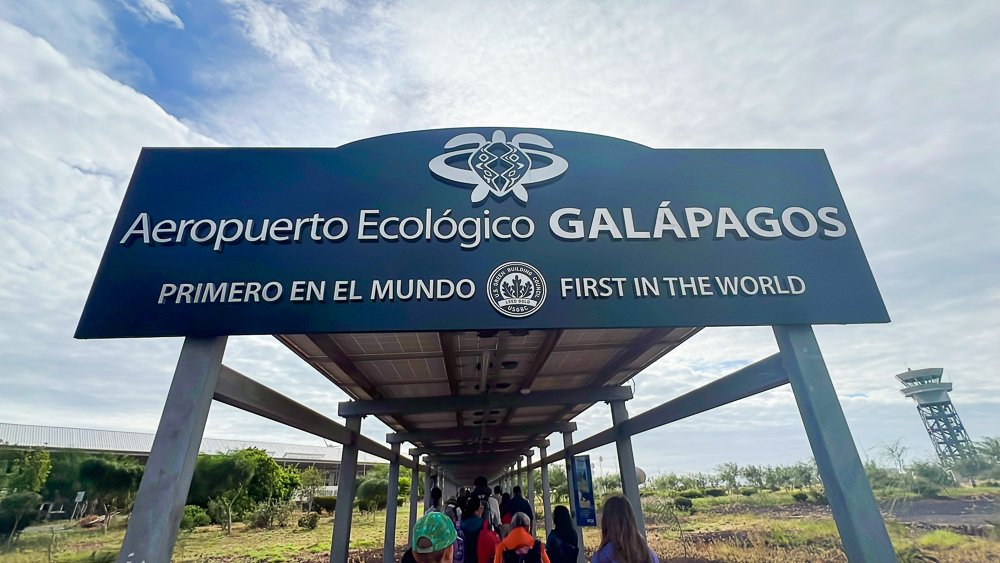
If you fly into Baltra like we did, you will have a bit of a journey to get to Santa Cruz. Once you get off the flight, you will go through customs and immigration. They have biosecurity to scan your bags since the islands are a national park and a protected area.
You will also pay your national parks entry fee in cash here. At the time of this blog post (2026) it costs foreigners (non-Ecuadorians) $200 per person for ages 13 and up, and $100 per person for kids ages 12 and under.
Once you get through all of that, you’ll exit the. airport and head to the bus. It’s pretty affordable - around $5/person for adults, and the kids got a discount after I verified their ages with passports. The bus will take you to a port, and from there EVERYONE on the bus gets loaded onto a ferry. They do a head count as no one can stay behind on Baltra Island. (They load your luggage from the bus onto the boat).
The ferry only takes a few minutes to cross the channel, taking you to Santa Cruz. From there you will have to find a taxi (there are tons of taxi drivers waiting at the port) or a bus to take you to Puerto Ayora, the main town and port where most of the hotels are located.
We flew home out of the San Cristobal and the airport is right by the main town. You can walk or take a taxi (it cost $4 to take a taxi from the main road to the airport). They have a lounge at this airport that I was able to access with my Priority Pass that I get with my Chase Sapphire Reserve. I don’t think they have full meals here, but they had fruit, chips, and brownies/cookies, plus you can order a water, soda, or drink. They also have chargers and comfortable chairs.
If you fly into San Cristobal, the arrival procedures would be the same as Santa Cruz.
How Do You Get Between the Galápagos Islands?
The main way to get from one island to another is inter-island ferries. You can book them online or in person. We booked our ferry in person when we arrived, just 2 days in advance. If you don’t want to stress about availability and don’t mind paying a little more, you can certainly book online in advance.
You can book in person in cash to save the most money. Expect to pay around $35/person for the ferry. Find a local tour agency in town (there are tons of them), and they can get you booked on a ferry. There are different ferry companies, but they all cost around the same price and follow the same schedule.
When you buy your ferry tickets make sure you have a receipt with the following information: date, departure time, your name, boat name, route. You will need this to check in the day of your ferry departure.
We lucked out! We checked into our hotel in Santa Cruz early (around noon), and the owner of the property checked us in. Not only was our room ready early, but he also made sure we were booked on our ferry to San Cristobal 2 days later. He texted his contacts and got us “VIP” seats on a ferry for $35/person.
Ferries depart twice a day: 7:00 a.m. and 2:00 p.m. (that may vary by season, so obviously double check!). We booked the 7:00 a.m. ferry which means we needed to be at the port at 6:00 a.m. to start the check in process.
Here’s what to know about how ferries work:
Arrive an hour before your ferry departure time to the main port.
Check in with the company that operates your ferry.
Once you check in, get in line to have your bags scanned through biosecurity. (Make sure your shoes are free of mud - we saw a lot of people with muddy shoes who had to clean their shoes off adding extra time to the process).
You’ll get in line on the dock to board your ferry.
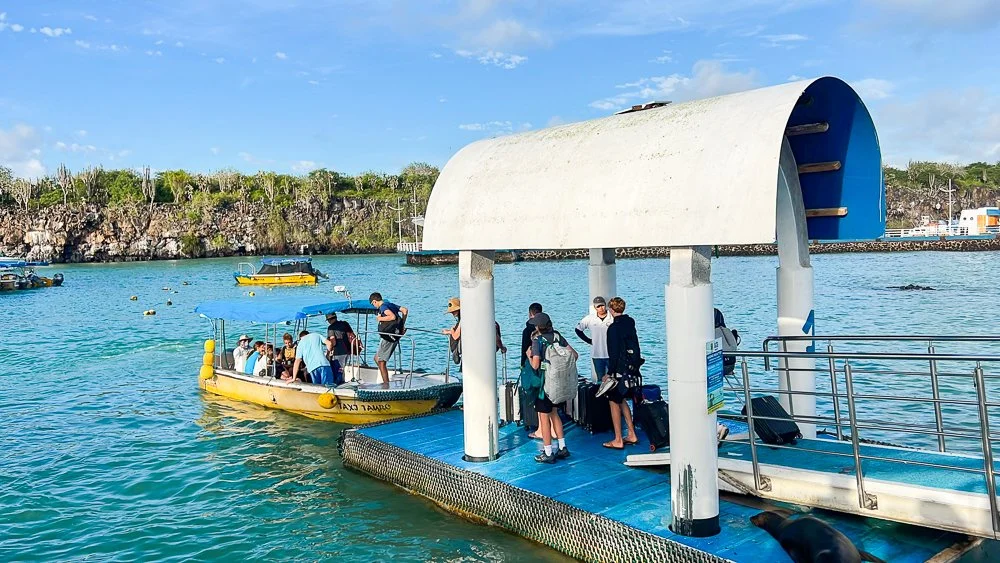
A small water taxi will take you from the dock to your ferry. Make sure your luggage is loaded onto the water taxi with you! They really stack the luggage on one end of the boat - on one of our water taxis I thought my suitcase was going to fall into the water. These cost $1 per person in cash so have dollar bills or dollar coins ready.
Board your ferry and find your seats! Most routes take around 2 - 2.5 hours.
Tips for the ferry:
The ferry rides are bumpy and possibly windy depending on your seat location. You will not be able to read or be on your phone unless you have a stomach of steel and never get sick.
Have your whole party take dramamine or equivalent while you’re standing in line for biosecurity. We also at our breakfast on the go while waiting in line (we had purchased croissants, yogurts, and fruit the night before).
Have podcasts or audiobooks downloaded for the journey so you can be “entertained” but not looking at a screen or book. For younger kids I would highly recommend bringing Yoto Minis so they can listen to their own stories!
Bring snacks of the ferry that are easy not he stomach: crackers, bread, sour candy, or even a Coca Cola to avoid sea sickness.
Our Galapagos Itinerary Overview
Day 1: Arrival on Santa Cruz
We had an early morning flight to Baltra (Santa Cruz), so we arrived in Baltra by 8:15 a.m. By the time we went through customs/immigration, took the bus, ferry, and taxi to Puerto Ayora in Santa Cruz it was around 10:30 a.m. As I mentioned, we stayed at Torre Mar Galapagos Boutique Suites, and our connecting rooms were ready for us at check in! It was really nice to be able to drop off our bags and freshen up after a crazy travel morning. (We almost missed our flight to the Galápagos thanks to the TCT card debacle).
Once we dropped our bags off we got coffee and brunch in Puerto Ayora at 1835 Coffee. My iced caramel latte was amazing, and they had a great kids menu with Mickey Mouse shaped pancakes!
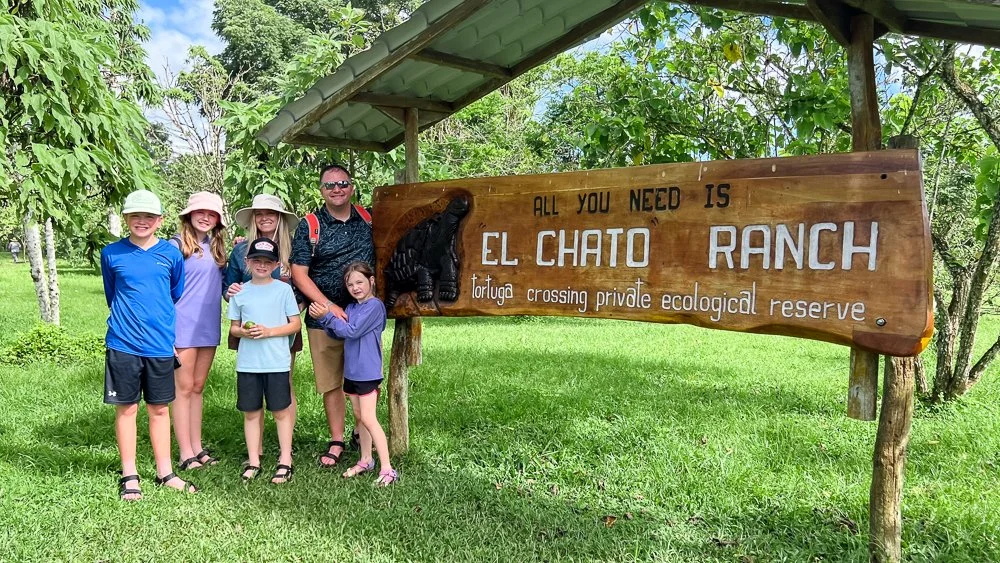
We then texted our taxi driver from that morning on WhatsApp to see if he would be able to take us to El Chato Ranch in the highlands to see the Galapagos tortoises. He was available, so he picked us up from Puerto Ayora, drove the 40 minutes or so to El Chato Ranch, and waited while we took the tour so he could also drive us back. I believe it cost around $40 or so in cash. Make sure to work that out with your taxi driver at the beginning of the trip.
There are guided tours to the highlands, but you don’t need them. They’re more expensive and unnecessary. Once our taxi driver dropped us off at El Chato Ranch, we checked in and paid $10/person and waited a few minutes until the next tour started. El Chato Ranch gives their own tours included in that $10/person ticket price.
The tours are about an hour long and in the hot sun. You will be required to wear boots they provide, so be sure to bring socks! We also brought sun hats and long sleeve sun shirts which helped a little bit. At the end of the tour you’ll get to walk through lava tunnels which are nice and cool.
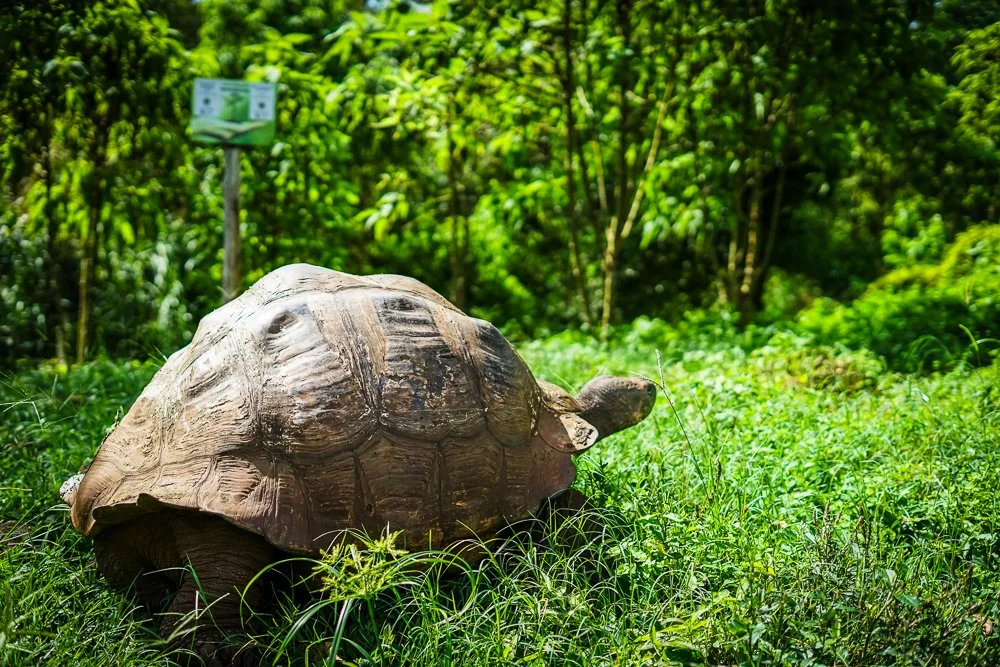
Seeing the giant Galápagos Tortoises was a dream come true, and you can get some cool pictures near them. They are wild animals so you can’t touch or feed them, but the guide will direct you to a place to stand near the tortoise for a photo.
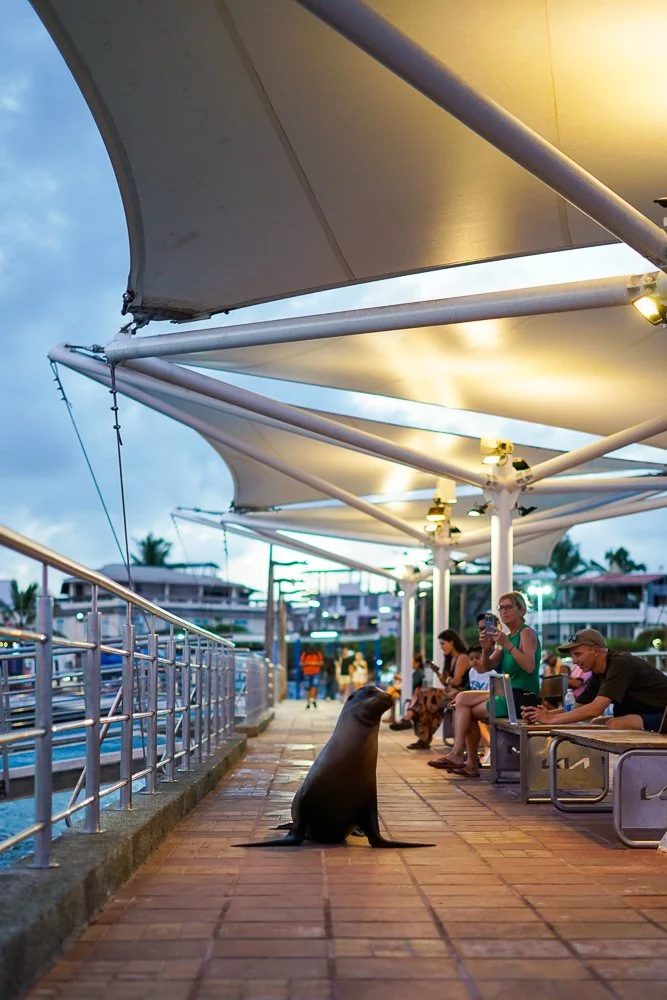
After our trip to El Chato Ranch we walked around Puerto Ayora and did some souvenir shopping. We had ice cream from Shark Bay Coffee for “dinner” and walked down to the pier. They light the pier up in the evenings so you a see the marine wildlife below. We saw plenty of sea lions, black tip reef sharks, pelicans, marine iguanas, Sally Lightfoot Crabs, rays, and more.
SWIMMING AT PLAYA MANSA
Day 2: Tortuga Bay
Day 2 on Santa Cruz was a little more relaxed. We grabbed breakfast in town then walked from Puerto Ayora to Tortuga Bay. Just a heads up: most restaurants and cafes don’t open until 9, so if you know your kids will get hungry before then, it’s a good idea to grab a few items from the grocery store in Puerto Ayora (I believe it’s called Proinsular).
From Puerto Ayora it’s about a 2-mile walk to Tortuga Bay. Follow the signs in town which will take you to a staircase which leads to a sort of visitor center. You need to check in at the visitor center (just your name, country of origin, and how many people are with you), though it is free to visit. This is also your last chance to use a bathroom.
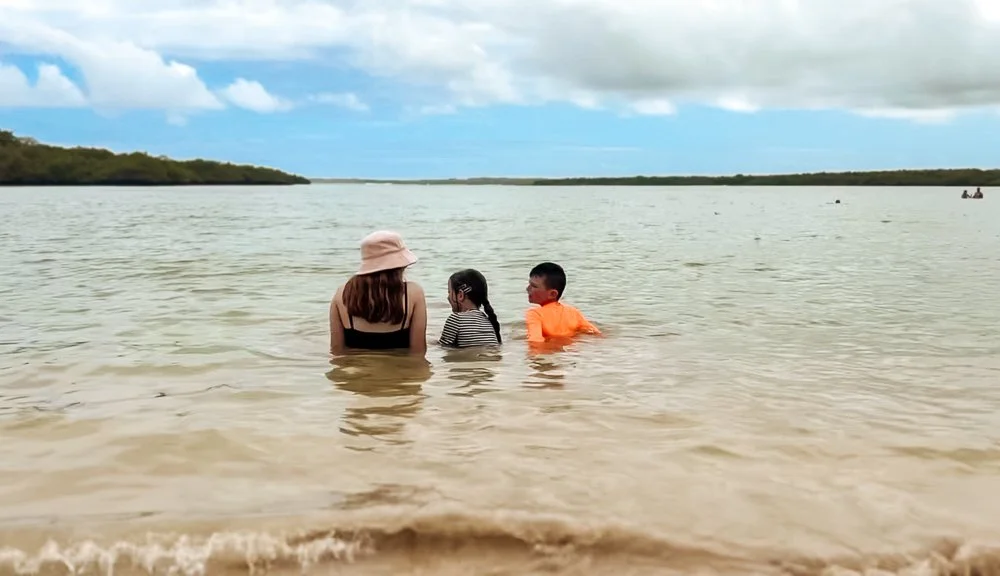
From the visitor center you will follow a paved path through the trees until you get to the beach. There’s a wide white sand beach made up of 2 parts: Playa Brava and Playa Mansa. Playa Brava was not swimmable when we were there, so we kept walking until we reached a sign for Playa Mansa, a lagoon where you can swim and spot wildlife.
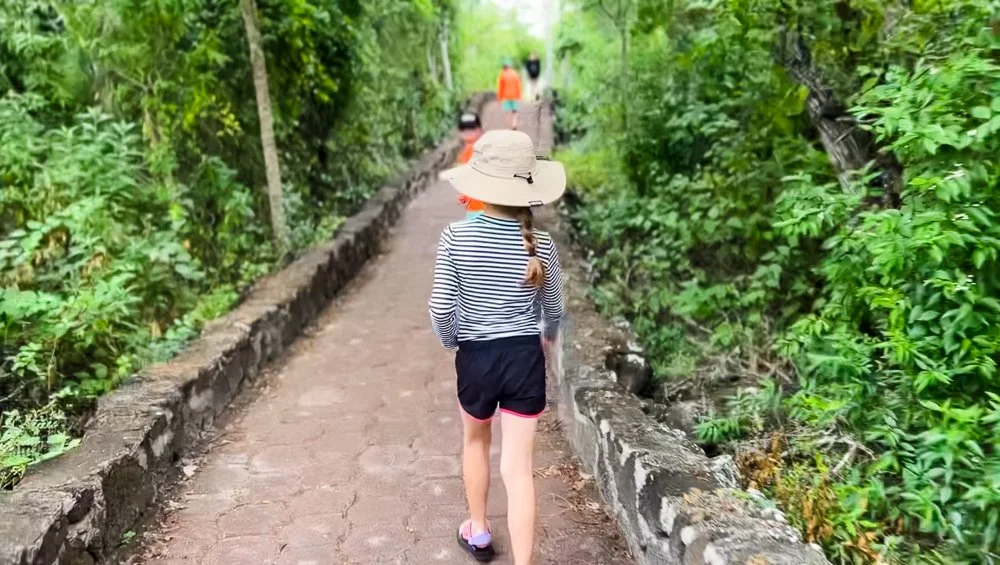
THE PAVED PATH TO TORTUGA BAY
We spent a few hours at Playa Mansa spotting marine iguanas, finches, and even an octopus! The kids loved being able to swim and just play on the beach. Bring your own water and snacks, plus some towels. We brought these towels on the trip with us! They come in a pack of 6 and pack down pretty small.
Typically there is a water taxi that takes you back to Puerto Ayora for a small cash fee, but it apparently wasn’t running on the day of our visit so we had to walk the 2 miles back in damp swimsuits. The kids were troopers, and right when we got back to our hotel it started pouring. Good timing!
When the rain stopped we went back into town for ice cream for dinner (Shark Bay again - they accept credit card, it’s cheap, and they let you pick 2 toppings with your ice cream!) We spent our last night buying souvenirs and watching wildlife by the port again.
Day 3: Ferry from Santa Cruz to San Cristobal
I already explained how the ferries work, so I won’t spend too much time on this part of the day. We checked out of our hotel and arrived at the port at 6:15 for a 7:00 a.m. departure time. We were at the end of the line, so arrive a bit earlier if that stressed you out. We had stocked up on pastries, fruit, and snacks for breakfast and the boat ride the night before, so we ate breakfast while we were standing in line waiting for our bags to be scanned.
The ferry ride was bumpy but easy enough. We took Dramamine with our breakfast, so thankfully none of us dealt with seasickness.
When we arrived on San Cristobal we took a taxi to our Airbnb which was about a mile outside of the main town. I wish we had booked accommodations earlier because by the time we booked I couldn’t find anything near town that could fit a family of 6 for a reasonable price. The Airbnb was great, but it was hard to hail a taxi where we were.
We spent the afternoon at Playa Mann (nice beach but don’t go out of your way to visit), then we walked around and found a tour company to book our Kicker Rock tour with for the next day. We finished the day with ice cream and watching the sea lions! There are so many more sea lions at the port in San Cristobal than in Santa Cruz!
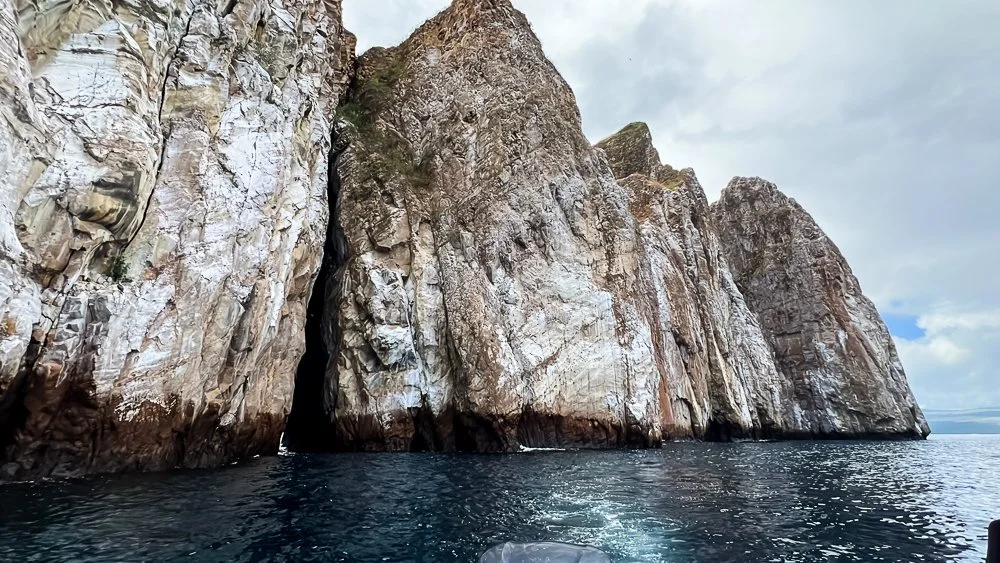
KICKER ROCK
Day 4: Kicker Rock Snorkeling Tour
Kicker Rock, also called León Dormido (Sleeping Lion) is a volcanic cone rising out of the water off the coast of San Cristobal, and is considered one of the best spots for snorkeling to see hammerhead sharks, sea turtles, sea lions, rays, and colorful fish. Naturally, many of the tours based out of San Cristobal involve snorkeling at Kicker Rock.
We were not sure how the kids would handle snorkeling. Most of them had never snorkeled before, much less in the open ocean! Our two youngest have been taking swimming lessons, but are still not the strongest swimmers. We weren’t sure we wanted to be on a tour all day. For that reason, we chose the 180 Tour instead of the popular 360 Tour.
HOWEVER, I actually think if we had been concerned about the amount of snorkeling, the 360 would have been better. The 180 Tour actually spends more time at Kicker Rock with 2 full snorkeling sessions, while the 360 Tour goes to Punta Pitt, Bahia Sardina, and Bahia Rosa Blanca.
For some reason, the fact that the 180 Tour involves 2 snorkel sessions at Kicker Rock, and the 360 Tour only does 1 was not clear to me. We just assumed a shorter tour meant less snorkeling, but that was not the case.
So let me clarify:
The 180 Tour:
Shorter tour (around 6 hours total)
Straight to Kicker Rock and back to Puerto Baquerizo Moreno (the main port in San Cristobal)
2 Snorkel sessions at Kicker Rock
One stop at a secluded beach to sunbathe, snorkel some more, or explore the beach
The 360 Tour:
Longer tour (8-9 hours)
Circumnavigates the entire island (hence the name, 360)
1 Snorkel Session at Kicker Rock
Multiple other stops around San Cristobal to see wildlife (especially birds) and snorkel in calmer bays
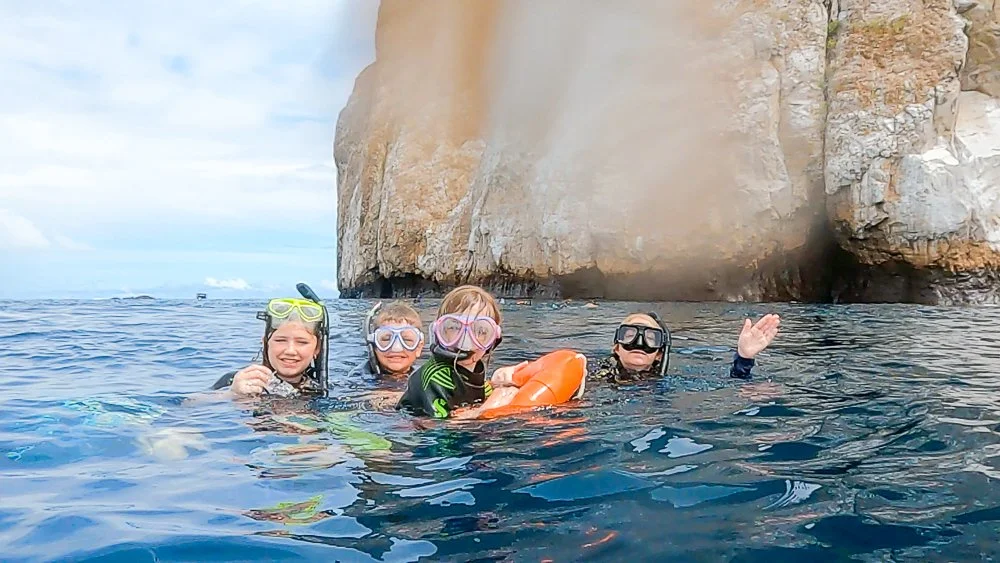
FAMILY SNORKELING AT KICKER ROCK
Ok, now having looked at these 2 tours, the 360 Tour probably would be better for kids, BUT it’s longer with more time at sea. But seems like it would be better for beginner snorkelers. The 180 Tour did involve more snorkeling, but was quite a bit shorter.
Now that I know all of that, I’m actually still happy with our decision. I’m really glad we had the opportunity to snorkel twice at Kicker Rock, since the first time my 2 youngest freaked out, and I had to go back on the boat with them. They both decided they wanted to try it the second time, so it was really nice to have our entire family snorkeling together in the open ocean near Kicker Rock!
All of the kids did great, and though there were no life jackets, we were all fitted for neoprene wetsuits that helped us stay afloat, AND there was a buoy the kids could hold onto. The guide stayed with the buoy the whole time, but if he needed to help someone else or needed a break, he had one of us parents hold onto the buoy.
Honestly, Kicker Rock ended up being the highlight of our trip, so I'm glad we did the 180. But I also would have loved to see more wildlife with the 360 Tour! Both sound amazing, you just need to weight the pros and cons for your family.
During our snorkel at Kicker Rock we saw sea turtles, sea lions, rays, and colorful fish. A scuba diving tour near us spotted hammerhead sharks, but the sharks were too deep in the water for us to spot.
We were back on land by 2:30 p.m. We went back to our Airbnb, dried off, showered, and headed back into town to grab some pizza for dinner and finish souvenir shopping.
Day 5: Back to Quito
Our flight back to Quito wasn’t until 1:05 p.m., and the airport in San Cristobal is so close to the main port.
We packed up and checked out of our Airbnb, then headed to our favorite restaurant on the island, Umami, for coffee and brunch. We had all of our luggage with us, so I was really thankful we packed light!
After brunch we grabbed a taxi to take us to the airport. It was technically within walking distance, but again, we had all of our bags with us and the taxi ride cost $4, so I felt it was worth it.
We went through security, and there’s a one room terminal since there aren’t too many flights that fly out of San Cristobal. Right when we walked in, an employee asked if we were eligible to go in the lounge, and to my surprise and delight, I was! I recently signed up for the Chase Sapphire Reserve which gives me Priority Plus access to get myself and 2 guests into participating lounges. This was a Priority Plus lounge, so I brought my 2 oldest in with me.
We got drinks, apples, and a brownie, and charged our devices before heading back out into the main area of the terminal since I felt bad leaving the rest of the family there. There’s no buffet, as this is a small lounge, but you can order items for free.
Our flight back to Quito went smoothly. This time we had a stop in Guayaquil where we did not have to get off the plane, but we had to wait around 30 minutes while the other passengers disembarked, they cleaned the plane, then boarded the passengers heading from Guayaquil to Quito. During this time we were not allowed to use any electronic devices for safety reasons while they refueled the plane. It wouldn’t have been a problem, but my only books were on my Kindle, so we all just talked and tried to keep the kids entertained until we were allowed to use our devices again.
We were back in Quito by 5:00 p.m. and our friends picked us up from the airport. We were heading to the Amazon Rainforest the next day!
How Much Does a Land-Based Galápagos Trip Cost?
One of the perks of planning a land-based trip to the Galápagos Islands is that it is significantly cheaper than a cruise. Here’s a bit of a breakdown of what we paid:
FLIGHTS:
Flights to Ecuador: $886.92 + 160,080 miles.
We transferred Capital One miles to Avianca to book our flights from Chicago to Quito. Roundtrip flights were only 160,080 miles total (although the experience was VERY bare bones and a terrible overnight schedule), plus $886.92. I thought that was a pretty good deal for 6 people flying to South America!
Flights to and from Galápagos: $2093.04
We could have used points to book these flights on Avianca as well, but I was saving my points for other trips, so we decided to pay for these flights in cash.
We booked 2 open jaw flights on Avianca. We flew into Baltra, then back to Quito out of San Cristobal. This was the total cost for both flights combined for 6 people.
Also, if you are skipping mainland Ecuador, you could potentially book flights straight to the Galápagos. Prices will vary widely depending on your location and time of year. You won’t find any direct flights, but you may be able to find connecting itineraries.
Flights Total: $2,979.96
TRANSPORTATION
Ferry from Santa Cruz to San Cristobal in the Galapagos: $210
Taxi from the arrival port in Santa Cruz to Puerto Ayora: maybe $25?
Taxi to El Chato Ranch: $40 round trip
We paid for all transportation in cash. The rest of the transportation on the island was taxis (all white pickup trucks), water taxis, and the bus from the airport in Baltra to the port. Usually just a few dollars, so I didn’t add up each individual one.
ACCOMMODATIONS + HOTELS
Torre Mar Galapagos (2 nights): $366.42 (Would have been $666.42 but we used the $300 travel credit from my Chase Sapphire Reserve).
Galapagos Airbnb (2 nights): $365
Courtyard by Marriott Quito Airport Hotel: $410
Honestly, we probably could have found cheaper accommodations but I waited too long to book.
FEES, TOURS, EXCURSIONS, + ACTIVITIES
Galapagos Transit Control Card: $120
Galapagos Entry Fee: $900
180 Kicker Rock Tour: $946
El Chato Ranch: $60
FOOD + MISCELLANEOUS CASH PURCHASES: $500
Total Cost - around $7K
Want to see the full Ecuador trip cost breakdown? See exactly what our family of six spent during our two-week Ecuador and Galápagos trip.
How Much Our 2-Week Trip to Ecuador and the Galápagos Islands Cost
What to Pack for the Galápagos with Kids
The Galápagos Islands are pretty casual, so for clothes I would stick with shorts, tank tops and t-shirts, one or two long sleeve shirts or sweatshirts in case the evenings or mornings are chilly, and sandals.
We heavily prioritized sun protective clothing. We all packed a sun shirt, a sun hat, and rash guards or long-sleeve swimsuits since the sun in quite strong in the Galápagos Islands. We also had reef safe sunscreen, but having the sun protective clothes was a good start since we didn’t have to constantly worry about reapplying sunscreen to shoulders and backs. You’ll also want a rain jacket if you’re visiting during rainy season.
For shoes, we all had waterproof hiking sandals. The kids also brought their Crocs. None of us had close toed shoes in the Galápagos and it was perfectly fine. You may want water shoes for some of the beaches, but we didn’t have any and it was fine.
A few specific items:
I bought this long sleeve swimsuit for myself and loved it! I didn’t feel like it had enough support, so I also bought a bikini top to wear underneath.
Sun shirts: (My shirt, big kids shirt, little kids shirt)
Other items you may want to pack:
Cash - and lots of it! Make sure you have enough of the tours you want to take (unless you book them ahead of time), all transportation, food (a lot of places did accept card but be prepared to use cash too), and your entry fee (which I explained above)
Dramamine or motion sickness medication - for the boats, taxi rides, etc.
GoPro or other Waterproof Action Camera
Waterproof phone pouch
For my complete Ecuador + Galápagos packing list → What to Pack for Ecuador + The Galápagos Islands
Was a Land-Based Galápagos Trip Worth It?
A land-based Galápagos tour was perfect for our family! I’m so glad we were able to experience the Galápagos Islands, and we may not have been able to make it work if we were paying for a cruise. That would definitely be something we would have to save up for and plan for.
My only regret was not staying at least 3 nights longer to visit Isabela Island. I would 100% do a land-based Galápagos Tour again!
Land-based might be a good option for your family if you:
Are traveling with kids
Want to keep costs lower than a cruise
Prefer hotels to sleeping on a boat
Want some independent/free time
Don't mind coordinating transportation between islands (and if this overwhelms you, you could find a travel agent to help you with this!)
A cruise may be better if you:
Want to maximize wildlife/remoter destinations
Don't want to handle logistics
Want most meals and excursions included
Have the budget for it
Want More Ecuador Info? Keep Reading:
DON’T FORGET IT! PIN IT!


Emily Krause is a Florida-based travel blogger who writes about exploring the world with kids. On A Mom Explores you’ll find best family travel destinations, Disney World tips, and how to make travel with babies and toddlers a little easier.
Emily believes that exploring starts in our own backyards, and adventure can happen anywhere with the right mindset.


